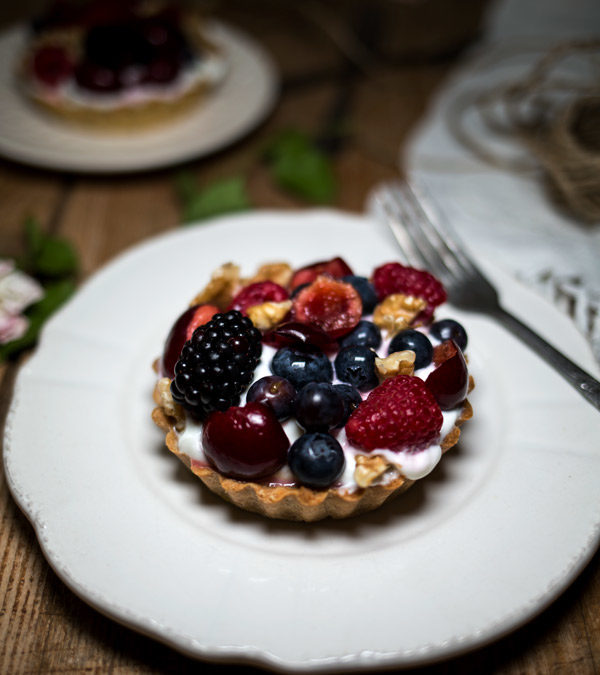
Sorry for dropping off the map! Mr. Italicano, Baby Italicana and I spent over a month in the USA visiting my family ❤ and I did cooking classes and demos around Seattle, Portland and in Virginia for Caruccio’s and Smeg USA. Now we’re back in Italy, and I’ve been aching to write a recipe post, so let me get straight to it and tell you about these amazing mini farro tarts!
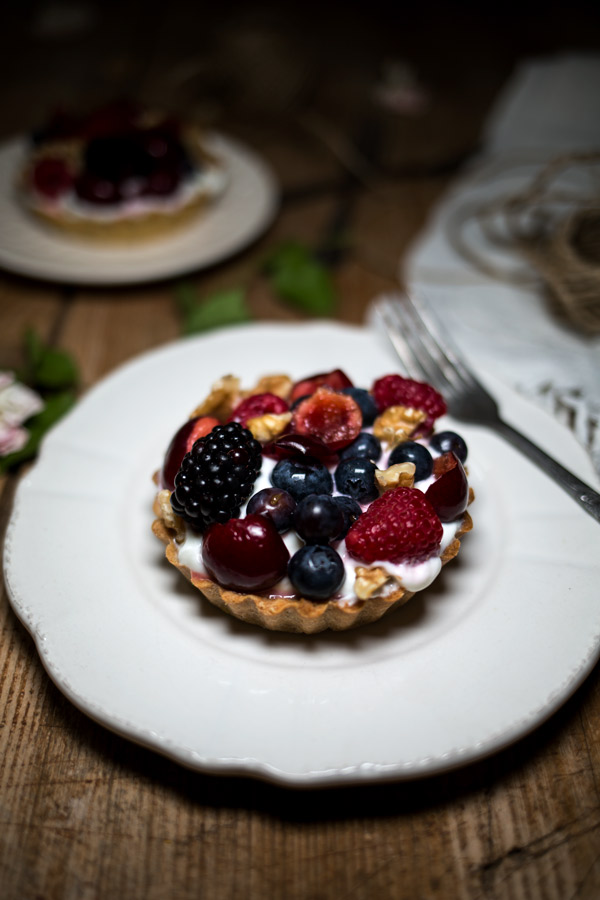
Besides being just extremely cute, these mini farro tarts were a huge hit with the participants at my kid’s cooking class at Caruccio’s, a beautiful new culinary event space in Mercer Island. In this cooking class each child made her own tart, filled it with a homemade lemon curd and topped it with fresh berries. Not a crumb remained!
Here is what a I love about these mini farro tarts:
Kid Friendly — They are the perfect recipe to make for (or with) your child. Fill them with homemade lemon curd, jam or yogurt and top them with berries for a healthy breakfast, dessert or after school snack.
Low in Sugar — Most desserts are pumped with sugars. This tart crust just has 1/3 cup raw turbinado sugar. Obviously, depending on what you fill it will make it more or less sugar-y, so if you are looking for a simple & healthy treat, opt for a good yogurt and fresh fruits, nuts and/or seeds.
Farro — I am a huge proponent of farro. It’s an ancient grain grown in Italy which is nutty in flavor, high in protein and fiber and is often suitable for people who have gluten sensitivities (but not those who have celiac disease). Just search farro recipes in the search box for more recipes. One of the brands I collaborate with and absolutely love is Poggio del Farro.
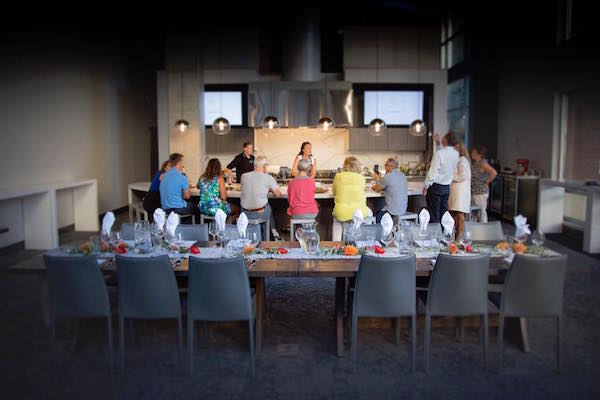
Since I love discovering new ways to cook with farro, I thought I would bring my knowledge to the USA! I created farro recipes for all of my adult classes, pop-up dinner and demo’s at Caruccio’s. Throughout the various events, we made homemade farro salad, farro beet soup, farro ravioli, farro matcha pasta, farro beet pasta, farro crostataand farro chocolate chip cookies. Participants were enthusiastic to learn more about farro, the health benefits and and the best recipes to make with this ancient grain. I was really delighted to see how curious everyone was (even kids!) to learn about farro. ❤
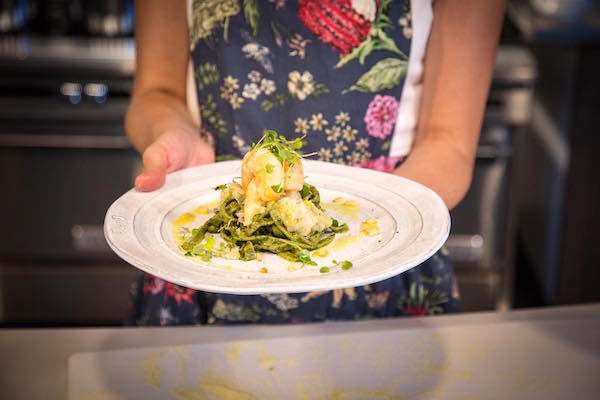
The pasta is bright in color, packed with antioxidants and I put in just the right amount of matcha to not leave any bitter taste—making it easy to pair with any sauce.At some of my demos, I also showed how to make matcha tea with Smeg’s Variable Temperature Kettle (<—affiliate link). I really enjoyed using Sugimoto America ’s delicious organic matcha culinary and ceremonial grade teas. I’m not a big tea drinker, unfortunately I often find it too bitter, but matcha tea is one that I actually like because it’s smooth and I find it less pungent.
I’m surprised with how “italicana” I’ve become over the eight years of living in Italy. My usual craving for a Starbucks coffee has passed—for me it’s too sugary and sweet. I usually drink American drip coffee (straight up black) or I choose to make a homemade latte with just a little added maple syrup for flavor or I’ll make a quick espresso, macchiato or cappuccino. I love how Smeg’s 1950’s style Espresso Machine(<—affiliate link) is easy to use, so stylish and takes up such little space on my countertops. In this video I show you how simple it is to make a macchiato using it!
Another simple but satisfying recipe I had the pleasure of demoing is a sparkling citrus juice using Smeg’s 1950’s style citrus juicer (<—affiliate link).
Now that I have Baby Italicana to think about, I’ve been consuming many homemade non-alcoholic drinks. Here’s the easy and delicious recipe:
For a Sparkling Citrus Juice:
1. Squeeze some oranges or grapefruit in a glass
2. add equal parts sparkling water
3. top with a mint leaf
It’s that easy! Great for prego’s like me, for kids or to serve as a nice refreshing drink for your family and friends. 🙂 I made these citrus juice drinks for my nieces and nephew at Lake Chelan when were there with my entire family celebrating my mom’s 70th birthday. They adored this “fizzy drink” and I love knowing that I, their auntie, was giving them something that is 100% natural. ❤
How is Baby Italicana?
This little globe trotter is doing well! She’s 29 weeks old and we’re already in the 3rd trimester! She has become a little ninja in my belly and is kicking all the time (the most incredible feeling ever). She loves her daddy and responds with kicks and high fives when Mr. Italicano taps three times on my tummy (I think he’ll soon start teaching her morse code. Hah!). We love celebrating life moments with her. For my and Mr. Italicano’s 4th wedding anniversary we took her to a Seattle Seahawks game…
…and spent a night at Sleep Lady Mountain Resort in Leavenworth where we got married.
We took her on the outdoor stage where we said our vows, to a beautiful rock overlook where with views of the river and mountains and strolled through the rest of that magical place describing to her all of the special memories of that unforgettable day. ❤
These mini farro tarts are the perfect recipe to make for your family. Fill them with homemade lemon curd, jam or yogurt and top them with berries for a healthy breakfast, dessert or after school snack.
⅔ cup (150 g) cold butter, cut into cubes + more to butter pans
Zest from 1 organic lemon
⅓ cup (75 g) turbinado sugar
1 large organic egg + 1 egg yolk
For the filling:
Greek yogurt, lemon curd, homemade jam (etc)
Fresh berries
Instructions
Preheat the oven to 350°F (180°C).
In the bowl of a stand mixer equipped with the paddle attachment, add the flour, baking powder, salt and butter. Mix on medium speed for 1-2 minutes.
Add the lemon zest, turbinado sugar and eggs. Combine until the dough comes together as a ball. Flatten the dough into a disc, wrap with plastic wrap and place in the refrigerator for 30 minutes.
Butter fifteen 4-inch tart pans with removable bottoms. Divide the dough into 15 pieces. Push each piece of dough into the tart pan until the dough evenly covers the bottom and sides. Pierce the bottom of the dough with a fork many times. (If you have fewer tart pans, you can take turns baking. In this case, keep the dough in the refrigerator until ready to use. You can also use this recipe to make the crust for an 11-inch (28cm) pan crostata. If so, follow the recipe in that link for tips on how to roll out the dough and fill the crostata.)
Bake the mini farro tarts for 22-24 minutes or until the crust is golden brown.
Add your filling of choice (Greek yogurt, lemon curd, homemade jam etc) and top with fresh berries. Enjoy!
3.4.3177
In this post, there are affiliate links and links to the companies I work with. These collaborations allow me to work full time on this blog. I am very selective in my choices of collaborations and products that might be of value to those who follow me. Thank you for your support. ❤
Hey friends! Thank you so much for your comments, emails and messages to my and Mr. Italicano’s baby announcement last week! We are over the moon about becoming parents and starting this new beautiful, challenging and rewarding adventure. First let’s talk about this amazing beet hummus recipe that has been rocking my world lately, and for those of you who aren’t interested in all the intimate pregnancy details you can then skip to the written recipe below {I definitely don’t want to bore you!} For all of you who want the in’s and out’s about my growing belly and Baby Italicano/a’s first sailing adventure last weekend, you’ll find that in the second part of the post. ❤
Video Recipe
This video was made in collaboration with Smeg. I created the recipe, photos and video—which you can also find on their website along with many other delicious homemade recipes. The writing and opinions are my own.
2. I’m able to benefit from all the health benefits of beets like cancer fighting antioxidants, anti-aging properties and boosting my stamina (which is great because I find with the summer heat and being pregnant even climbing stairs make me tired!)
3. I can whip up a vegetarian, gluten-free,vegan-friendly,dairy-free appetizer in a matter of minutes to serve at dinner parties and please a large group of friends who have different eating restrictions. Plus, appetizer boards are one of the prettiest things ever! Just be sure if you have gluten free friends, divide the hummus into two bowls and keep one for the veggies and on another board put the bread/crackers to avoid someone dipping their cracker inside and contaminating the spread. Little chalkboard signs are also a good idea as a little reminder.
Ready to try this delicious beet hummus? Scroll down to the recipe.
Now onto baby news….❤
17 Week Pregnancy Update
How Big is Baby Italicano/a?
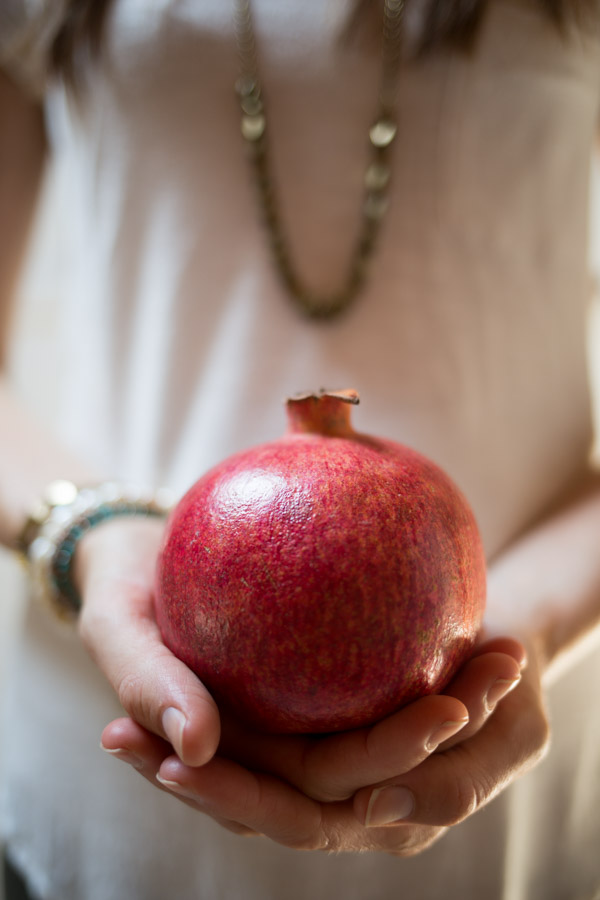
Baby Italicano/a is the size of a pomegranate!
It seems so surreal to have a baby this size in my belly. I still can’t feel this little pomegranate, but I had a doctor’s visit and my obstetrician said I would start to feel baby’s first movements in about three weeks. I can’t wait! Although, if he/she is anything like me when I was little, my tummy is going to get some wild kicks. When I was a kid none of my friends wanted to sleep in the same bed as me, I was an active sleeper and usually kicked them before the night was through. Luckily for Mr. Italicano, I’ve become a calmer sleeper and he doesn’t get any rude awakenings (unless constantly stealing the covers and hogging the entire bed count? Oh, how he supports me. ❤ )
How Big is Mamma?
So, I was really quite lazy the first 4 months about taking photos. I only took one about a month after I found out I was pregnant. Here it is:
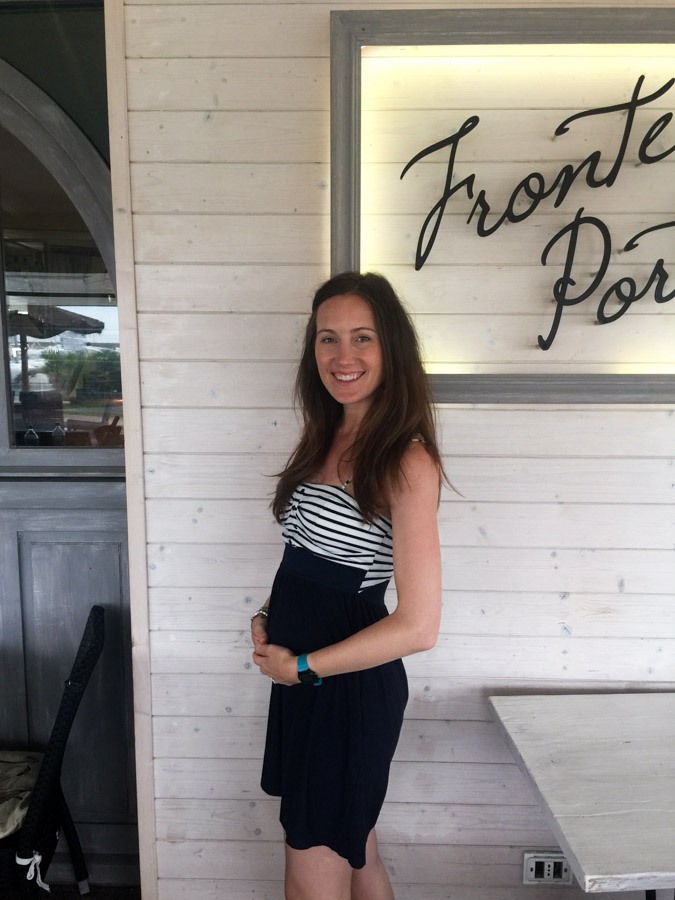
Now that I’m seeing differences weekly, I want to document my expanding belly! Here’s me at 16 weeks.
And, yesterday, at the start of 17 weeks.
This is the last week of 4 months and next week I’m be officially starting five months! Nine months is a long time, but man is it flying by!!
Baby Italicano/a’s First Sailing Adventure
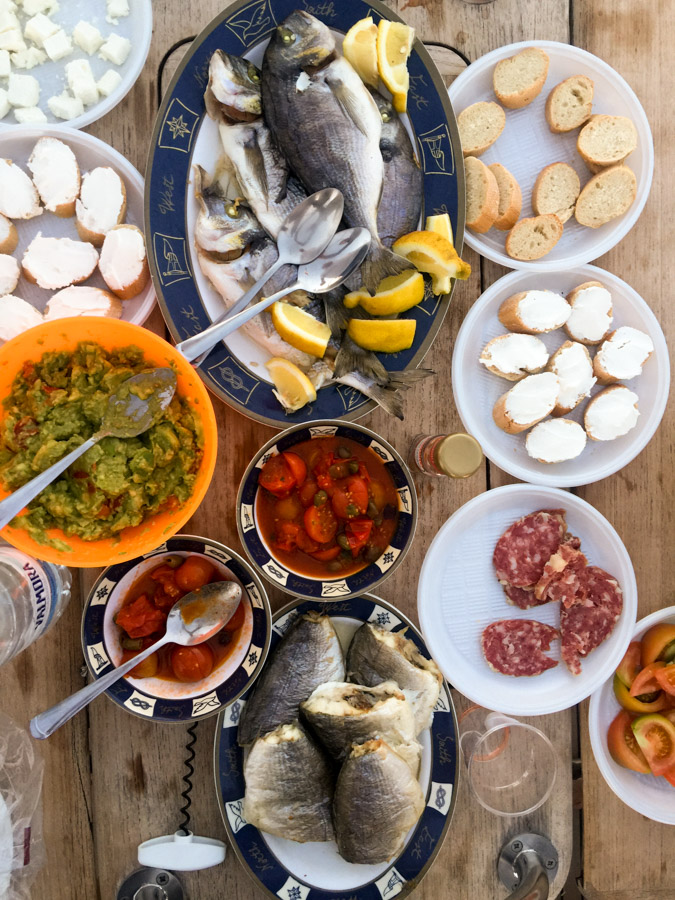
Every since Mr. Italicano got his sailing license two years ago, we’ve been taking every chance we can get to explore the Mediterranean Sea. We’ve been to Greek Islands and various coastal ports, towns and islands in Italy. This past weekend we went sailing around Elba Islandwhere we recently unplugged for a truly relaxing weekend.
So, you would think that I would be ecstatic about this weekend sailing getaway! I mean, if there is some kind of outdoor activity and new location involved, I am in heaven. I consider myself an adventure-seeking soul and love exploring new places and countries. In 2008, I even took a 10 month around-the-world trip, backpacking to over 13 countries while sharing my journey and experiences on a travel blog. From riding elephants in the jungles in Asia to hiking the Himalayas in India, I pushed myself to live life at full momentum and without fear.
Yet, as I stood on the dock looking at the passerella, or gangplank, that separated myself from the boat and solid land, a million fears popped in my head as I watched a friend cross the wobbly wooden board in front of me. What if I lose my balance and fall in the water? Or worse, what if I slip and fall on the slippery boat floor when we start to sail and…*gulp*… I lose my baby?
Fear.
Lot’s of it.
Rushed through every cell in my body.
I’ve already taken on the responsibilities of becoming a mom in the past 4 months as I’ve made many sacrifices for my sweet pea on what I eat and drink. I’m extremely, and at times excessively, strict. Yet, this is the first time I’ve ever felt the panic-mode that I’m sure most parents experience when they realize how many dangers there are in the world and all they want to do is keep their child safe.
As I watched others climb aboard, I took a deep breath and let logic take over. Nothing in this world is ever “safe”, the worst can always happen. On the contrary, the “best” can happen too, like enjoying a relaxing weekend with friends, cuddling with Mr. Italicano under the stars, feeling the wind on my face, letting Baby Italicano/a be kissed by the sun and cooled by the salty sea.
I don’t want to miss out on life’s beautiful moments because I’m afraid something bad will happen, yet, I can’t be reckless either. There is a little human growing in my body that I need to take care of and protect. So I gave my self some rules.
How to Sail Safely in Your Second Trimester
1. Let people help. Instead of being the independent-do-it-all that I normally am. Before I walked across that wobbly wooden plank, I passed my heavy bags to my friend Sara, and then took her hand as she helped me across. I felt like a little old lady, but that’s fine. 🙂
2. Minimize movements around the boat. I would find myself a comfy spot and stay there, especially when the boat was in movement. If I absolutely had to move around I made sure that I always had a tight grip on something in case the boat jerked unexpectedly.
3. Act like a pregnant lady. Use your get-out-of-work pregnancy card. At first, I felt guilty not being the proactive helper on the boat when there was something to do. It’s not that I didn’t do anything, but I limited activities when the boat was anchored or when we were in port, like cooking or washing dishes. As for helping with setting sail and mooring I simply let others do it so I wouldn’t risk rushing up and down the boat and potentially falling.
In the end, pushing the fear aside and taking extra precautions allowed mamma and Baby Italicano/a to have a good time.❤Oh, and my favorite part? The hammock on the sail boat! What a genius idea.❤
Where is Baby Italicano/a off to next? Today we’ll leave again for Tuscany, but this time for the hillsides where we’ll meet our client Poggio del Farroto have him taste some products I’m developing for his company that will appear soon on supermarket shelves (umm, how exciting!!) and to see the farro harvest firsthand. I’ll be posting videos and photos on Facebook andInstagramor you can check back next Thursday here for the highlights on the blog.
Hope you all are enjoying your summer. Hugs from Mrs. Italicana, Mr. Italicano and Baby Italicano/a! ❤
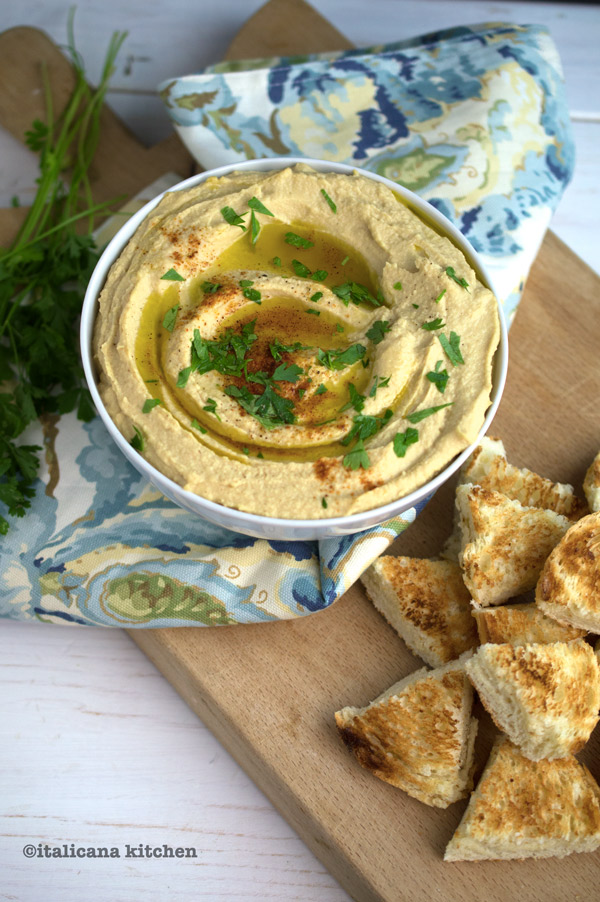
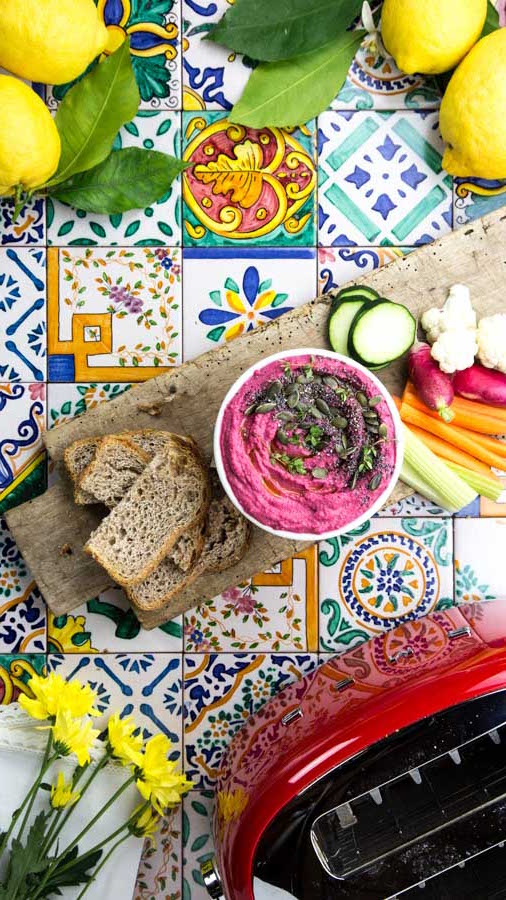
This beet hummus is the perfect vegetarian, gluten-free, vegan-friendly, dairy-free appetizer that you can whip up in a matter of minutes to serve at dinner parties and please a large group of friends who have different eating restrictions. Put a spin on the classic hummus dish by adding color, flavor and healthy beet nutrients.
Serves: 6-8
Ingredients
For the hummus:
½ cup water
3 tablespoons extra virgin olive oil
3 tablespoons lemon juice
1 tablespoon tahini
⅛ teaspoon salt
1 clove garlic
1 small cooked beet (100g)
1½ cups (260g) cooked chickpeas
For the toppings:
Extra virgin olive oil
Poppy seeds
Chia seeds
Pumpkin seeds
Thyme
Bread and/or Crackers
Raw vegetables
Instructions
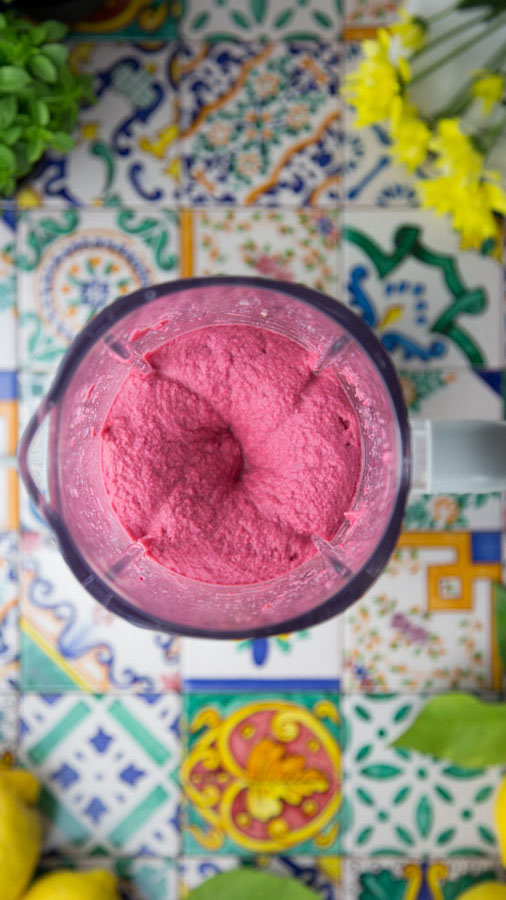
Put all ingredients for the hummus in the blender in the order given. Blend until smooth, adding more water or lemon juice if needed to arrive at your desired consistency.
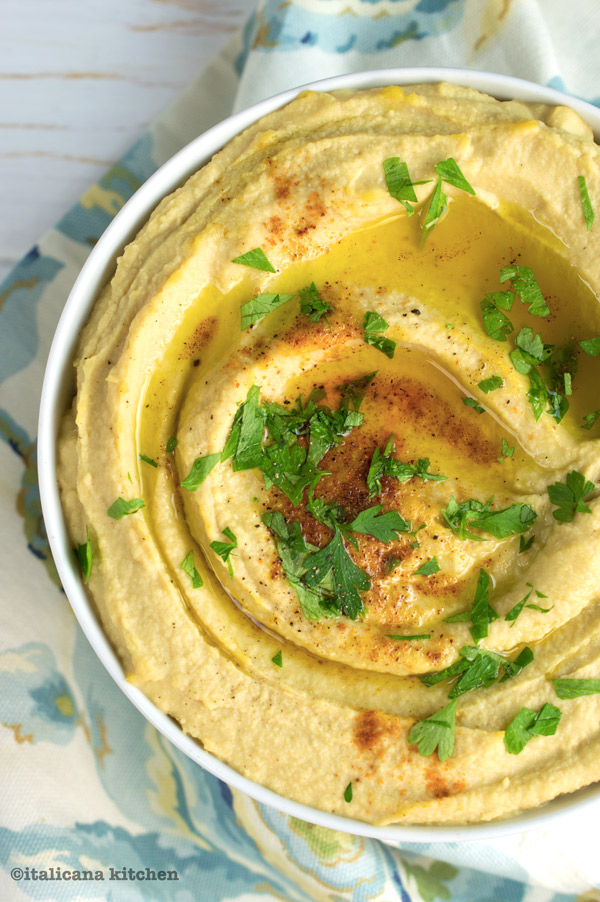
Scrape the hummus into a bowl, use a spoon to make a swirl on top and drizzle with extra virgin olive oil. Sprinkle with poppy seeds, chia seeds, pumpkin seeds and thyme. Serve with toasted bread, crackers and/or raw vegetables. Enjoy!
Notes
If you have gluten free friends, divide the hummus into two bowls and keep one for the veggies and on another board put the bread/crackers to avoid someone dipping their cracker inside and contaminating the spread. Little chalkboard signs are a good idea as a little reminder.
And, cheers to video recipes that show you how to make these fluffy little gems in just 47 seconds. Life just got good. 🙂 Ok, well, this video is in Italian so you may have to put your student cap on for a minute but don’t fear, the English instructions and measurements are below!
This post is sponsored by Poggio del Farro. I created the recipe, photos and video—which you can also find on their website along with many other delicious farro recipes. The writing and opinions are my own.
The great thing about pancakes is that you can make them in a variety of ways: craving a savory version, just try these zucchini pancakes with basil pesto or this version with arugula, gorgonzola, pear and walnuts.Not only are these great for brunch, but they also are a fun appetizer to be eaten in their original size or you can make them mini for to serve during a buffet. Not to be missed from the pancake line up is a simple and classic whole wheat pancake recipe as well as this specialstrawberry and blueberry pancake cake. Yes, I did. I made a cake with pancakes. It’s seriously so good. 🙂 The latest addition to my pancake craze are these delicious farro pancakes. I’ve been creating numerous farro recipes lately (just search “farro”on my blog). Once discovering the many nutritional benefits of this Italian ancient grain and how easy it is to replace refined white flours, I was sold. It also has a delicious nutty taste that I adore. Check for being healthy, check for being easy and check for being delicious. I really like Poggio del Farro’s organic farro flour for this recipe. They are just now breaking into the U.S. market. Watch out for them on store shelves.
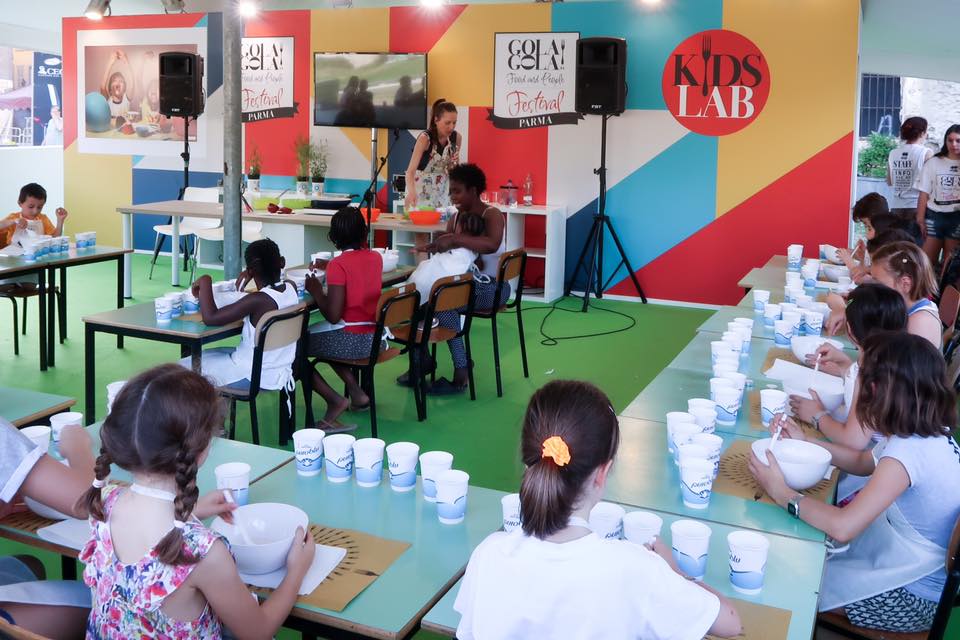
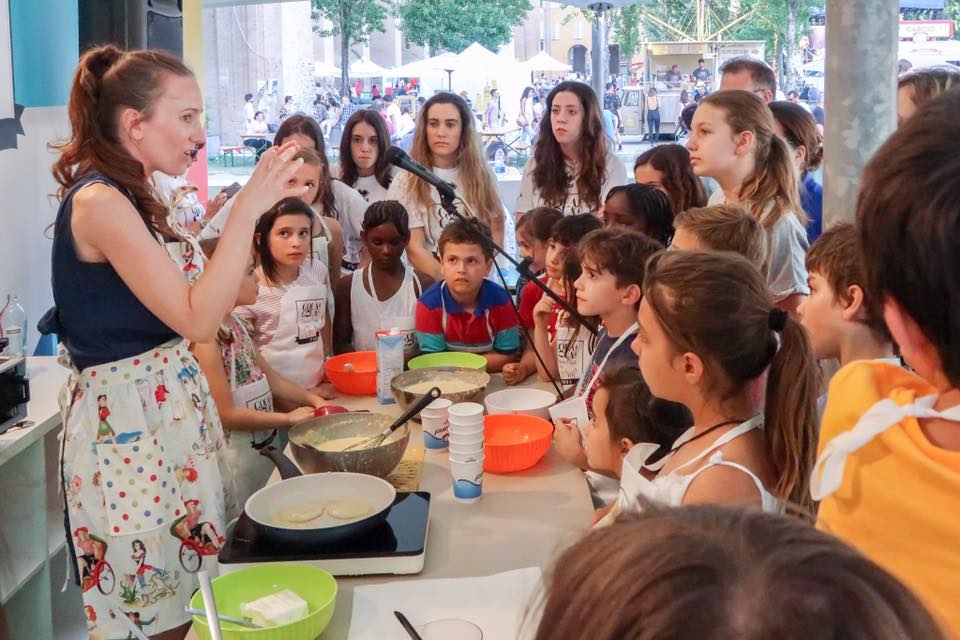
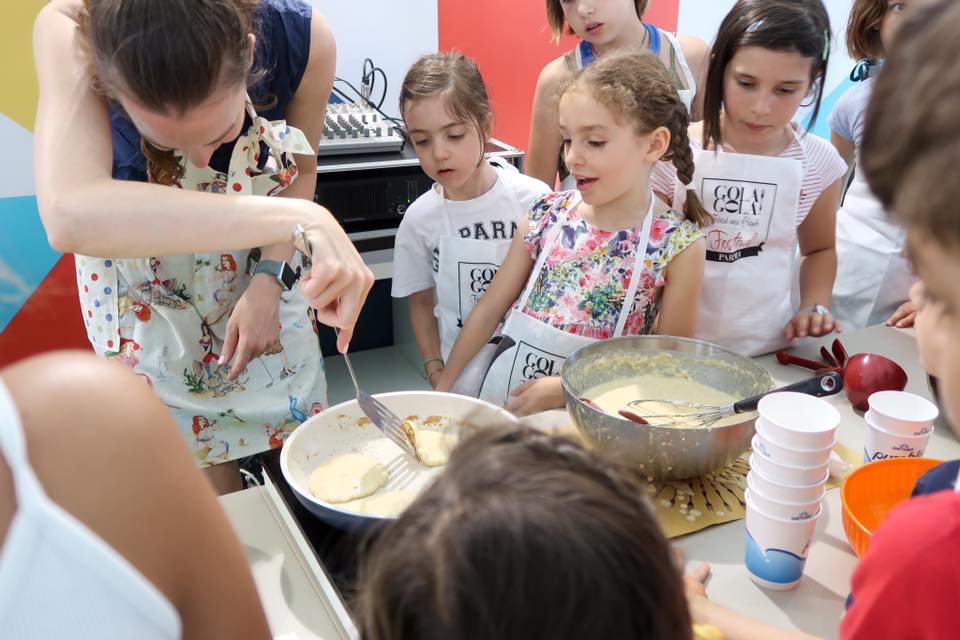
Speaking of pancakes, I recently held a pancake cooking class for kids in Parma, Italy at the Gola Gola Food Festival. Most of them had never eaten a pancake before. I loved how curious and excited they were to learn how to cook. It’s so satisfying to see kids at such a young age get interested in making their own food. I hope that this interest for healthy homemade cooking increases for kids as well as their parents. I hope that through this blog and cooking classes that I can make a difference towards forming good eating habits. ❤️ Here’s to hope for a healthier generation in the future and in the present!
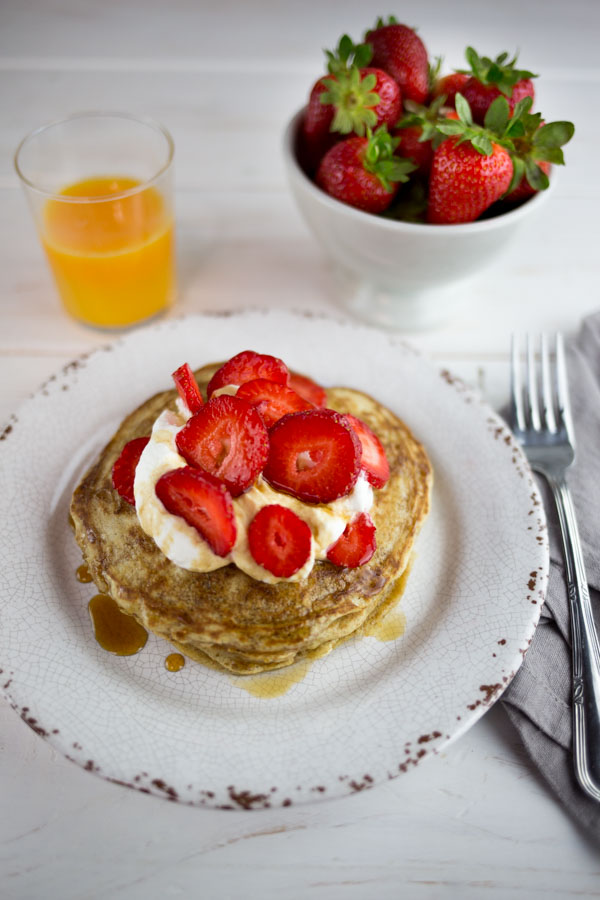
Farro Pancakes with Whipped Cream, Strawberries and Maple Syrup
These farro pancakes with homemade whipped cream, strawberries and natural maple syrup are a great alternative to refined white flour pancakes. You'll love their slightly nutty taste!
Serves: 8 pancakes
Ingredients
¾ cup (175ml) milk (cow or soy)
1 tablespoon apple cider vinegar (or white vinegar or lemon juice)
1 cup (125g) Poggio del Farro Organic Farro (emmer) Flour
2 teaspoons (8g) sugar (white or raw cane sugar)
1 teaspoon (4g) baking powder
½ teaspoon (3g) baking soda
½ teaspoon (3g) salt
1 organic egg
2 tablespoons melted butter or coconut oil
Butter or coconut oil for greasing the pan, as needed
Homemade whipped cream
Strawberries, sliced
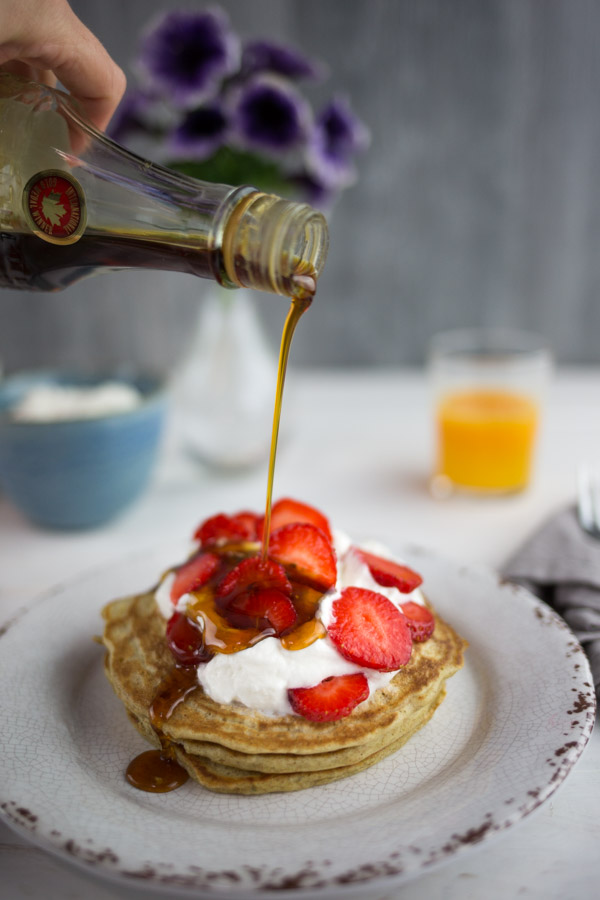
Pure maple syrup
Instructions
Stir the milk and apple cider vinegar together in a small bowl and set aside.
In a medium bowl whisk together: organic emmer flour, sugar, baking powder, baking soda and salt.
In a separate medium bowl whisk together: egg, melted butter and milk/apple cider mixture.
Pour the wet ingredients into the dry ingredients and whisk until combined.
Brush a large nonstick skillet with butter or coconut oil and heat over medium heat.
Add ¼ cup of the pancake mixture to the pan and cook until bubbles form on the top and the bottom is golden; about 2-3 minutes. Flip and cook until golden on the bottom, about 1-2 more minutes. Repeat. (Depending on your size pan you can also cook more than one at a time.)
Serve with homemade whipped cream, strawberries and pure maple syrup.
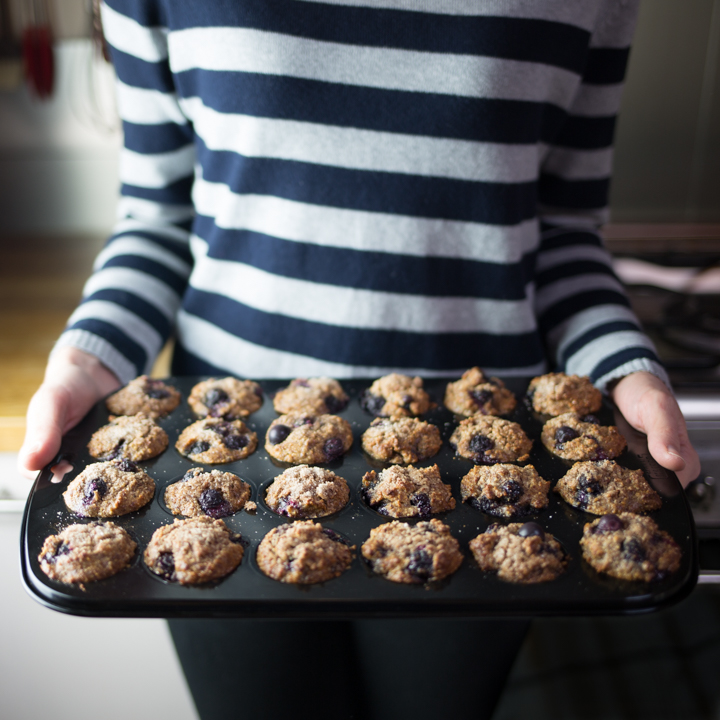
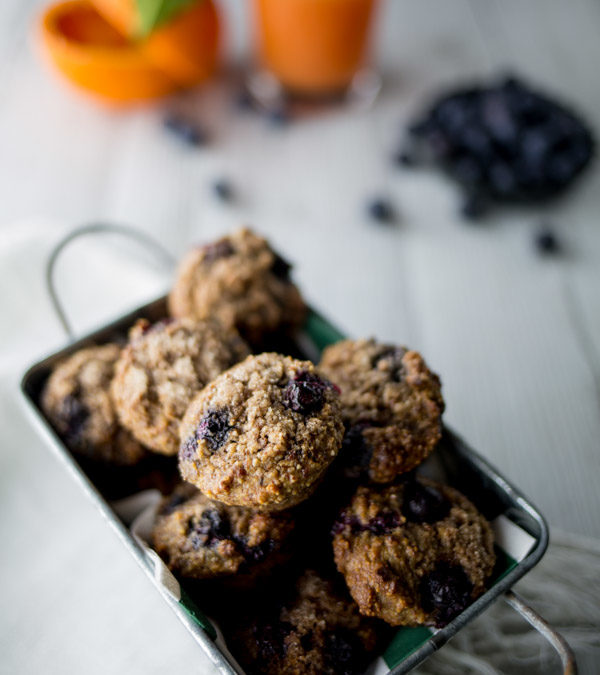
Yes! Gluten-free mini blueberry muffins that actually taste amazing!
Guys, you are going to love these. Whether or not you follow a gluten-free diet or you just want to mix up your diet with other healthy flour substitutes, these gluten-free mini blueberry muffins are so delicious that you will be too busy having a second one to even think about “normal” muffins.
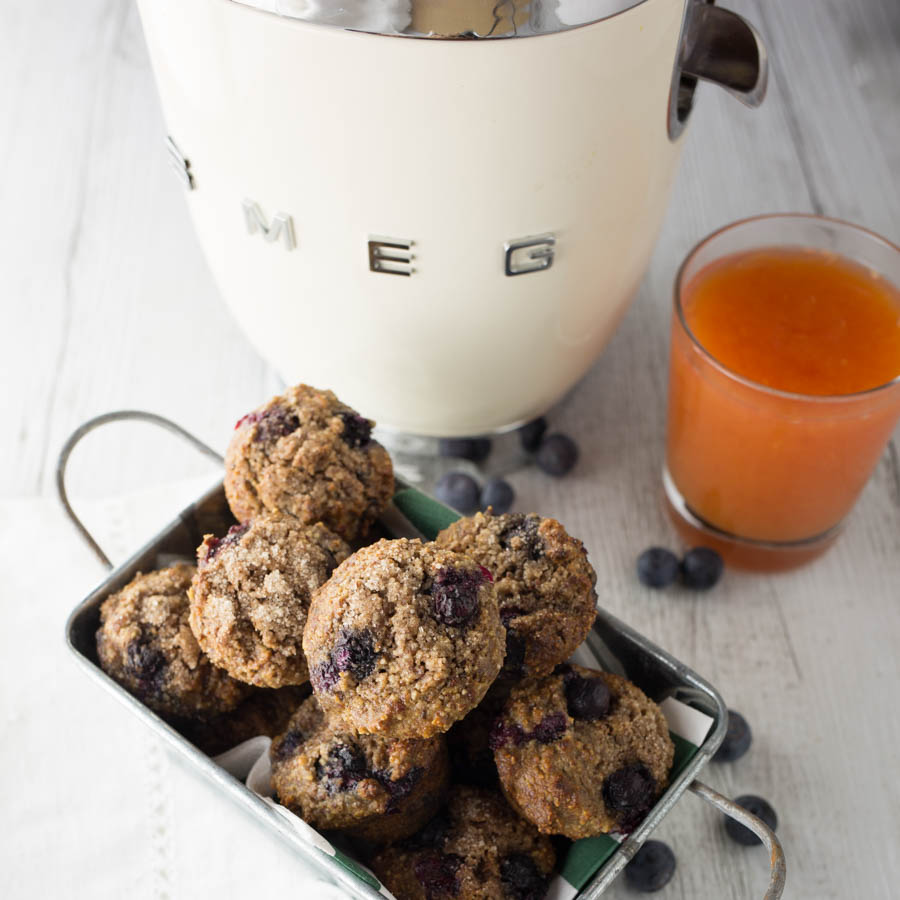
What I love about these muffins is that they are made with almond meal (just throw raw almonds in your blender or food processor and blend until it because a crumbly flour.) Almonds— and all nuts in general—are one of my favorite go-to snacks. Why? Just a handful of almonds give me a boost of energy throughout the day and they are full of healthy fats, fiber, protein and all sorts of other nutritional benefits. I always bring them with me when I go hiking or on road trips. And, I love topping almonds in mysalads or making almond butter to swirl in my smoothie orgrain bowls.
When I was a kid, my mom always had a wooden bowl full of nuts. Not the already shelled kind that I usually have in my cupboards, but a bowlful of almonds, walnuts, hazelnuts and Brazilian nuts to actually crack. Surely you’ve seen the shells of walnuts, but have you ever seen the shell of an almond? With its tan oval shape and tiny little holes, it looks like its made out of cork. Or, how about a hazelnut shell? It looks like an acorn missing its little top. Then there is the peculiar Brazilian nut shell with its brown rugged surface that seems like a chunkof washed up wood that you’d find at the beach. All so distinctive and unique, all so delicious too.
These gluten-free mini blueberry muffins are made with almond meal and are a great breakfast or snack filled with a good source of protein and fiber.
Serves: 24 mini muffins
Ingredients
3 cups (330g) cups almond meal
¼ (1g) tsp salt
½ tsp (3g) baking soda
1 tsp (2g) cinnamon
1 tablespoon (12g) chia seeds
2 tbsp (45g) honey
¼ cup (50g) melted coconut oil
½ cup almond milk
3 organic eggs
1 cup (150g) fresh blueberries
2 tablespoons raw cane sugar
¼ teaspoon cinnamon
Instructions
Preheat the oven to 350°F (175°C). Butter or spray a mini muffin pan.
In the bowl of a stand mixer equipped with the whisk attachment, add the following: almond meal, salt, baking soda, cinnamon and chia seeds. Mix on speed 4 for 10 seconds.
In a separate bowl mix together: honey, coconut oil, almond milk and eggs.
Add the wet ingredients to the bowl of the stand mixer and whisk on speed 4 until just combined, about 10 seconds. Remove the bowl from the stand mixer and stir in the blueberries with a spatula.
In a small bowl, mix together the raw cane sugar and cinnamon.
Fill the greased muffin cups until full. Sprinkle with the cinnamon sugar mixture.
Bake for 12-14 minutes or until a toothpick inserted into the center comes out clean.
Store in an air tight container for up to 5 days or freeze in an airtight container for up to 2-3 months.
I absolutely adore hummus. It’s one of my favorite go-to recipes when I entertain guests as it’s the perfect appetizer for everyone: vegans, vegetarians, non vegetarians, lactose intolerant, gluten-free.
I also love having it in my fridge for a healthy snack or to garnish my dishes to instantly add a good source of vegetable protein :: proteina vegetale and fiber. In short, hummus rocks.
The word hummus is an Arabic word meaning “chickpea.”Do you know how to pronounce “chickpea” in Italian?Test your knowlege or learn a new word by watching this short video: CONTINUATE A LEGGERE
 Sorry for dropping off the map! Mr. Italicano, Baby Italicana and I spent over a month in the USA visiting my family ❤ and I did cooking classes and demos around Seattle, Portland and in Virginia for Caruccio’s and Smeg USA. Now we’re back in Italy, and I’ve been aching to write a recipe post, so let me get straight to it and tell you about these amazing mini farro tarts!
  Besides being just extremely cute, these mini farro tarts were a huge hit with the participants at my kid’s cooking class at Caruccio’s, a beautiful new culinary event space in Mercer Island. In this cooking class each child made her own tart, filled it with a homemade lemon curd and topped it with fresh berries. Not a crumb remained!


 Farro also appeared in my Smeg USA cooking demonstrations at Williams-Sonoma and Nordstroms. I showed customers how to make homemade matcha farro pasta with Smeg’s 1950’s style stand mixer and pasta attachments (<—affiliate links) hence the reason I’m dressed up in 1950’s style! 🙂
 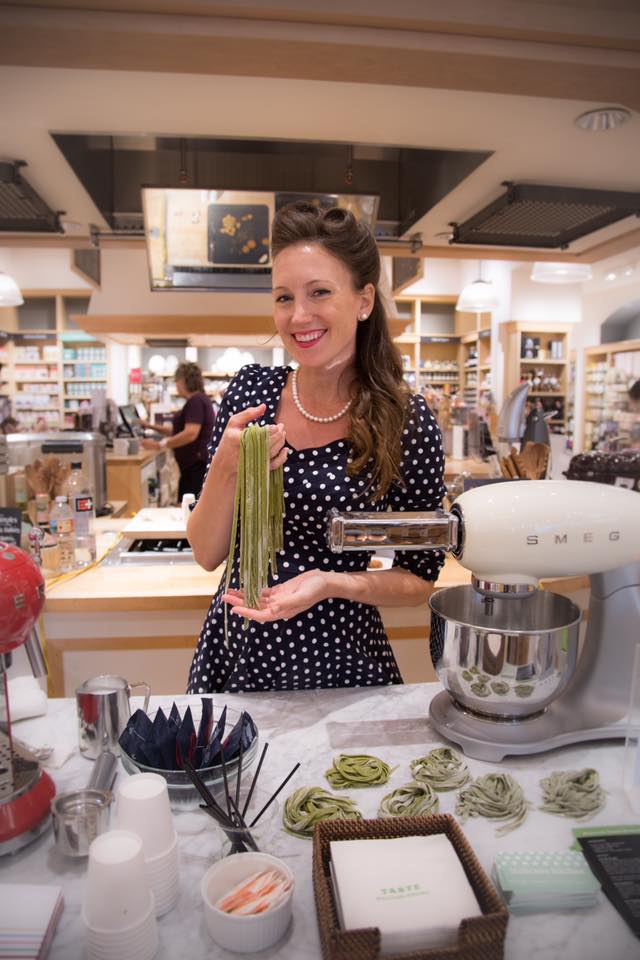 The pasta is bright in color, packed with antioxidants and I put in just the right amount of matcha to not leave any bitter taste—making it easy to pair with any sauce.At some of my demos, I also showed how to make matcha tea with Smeg’s Variable Temperature Kettle (<—affiliate link). I really enjoyed using Sugimoto America ’s delicious organic matcha culinary and ceremonial grade teas. I’m not a big tea drinker, unfortunately I often find it too bitter, but matcha tea is one that I actually like because it’s smooth and I find it less pungent.
 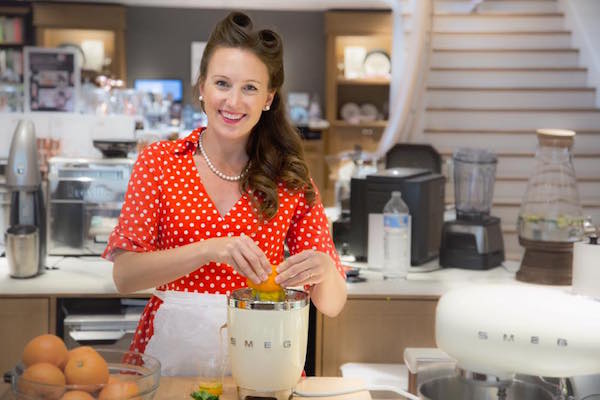 Now that I have Baby Italicana to think about, I’ve been consuming many homemade non-alcoholic drinks. Here’s the easy and delicious recipe:
  This little globe trotter is doing well! She’s 29 weeks old and we’re already in the 3rd trimester! She has become a little ninja in my belly and is kicking all the time (the most incredible feeling ever). She loves her daddy and responds with kicks and high fives when Mr. Italicano taps three times on my tummy (I think he’ll soon start teaching her morse code. Hah!). We love celebrating life moments with her. For my and Mr. Italicano’s 4th wedding anniversary we took her to a Seattle Seahawks game…
 …and spent a night at Sleep Lady Mountain Resort in Leavenworth where we got married.
 We took her on the outdoor stage where we said our vows, to a beautiful rock overlook where with views of the river and mountains and strolled through the rest of that magical place describing to her all of the special memories of that unforgettable day. ❤
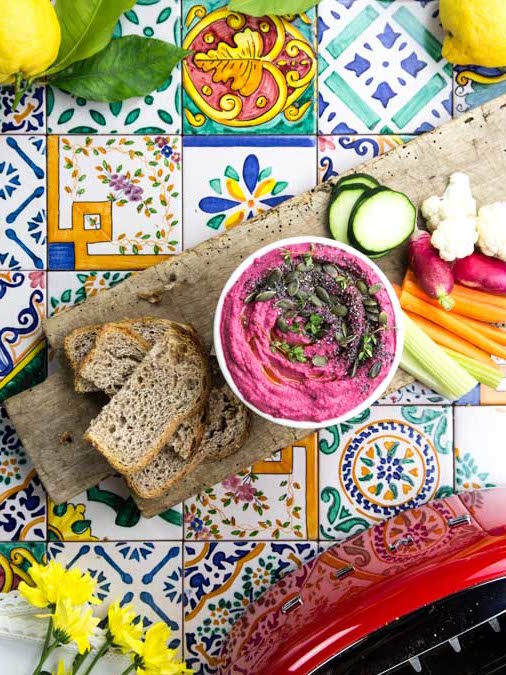
 Hey friends! Thank you so much for your comments, emails and messages to my and Mr. Italicano’s
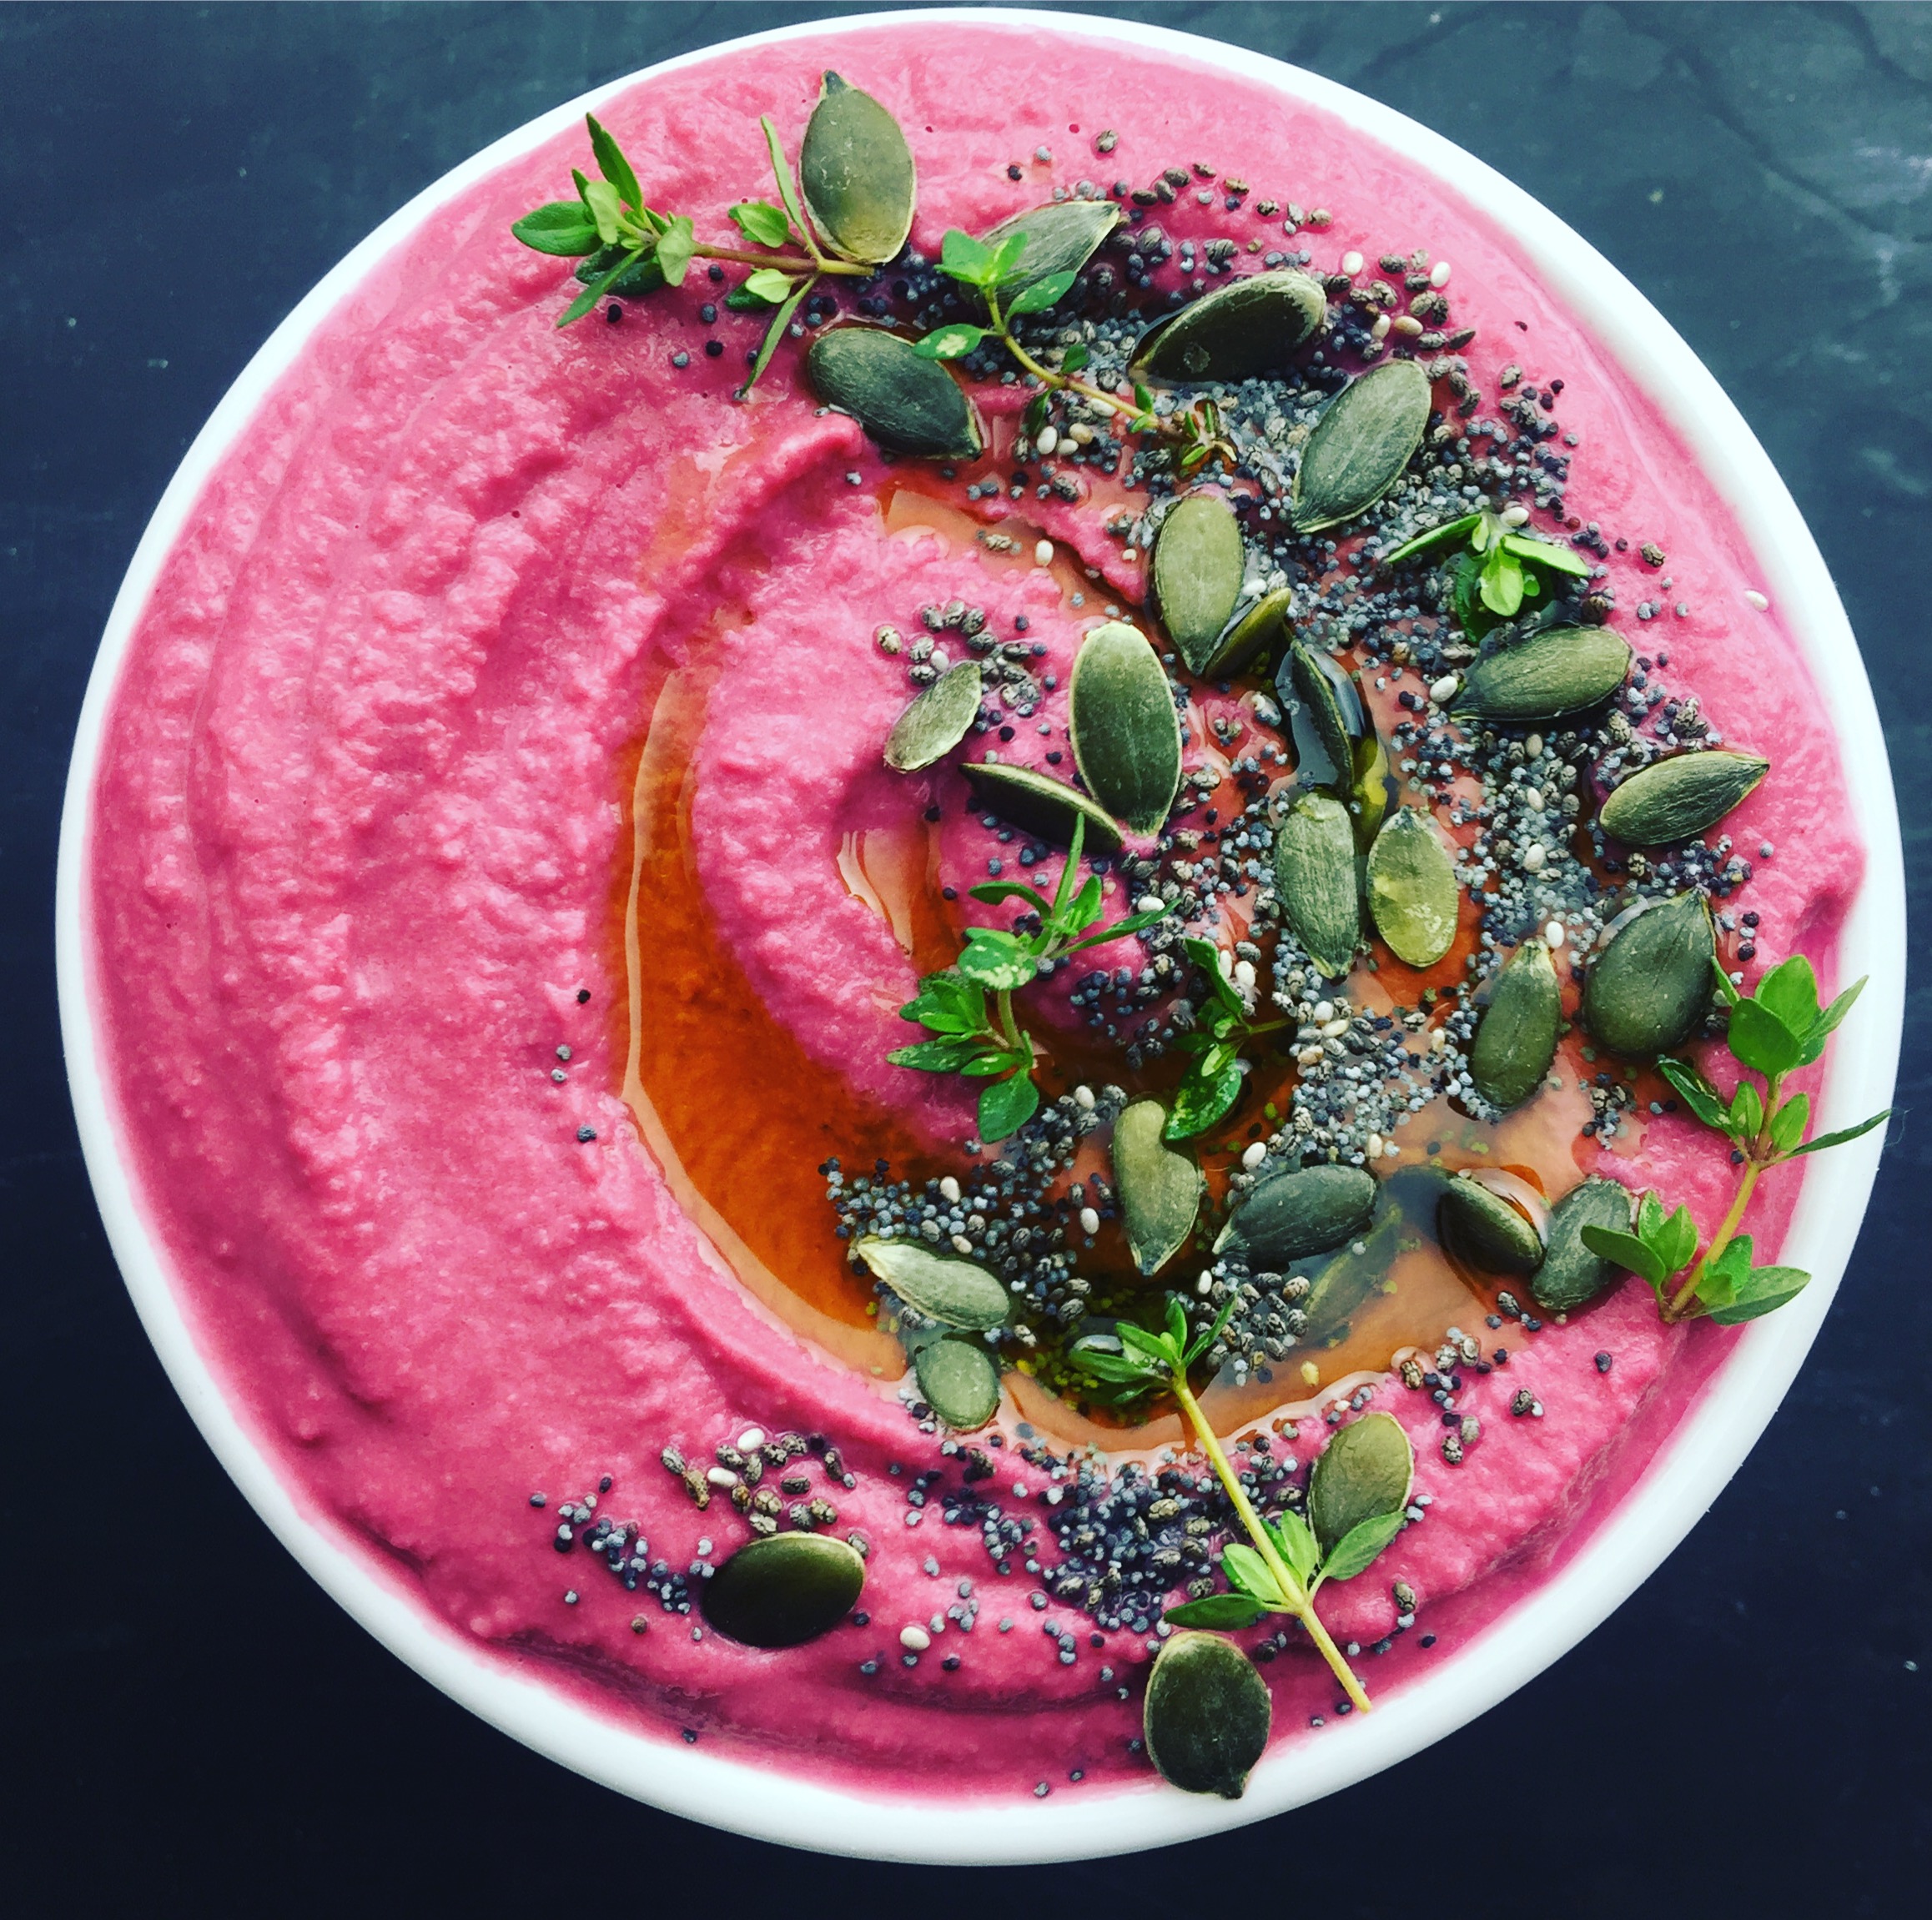


 Every since Mr. Italicano got his sailing license two years ago, we’ve been taking every chance we can get to explore the Mediterranean Sea. We’ve been to Greek Islands and various
  Yet, as I stood on the dock looking at the passerella, or gangplank, that separated myself from the boat and solid land, a million fears popped in my head as I watched a friend cross the wobbly wooden board in front of me. What if I lose my balance and fall in the water? Or worse, what if I slip and fall on the slippery boat floor when we start to sail and…*gulp*… I lose my baby?
 Where is Baby Italicano/a off to next? Today we’ll leave again for Tuscany, but this time for the hillsides where we’ll meet our client
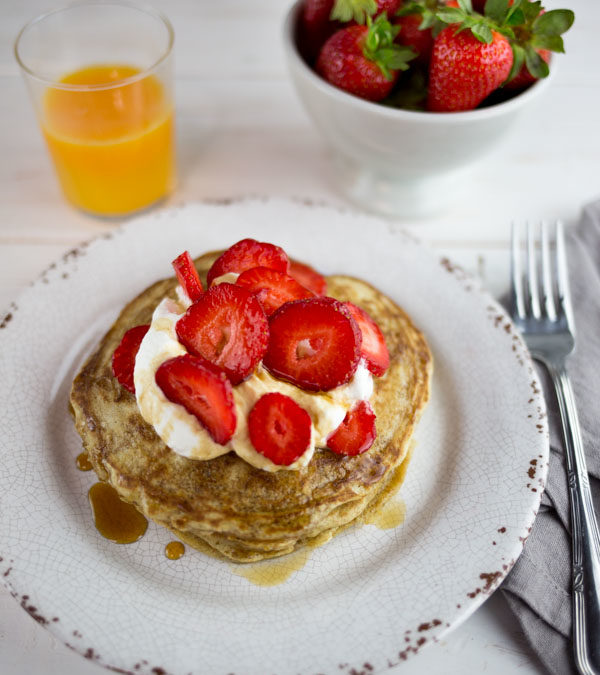

 Guys, you are going to love these. Whether or not you follow a gluten-free diet or you just want to mix up your diet with other healthy flour substitutes, these gluten-free mini blueberry muffins are so delicious that you will be too busy having a second one to even think about “normal” muffins.