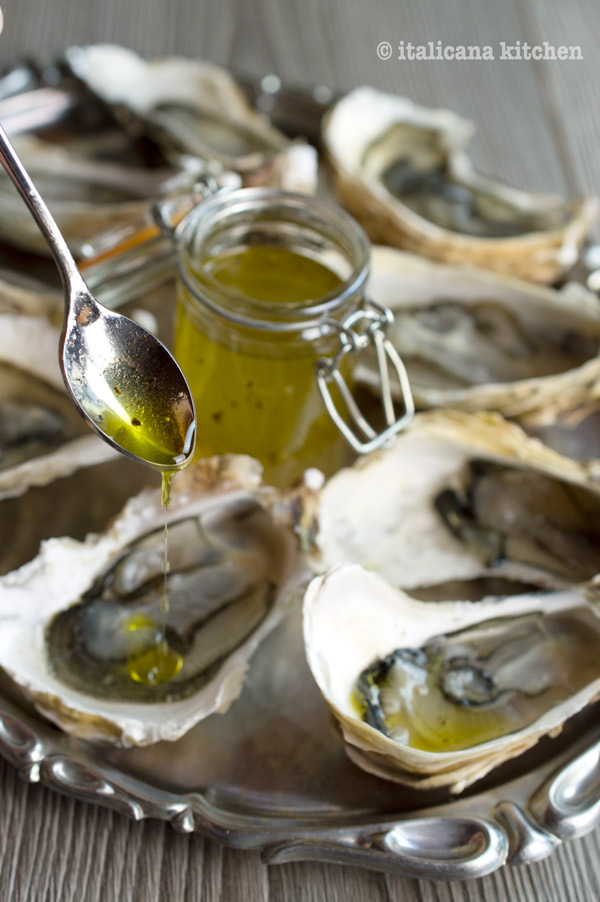
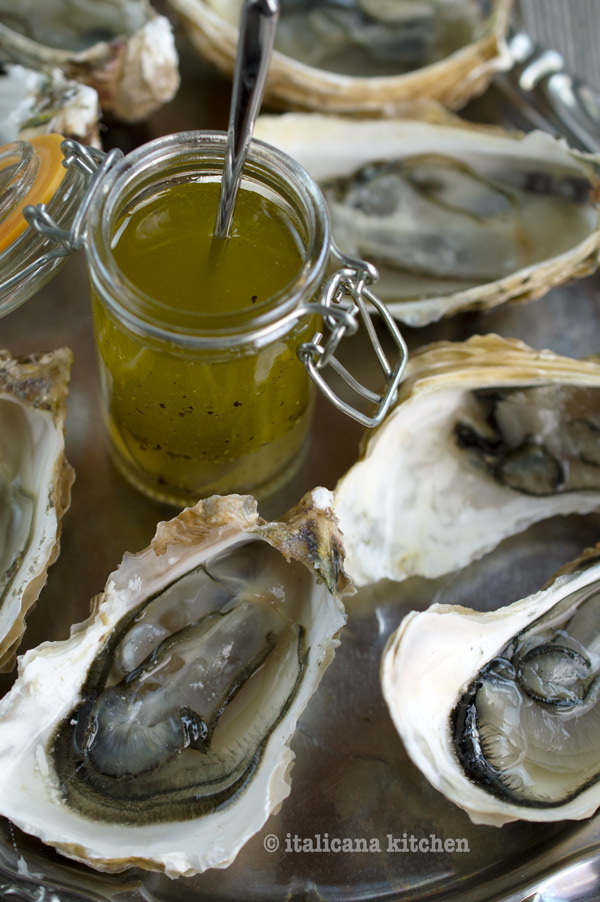
Living in Seattle, Washington, I had the advantage of finding delicious fresh raw oysters at Pikes Place Market or in the various seafood restaurants. I always ate them plain or with a squeeze of fresh lemon :: limone fresco. This time, I wanted to give them an Italian twist by serving them with a fresh vinaigrette made from good extra virgin olive oil from Liguria, a little fresh lemon I picked up in Lake Garda in the region of Trentino Alto-Adige, salt from Cervia near the Adriatic sea and black pepper.
Using this vinaigrette on seafood and vegetables is quite common in Italy. There is an appetizer called pinzimonio that is simply raw vegetables (usually fennel, carrots, radicchio, tomatoes and celery) served with the vinaigrette. In Sardinia, a common recipe is Crostacei alla Catalana :: Catalonia Crustaceans. (In the past, Sardinia was dominated by Catalonia.) It is a mix of shrimp, prawns, lobster and crab that are boiled then served with the vinaigrette and often times, pinzimonio. It is usually eaten as an appetizer or main course.
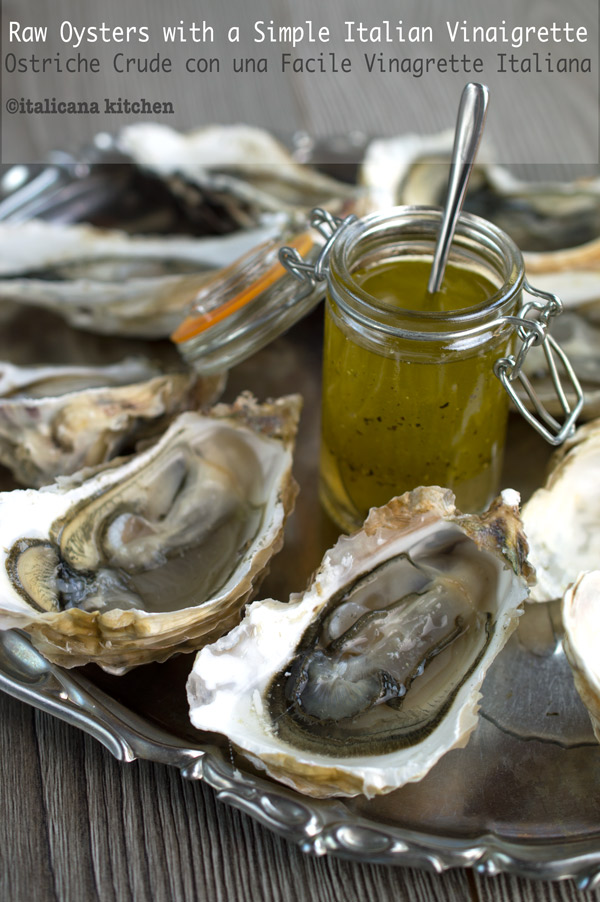
This simple Italian vinaigrette is a perfect alternative sauce for raw oysters :: ostriche crude. It is fresh with a subtle zing, a smooth finish and doesn’t cover the ocean taste of the raw oysters.
This simple Italian vinaigrette is a perfect alternative sauce for raw oysters.
Serves: 2
Ingredients
¼ cup extra virgin olive oil
1-2 pinches unrefined salt
1-2 cracks of freshly ground black pepper
1-2 squeezes of lemon
9 fresh oysters, cleaned and opened
Instructions
In a small bowl, mix together the extra virgin olive oil, unrefined salt, black pepper and lemon. Taste and adjust seasonings as needed. Serve alongside the oysters.
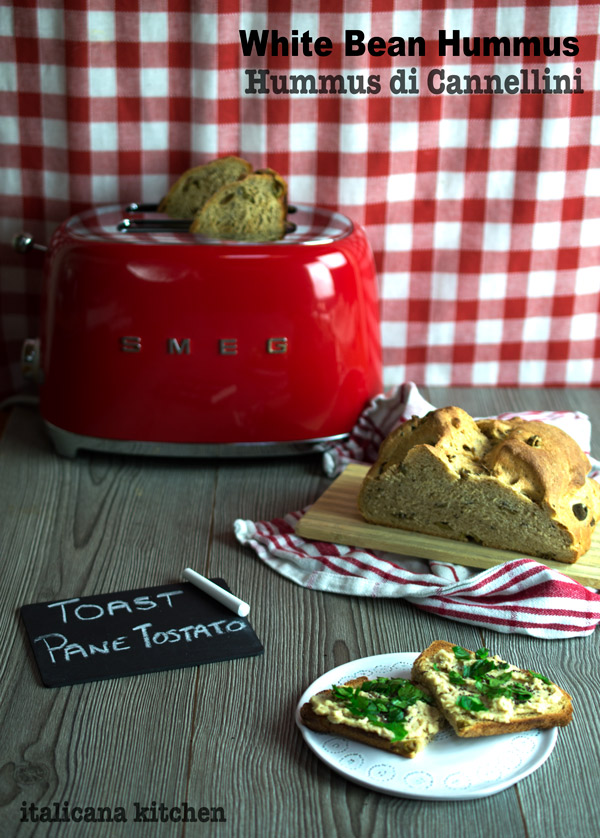
Every since I have been making homemade bread :: pane fatto in casa I have been on a dip, spread, pesto and hummus craze. Recently I’ve made a delicious thick kale pesto, roastedbeet sauce, olive hummus and last but not least, this white bean hummus—all such good options to slather on my hot freshly toasted bread.
I don’t know how I’ve been living in Italy without a toaster :: tostapane for these past six years. I usually stick the slices on a skillet or lay them on a cookie sheet and toast them in the oven, but that is a lot of extra work in the morning especially if I am in a rush and need to head out the door. And let’s be honest, I’d rather sleep those extra 10 minutes than make toast; even if it is so good with a big spoonful of all-natural peanut butter spread on top…..*Sigh.*
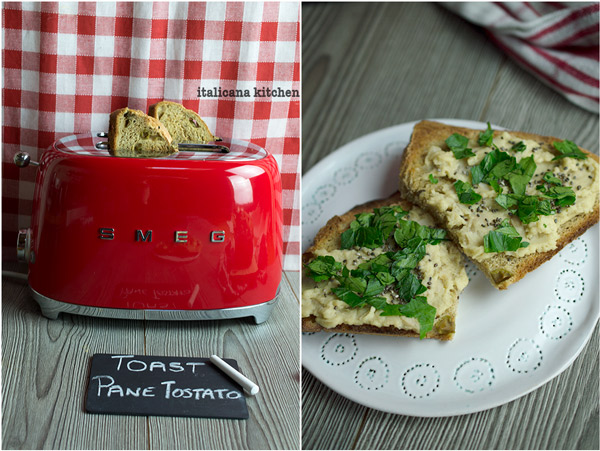
You can imagine how excited I was then when Smeg sent me a toaster from their new line of 1950’s style appliances. Why get so giddy over a toaster? 1) Because I already have a Smeg fridge and oven that I absolutely love. 2) Now I can easily and quickly eat toast in the morning and for snacks! 3) I love.love.love. the design. Who says that about a toaster? However, look at it. It’s just too cute, how could you not?
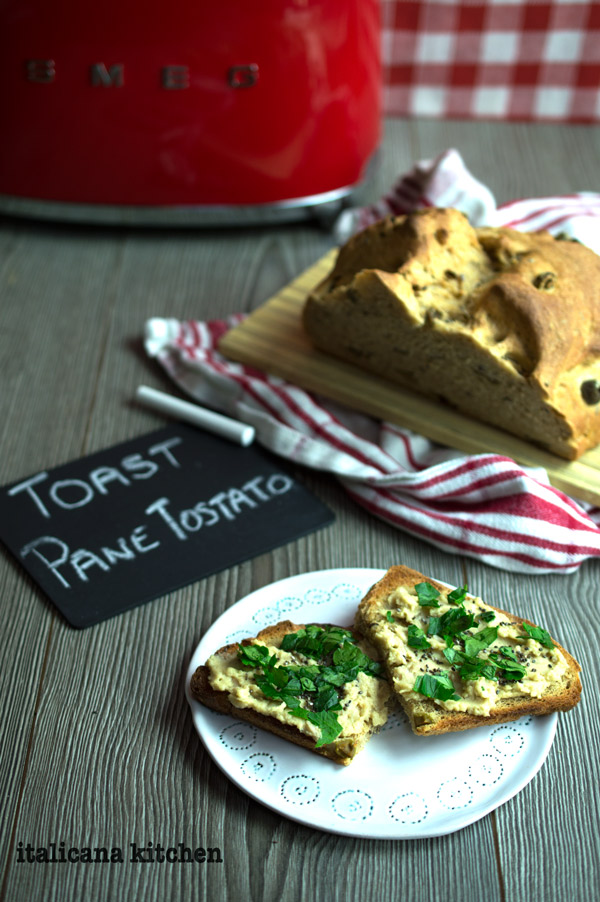
I was in the mood for ease and simplicity when I made this hummus but you can also roast your garlic :: aglio in the oven to give it a special twist. I honestly couldn’t be bothered, as you might have guessed I was a bit too excited to try out my toaster and wanted this white bean hummus pronto! 🙂
This white bean hummus can be whipped up in 5 minutes and is the perfect healthy mid-day snack or appetizer.
Serves: 2-4
Ingredients
One 14 ounce (400g) can canned cannellini, drained and rinsed
2 tablespoons extra virgin olive oil
1 teaspoon tahini
1 clove garlic
3-4 dashes paprika
2 squeezes of lemon
Instructions
Blend the cannellini beans and extra virgin olive oil in a food processor. Add the tahini, garlic, paprika and lemon. To serve, add more extra virgin olive oil and paprika on top for garnish and chopped basil or parsley if desired. Serve with crackers, pita chips or homemade toasted bread. Store the hummus in the refrigerator.
3.4.3177
Note: This post is not paid by Smeg. They were kind to send me the toaster, but I only support the companies I believe in and the products I love and would use myself.
You may have used honey, maple syrup or agave nectar to naturally sweetened your baked goods or morning bowl of yogurt, but now I will tell you about apple saba, a natural sweetener:: dolcificante naturale that many of you might never have heard of but what the Romans commonly used over two thousand years ago.
I met a lot of great artisanal producers at the Cibustradeshowa few months back. Among them was La Vecchia Dispensa, a producer of traditional balsamic vinegars and other delicious products likefruit condimentsand organic apple saba,just to name two. So, what is apple saba and how is it used? Apple saba is a thick sweet syrup made from 100% apple must. It is commonly used as a condiment drizzled over fresh cheeses :: formaggi and gelato or to naturally sweeten baked goods or pasta fillings.
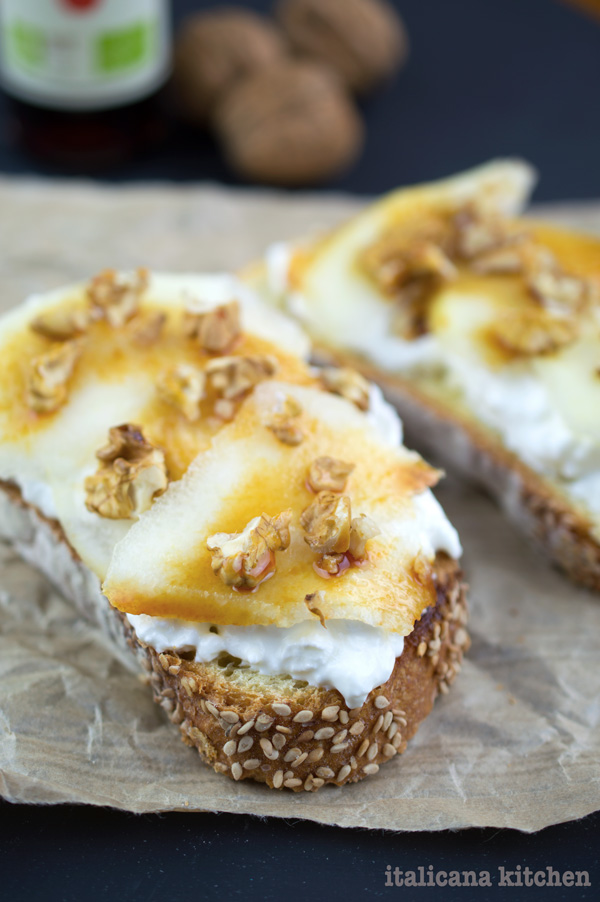
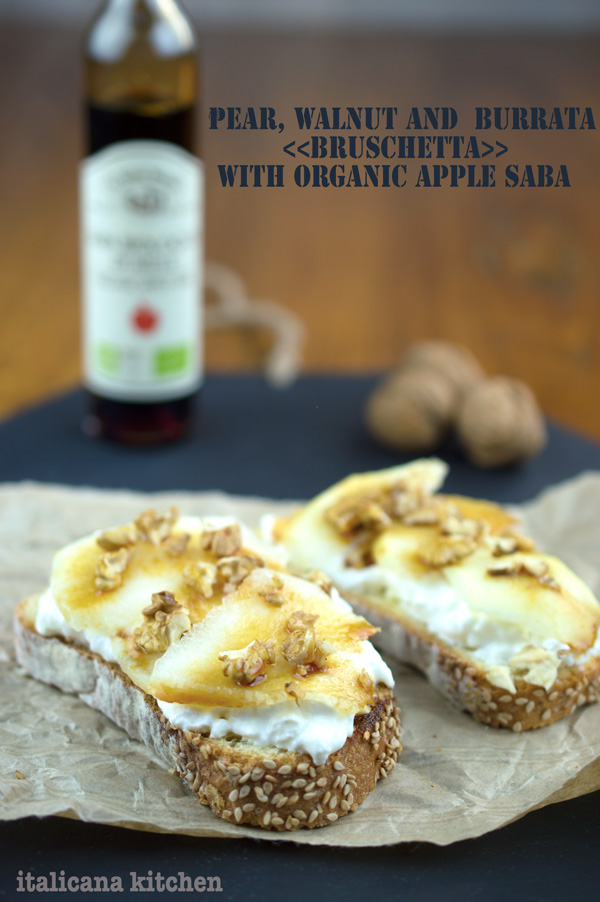
In the region of Emilia Romagna, grape saba (which is made with 100% grape must) is commonly made in-house and used to flavor ice and snow— the original and all-natural slushie or snow cone. I remember doing this as a child as well, but our version was less healthy as we would add milk, sugar and food coloring :: colorante per alimenti to the snow. I’m glad to know that a healthier version exists and can’t wait for the snow to fall to try out both grape and apple flavors :: sapori. In the meantime, I couldn’t resist inventing a recipe with this organic apple saba that La Vecchia Dispensa was so kind to send me, and therefore came up with one of my new favorite bruschetta recipes: pear, walnut and burrata bruschetta with organic apple saba.
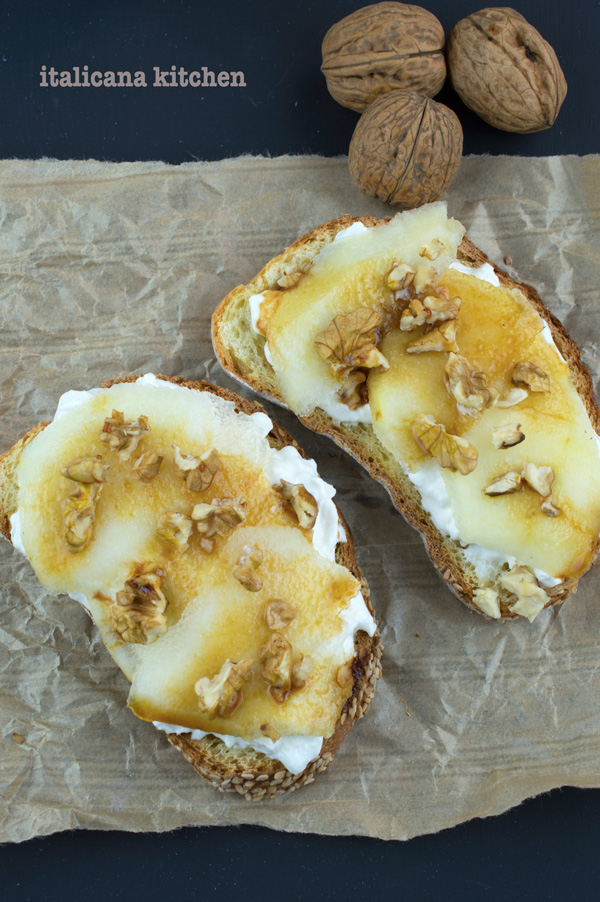
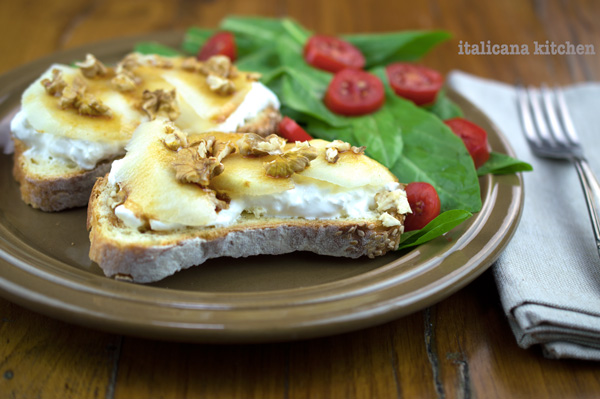
I’ve already eaten three of these bruschette today. One in the morning for breakfast to test out the recipe then two alongside a side salad for lunch after photographing them. You think I would be satiated? Not even close. As I write this, I secretly am thinking about toasting another slice of sesame Sicilian bread, piling it high with creamy burrata cheese, layering on a few thin pear slices, arranging walnuts :: noci on top so I have a piece in each bite and drizzling the whole delicious masterpiece with organic apple saba. Oh, I’m being tortured as I write this post. Resist, Mrs. Italicana, resist! For now, at least. Tomorrow, I know exactly what I will be having for lunch…and maybe even dinner. 🙂
Note: This post is not paid by La Vecchia Dispensa. I promote companies who products I like and think you will enjoy. La Vecchia Dispensa was kind to give me some samples of their high quality products to use in my recipes.
Pear, Walnut and Burrata Bruschetta with Organic Apple Saba
2 slices rustic Italian bread, toasted (I used a sesame Sicilian bread which was divine)
Instructions
Divide the following ingredients in the order given on top of the two slices of toasted bread: buratta cheese, pear slices and walnuts. Drizzle the apple saba on top and serve alone or alongside a side salad.
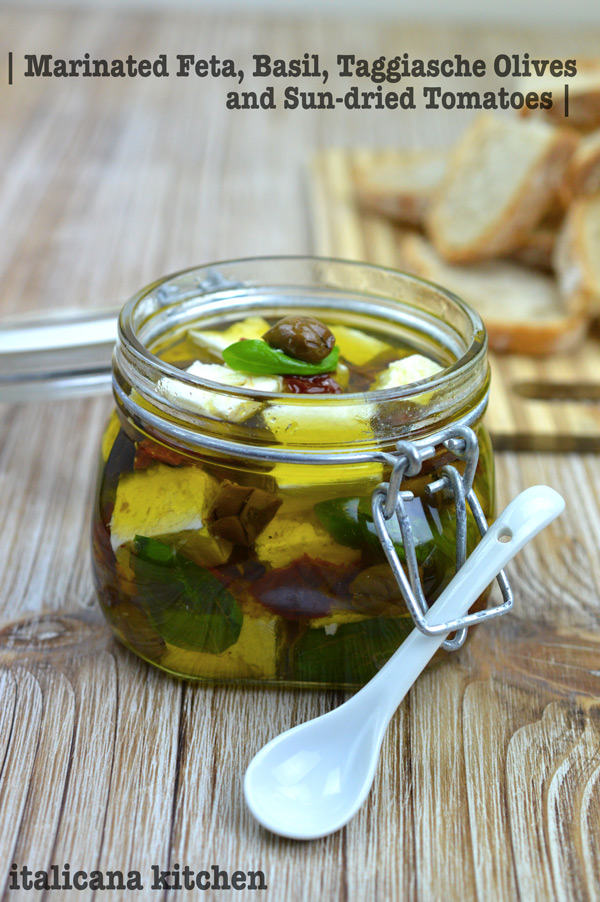
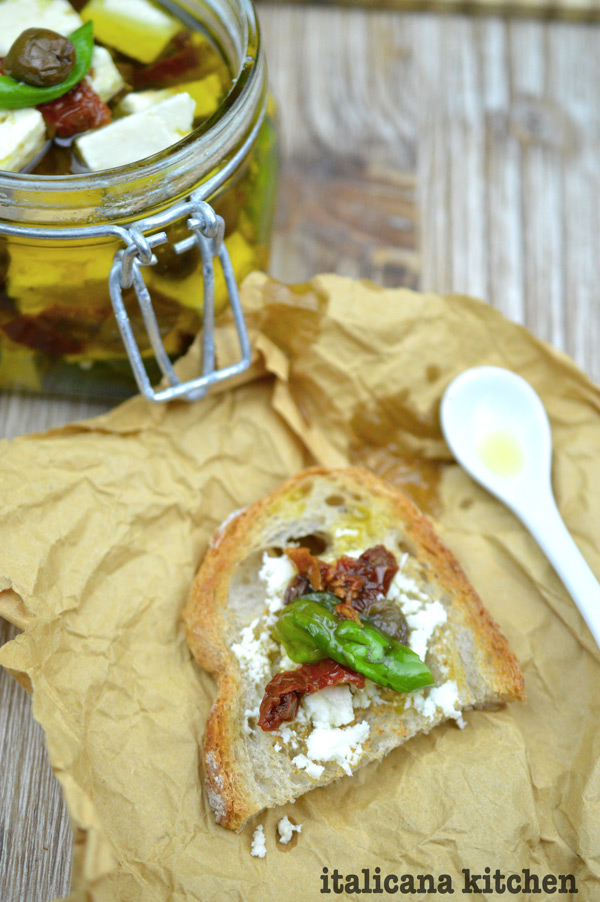
This marinated feta, basil, taggiasche olive and sun-dried tomatoes is one of the easiest appetizers ever to make and is the perfect fuss-free hor’dourve when entertaining guests.
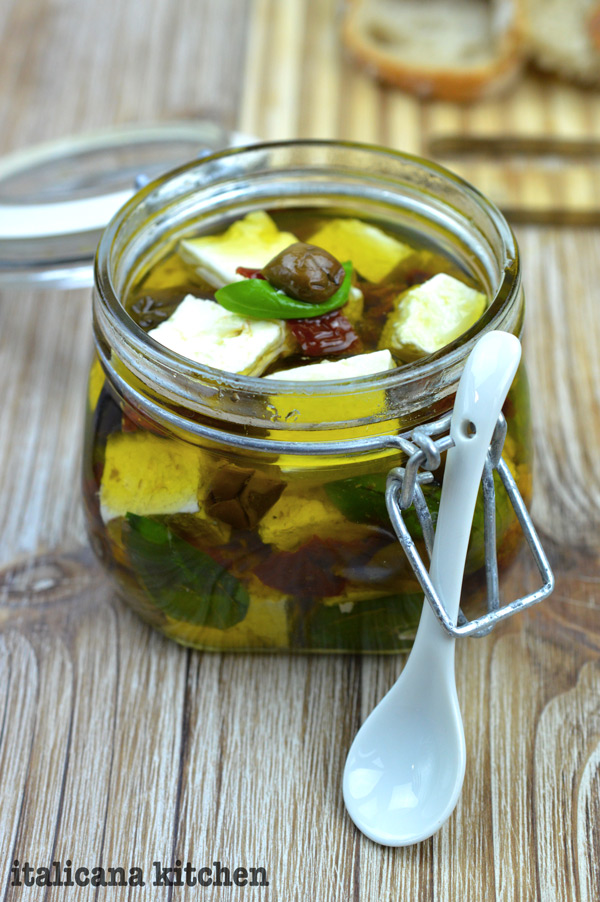
Why is this appetizer :: antipasto so great? Well, for starters you may already have many of these ingredients in your refrigerator or panty and most importantly, this appetizer only takes about 5 minutes to prepare. All you need is a cute wide mouth glass jar (I adore mason jars) then line the bottom sides with basil leaves followed by cubed feta, half of the taggiasche olives and half of the sun-dried tomatoes.
Repeat these steps and top with a few capers :: capperi if desired. Fill the jar with the sun-dried tomato oil and oil from the taggiasche olives and top with additional extra virgin olive oil if needed in order to cover everything. You can store in the refrigerator to marinate or serve immediately with toasted bread or crackers.
After your guests have gobbled up the appetizer, if there is extra oil in the jar :: barratolo set it aside to use later when cooking. It’s great splashed over veggies or fish on the BBQ.
Here are five other of my favorite fuss-free appetizers:
4. Mini Cheese Balls— Another appetizer that only takes a few minutes to whip up.
5. Savoury Vegetable Pie—Hearty and filling, this vegetable pie is an instant crowd pleaser.
In Italy, spring :: primavera is in its prime, from warm hot summer-like temperatures to rainy days that make our garden vibrant shades of green. I adore this time of year. It’s the time when we all come out of our winter slumber to enjoy the breathtaking nature around us and live the day to its fullest.
It’s the time of picnics and barefoot walking on grass, of BBQ’s outside with friends and long evening strolls with a loved one. It’s the time to breath in the fresh spring air and be thankful and grateful for everything we have in this moment. Life is fleeting, so enjoy each precious second :: secondo prezioso.
This appetizer is simple and can be made by any level of cook :: cuoco and makes the perfect excuse to organize a get together with friends and family. Enjoy and I hope you make a lot of memories surrounded by this delicious and healthy appetizer.
Marinated Feta, Basil, Taggiasche Olives and Sun-dried Tomatoes
This marinated feta, taggiasche olive, sun-dried tomatoes and basil is one of the easiest appetizers ever to make and is the perfect fuss-free hor’dourve when entertaining guests.
Serves: 4-6
Ingredients
¼ cup (45g) pitted taggiasche olives or kalamata olives in olive oil
¼ cup (30g) chopped sun-dried tomatoes in olive oil
1 block (200g) Feta, cubed
10 basil leaves
5 capers (optional)
Instructions
Put 5 basil leaves against the sides of a wide mouth mason jar or similar container, line with half of the feta cubes then top with half of the olives and half of the sun-dried tomatoes. Repeat. Top with capers if desired. Fill the jar with the remaining sun dried tomato oil, oil from the taggiasche olives and top with extra olive oil if needed to cover the feta.
Serve with toasted rustic bread or a sea salt and oregano toasted tortilla. If stored in the refrigerator, take out the jar and set at room temperature 20 minutes before serving so the oil liquefies.
 Living in Seattle, Washington, I had the advantage of finding delicious fresh raw oysters at Pikes Place Market or in the various seafood restaurants. I always ate them plain or with a squeeze of fresh lemon :: limone fresco. This time, I wanted to give them an Italian twist by serving them with a fresh vinaigrette made from good extra virgin olive oil from Liguria, a little fresh lemon I picked up in Lake Garda in the region of Trentino Alto-Adige, salt from Cervia near the Adriatic sea and black pepper.
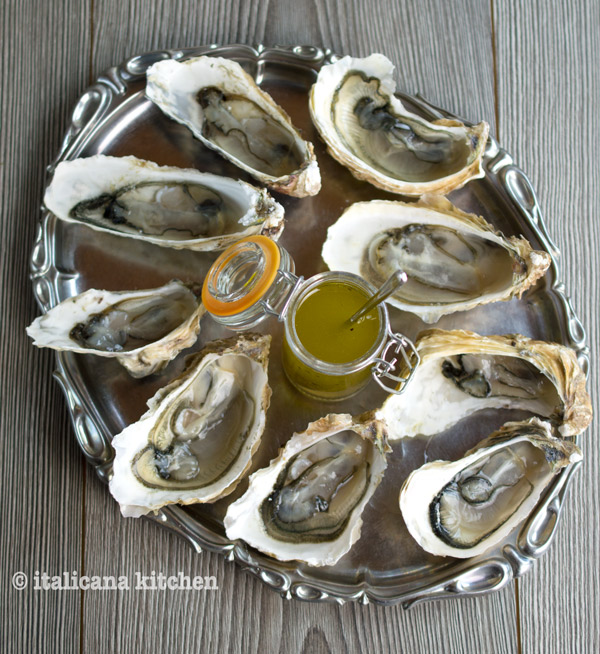
 Using this vinaigrette on seafood and vegetables is quite common in Italy. There is an appetizer called pinzimonio that is simply raw vegetables (usually fennel, carrots, radicchio, tomatoes and celery) served with the vinaigrette. In Sardinia, a common recipe is Crostacei alla Catalana :: Catalonia Crustaceans. (In the past, Sardinia was dominated by Catalonia.) It is a mix of shrimp, prawns, lobster and crab that are boiled then served with the vinaigrette and often times, pinzimonio. It is usually eaten as an appetizer or main course.
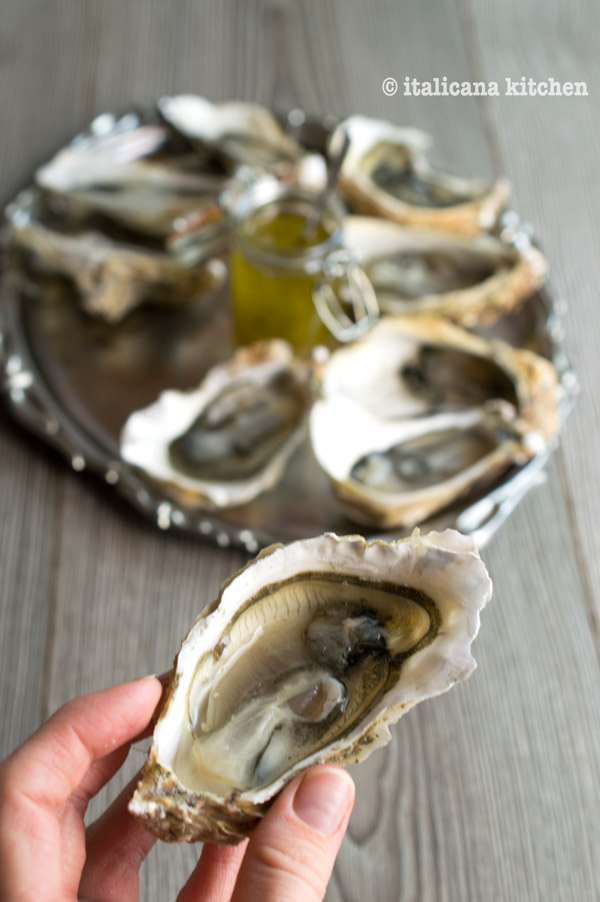
 This simple Italian vinaigrette is a perfect alternative sauce for raw oysters :: ostriche crude. It is fresh with a subtle zing, a smooth finish and doesn’t cover the ocean taste of the raw oysters.