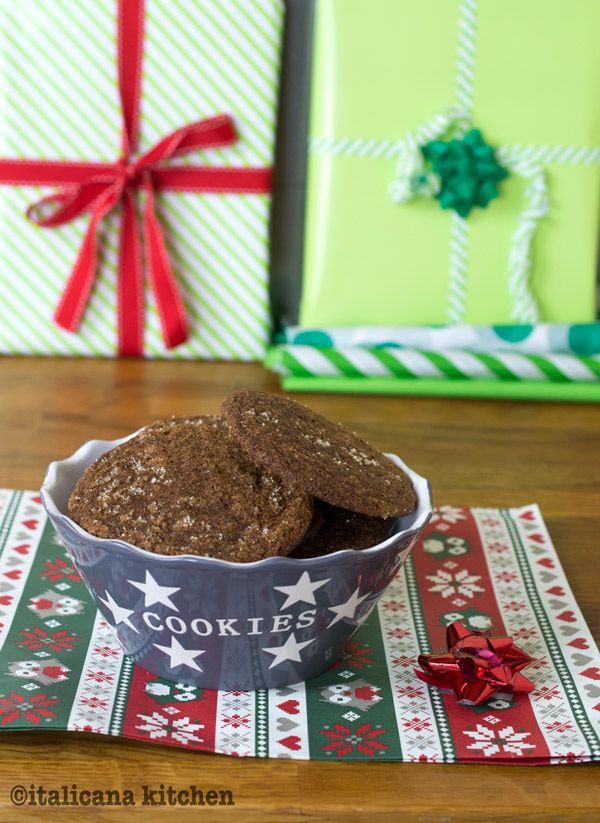
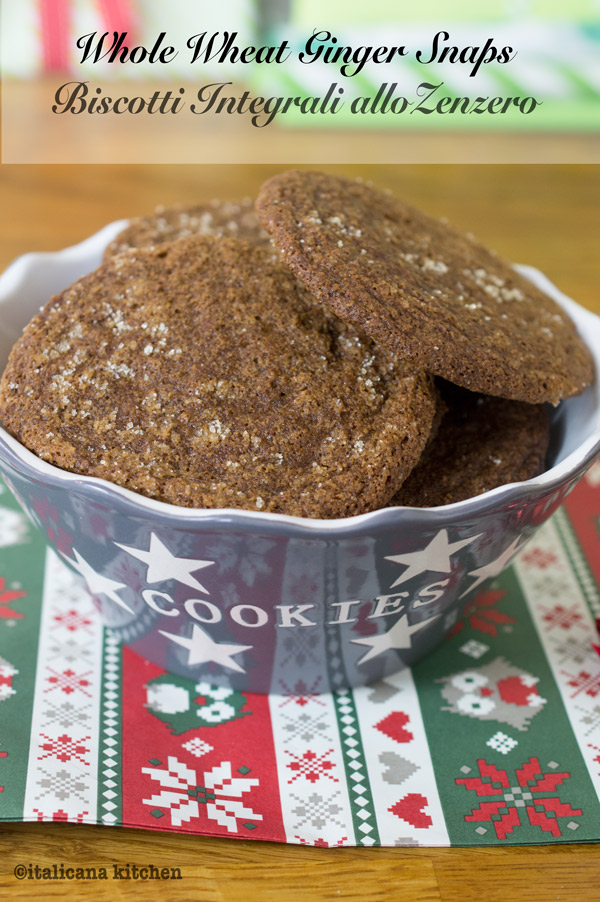
For me, no Christmas would be complete without a layer of freshly fallen snow, houses adorned in twinkling lights, a tree decorated to the brim and these freshly baked whole wheat ginger snaps.
The traditional recipe calls for white sugar and white flour. I replaced most of the white sugar with brown sugar and substituted all of the white flour for whole wheat flour. Using whole wheat flour in some cookie recipes leaves the cookie dense and hard. Not in this case at all. In fact, I couldn’t even tell that a substitution had been made. These whole wheat ginger snaps were slightly crunchy on the outside, soft in the inside and burst with delicious Christmas time spiced flavors.
I made these cookies twice: the first time without chilling the dough and the second time I had placed the dough in the refrigerator for 1/2 hour. I highly recommend chilling your dough first because if you don’t will be flatter, a bit crunchier and don’t have the characteristic cracks on top. (As seen in the photo. Unfortunately when I made the second batch, they got eaten up before I could take new photos.)
This year Mr. Italicano and I will spend Christmas in America with my family and friends. I’m currently writing this post as we fly over Greenland and in only 5 more hours we’ll land in beautiful Seattle. To get me in the Christmas spirit I already know my first stop: Starbucks! I am craving one of their holiday lattes.
Mr. Italicano has never spent Christmas in America. Our traditions are similar to those in Italy, but not exactly the same. I will definitely keep you up-to-date on all the holiday festivities and specifically the gastronomical differences. I will be posting at least one recipe a week here on the blog, but for all updates on my travels, check out my Instagram, Facebook and Twitter pages where I will be posting daily.
Our holiday festivities start with Christmas Eve dinner, which is usually light and consists of oyster soup with freshly baked bread, followed by family photos in front of the tree with everyone dressed up before we all head off to church. Later in the evening family friends stop by for some cookies and holiday drinks. After we wish them a farewell, we change into our pajamas and start to open presents, a family tradition, while the stockings from Santa Claus are opened in the morning. When I was a kid, all of my friends envied me because they had to wait one more day.
The thing I love most about our tradition of opening presents, is that we take time to watch each person open their gift. For me, it’s a magical Christmas moment as I get to watch the face of the person light up when they open my gift. It’s simply priceless. The following day while the kids play with their new toys, the adults are busy at work: preparing the grand Christmas lunch.
These whole wheat ginger snaps are slightly crunchy on the outside, soft in the inside and burst with delicious Christmas time spiced flavors.
Serves: 30 cookies
Ingredients
2 cups (240g) whole wheat flour
1½ (6g) teaspoons baking soda
1 teaspoon (3g) baking powder
2 teaspoons (3g) ground ginger
¾ teaspoon (2g) ground nutmeg
1 (2g) teaspoon ground cinnamon
½ teaspoon (1g) ground cloves
Pinch of salt
½ cup (115g) butter, softened
¼ cup (50g) white sugar
½ cup (80g) brown sugar
1 large egg, beaten
¼ cup (78g) molasses
¼ cup (70g) maple syrup
Cane sugar, as needed
Instructions
Preheat the oven to 350 degrees F (175 degrees C). Put parchment paper on one or more cookie sheets.
In a bowl combine the whole wheat flour, baking soda, baking powder, ginger, nutmeg, cinnamon, cloves and salt.
In the bowl of a stand mixer fitted with the paddle attachment, beat together the butter and sugars for about 4-5 minutes on medium speed until the mixture is light and fluffy. (If you don’t have a stand mixer, you can do this and the following steps by hand or with an electric mixer.)
Add the egg and continue to beat until smooth. Add the molasses and maple syrup and mix until blended.
Pour half of the flour mixture into the stand mixer and mix for 1-2 minutes. Stop the mixer and scrape down the sides with a spatula. Then add the rest of the flour mixture and continue to mix until the dough has been combine.
Refrigerate for ½ hour.
Roll the dough into balls the size of a walnut, then roll them in the cane sugar.
Bake for 8-10 minutes, until the tops are cracked and the cookies have spread.
*Note: I advise you to put the dough in the refrigerator for at least a half an hour before making the cookies, however, if you are in a rush you can simply use a gelato scoop to form the little balls as the dough is too soft and sticky to do it with your hands. The cookies will have the same flavor but will be less soft in the middle and will not have the signature ginger snap cracks on top.
This apple pie is dedicated to my family who were together this weekend at my parent’s house in Eastern Washington for the annual “harvest weekend.” My mom created harvest weekend as a way to get my brothers and I home as we moved off to university, got jobs in Seattle and were rarely seen besides the holidays. Although fun in its early years, it has become even more entertaining as the group has expanded to include two amazing sister-in-laws and now two nieces and one nephew. Next year, Mr. Italicano will be making his first appearance and I will be making a return after 6 years of missing this memorable event. Some of our neighbors, who happen to be some of our best friends, also come over to take part in this activity that buzzes with energy, fun and laughter :: risate.
Harvest weekend is a greatly anticipated event for all of us, as it’s a full weekend of work :: lavoro and togetherness. It takes place every October, and if the weather is not acting strange, we can expect a crisp Autumn day with glorious sunshine.
We typically spend the weekend dressed in flannel shirts ::camicie di flanellaand old sneakers picking apples, plums and pears from my parents small orchard. We huddle around a box of apples cutting them in half then throwing them into a pile where my dad and one of my older brothers turns the hand crank to make fresh apple cider.
The men carry on the apple cider :: sidro di mele pressing while the women usually head inside with a box of apples to make dried apples for an afternoon snack, apple grilled cheese sandwiches for lunch and apple pie for the evening dessert. My sister-in-law Jordan also invented what she calls a “plumple pie” that consists of a mix of juicy plums and crisp apples. I still can remember the delicious taste…
After a much needed rest and some nourishing food, everyone heads back outside again to carry on the pressing and to start picking vegetables from the garden that will be stored away in the root cellar for the winter. And, of course to prepare the boxes of vegetables that will be taken home by everyone who came to help. Trading a little manual labor for a big box of home grown vegetables that really taste like vegetables is worth it any day. The weekend reminds me a little of Italy’s tradition to harvest homegrown tomatoes and to make passata :: tomato purée
Apple pie is a classic American dessert that is full of flavor and spices :: spezie and cannot be missing from our holiday gatherings. Although it is full of fruit, the classic recipe calls for loads of butter, sugar and all-purpose flour. Without compromising the delicious taste, I’ve eliminated these three ingredients to create an apple pie without refined flour and sugar and butter.
The crust is made from whole wheat flour from ancient grains, extra virgin olive oil, honey, baking powder and water. The filling utilizes pure maple syrup and sweet molasses, two natural sweeteners, along with a variety of spices, like cinnamon, nutmeg, cloves and ginger :: zenzero. The result is a rich and penetrating taste that warms your taste buds, giving you the same sense of comfort like you have while wearing a warm flannel shirt on a crisp Autumn day.
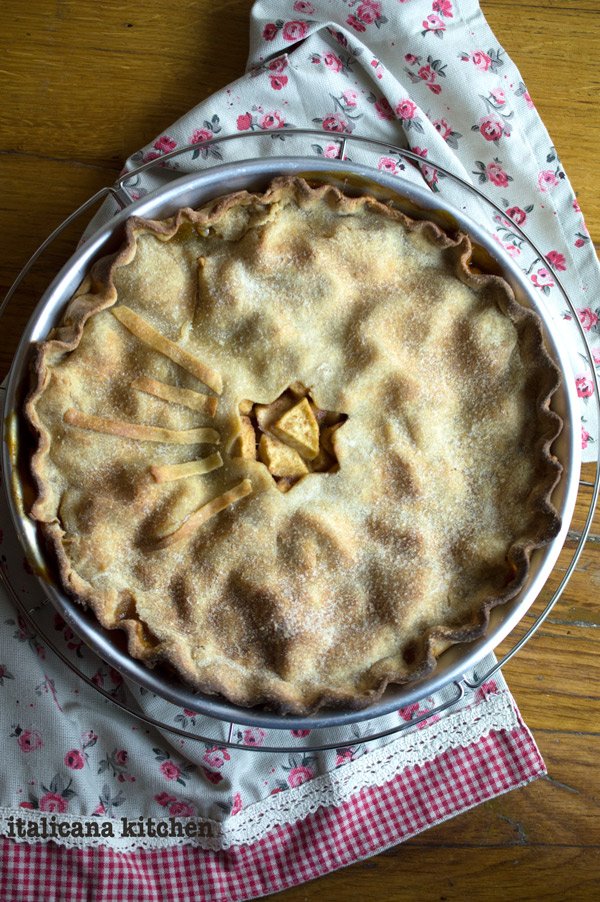
A delicious apple pie that is made without refined flour and sugar.
Serves: 8-10
Ingredients
For the crust:
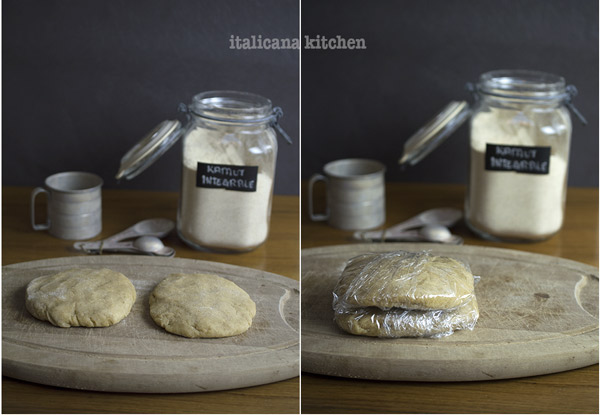
1¾ cups (235g) whole wheat flour from ancient grains, like whole wheat Kamut ® flour
½ teaspoon (3g) salt
¼ teaspoon baking powder
½ cup cold extra virgin olive oil (put in the freezer for 5 minutes)
2 tablespoons honey
¼-1/2 cup cold water
For the filling:
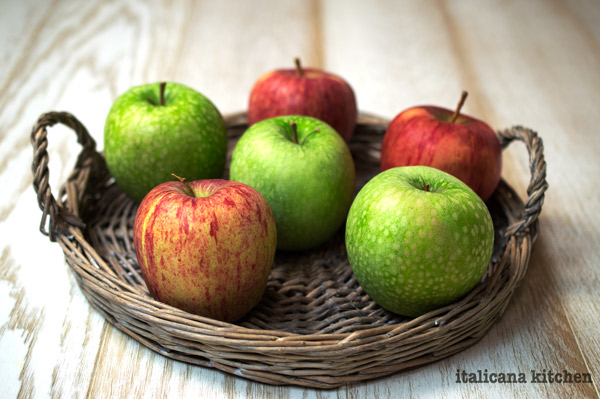
3 large granny smith apples, peeled, cored and chunked
3 large red delicious apples, peeled, cored and chunked
1 small lemon, juiced
¼ (35g) whole wheat flour from ancient grains, like whole wheat Kamut® flour
½ cup maple syrup
¼ cup sweet molasses
1 teaspoon (2g) ground cinnamon
½ teaspoon (1g) ground nutmeg
5 cloves
¼ teaspoon (1g) grated ginger
Extra virgin olive oil, as needed
Instructions
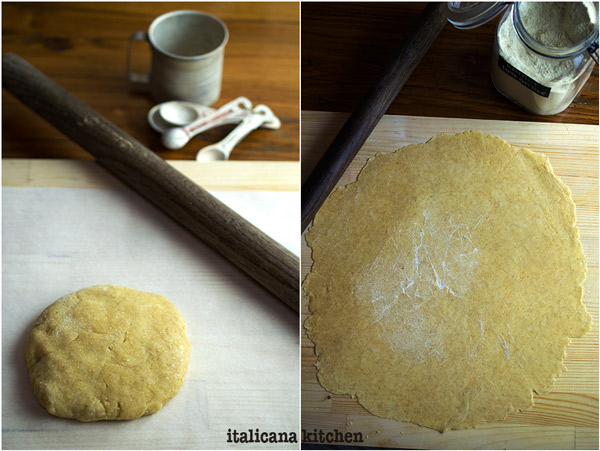
For the crust, use a food processor to combine the flour, salt, baking soda and extra virgin olive oil until coarse (or use your fingers). Add the honey and ¼ cup water and mix as little as possible. If needed add more water, 1 tablespoon at a time, until the dough forms into a ball. Divide the ball in two, pat into small discs and wrap in plastic. Place in the refrigerator for 30 minutes to chill.
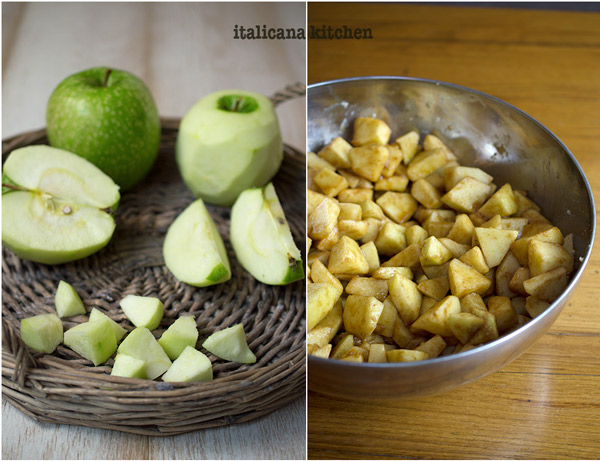
In the meantime, make the filling. Peel, core and cut the apples into chunks. Place in a large bowl and toss with lemon juice and flour.
In a small saucepan add the maple syrup, molasses, cinnamon, nutmeg, cloves and ginger. Heat over low while stirring occasionally until bubbles form around the edges and the mixture is slightly warm. Pour over the apples, mix well and set aside.
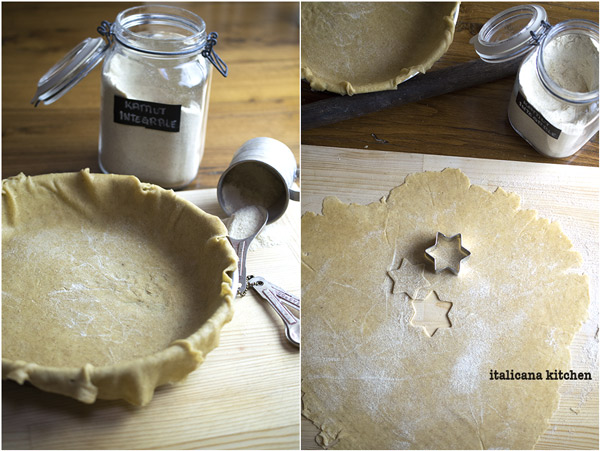
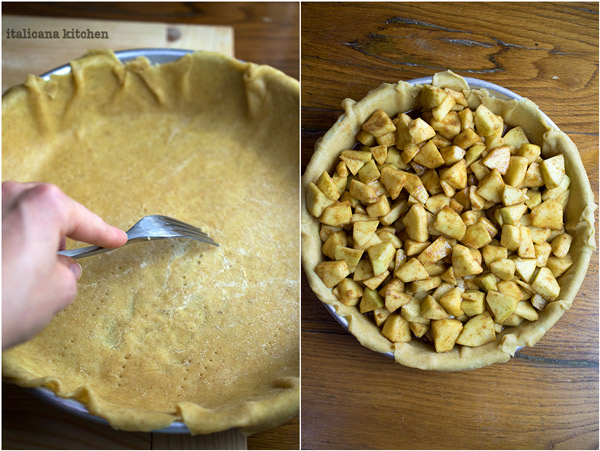
Generously flour a working space and roll one piece of dough into a circle that is large enough to cover a 9’’(22cm) or 11’’(28cm) pie plate with an inch of crust hanging over the edge. (Have a bit more overhang than my photos which was not enough and made it more difficult to seal the crust.) Using a fork, poke the bottom of the dough with holes. Refrigerate for 30 minutes.
Preheat oven to 375°F (190°C). Re-flour your surface and roll out the second pie crust, using cookie cutters to make designs in the crust, if desired. Pour the apple filling into the chilled pie pan and top with the second pie crust. Tuck the top crust behind the bottom crust and crimp together like this video. Lightly brush with extra virgin olive oil. If you didn’t use any cookie cutters, make 2-3 incisions with a knife on the top of the pie.
Bake for 20 minutes then cover lightly with aluminum foil and bake for another 25-35 minutes. Let cool in order for the juices to set. Serve with vanilla ice cream.
{It takes only about an hour to prepare and cook the apple pie, but there is also an hour of inactive time where the dough should be chilled in the refrigerator for at least an hour.}
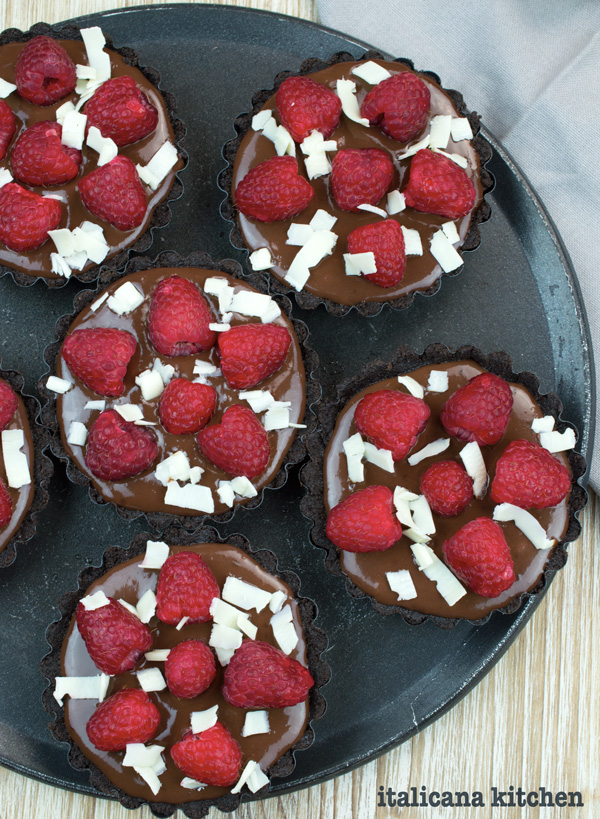
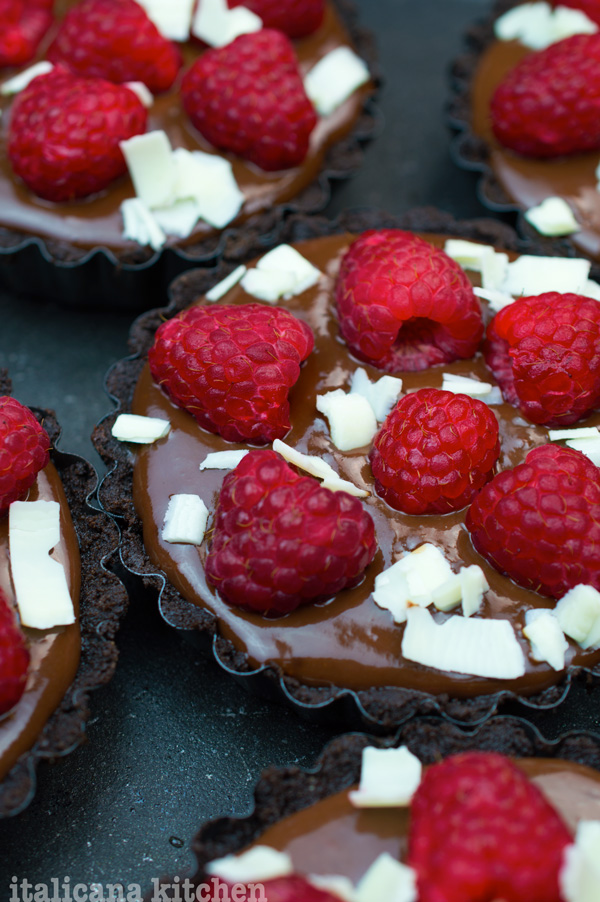
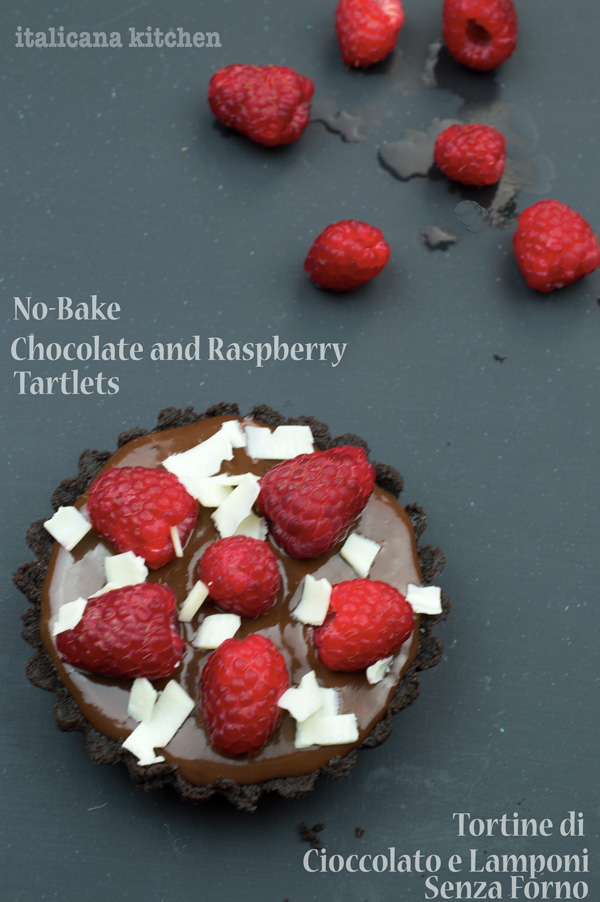
These no-bake chocolate and raspberry tartlets are the perfect dessert for chocolate lovers.
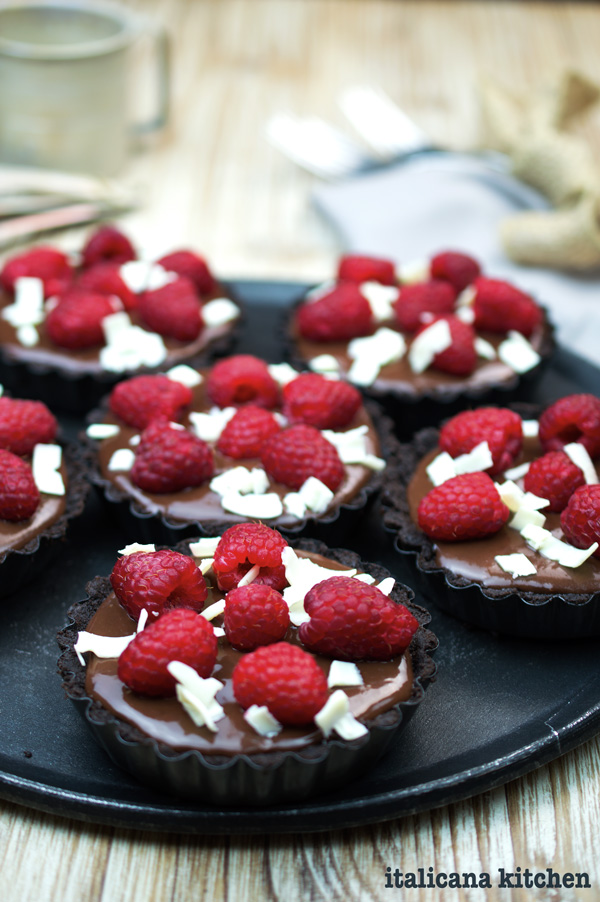
Rich dark chocolate combined with sweet raspberries create the perfect flavor combination in these no-bake chocolate and raspberry tartlets. This ultra-chocolatey dessert is perfect for your next girl’s night in, book club meeting or Sunday lunch and are bound to make a good impression, or as they say in Italian, “fare una bella figura.” Just look at how cute they are!
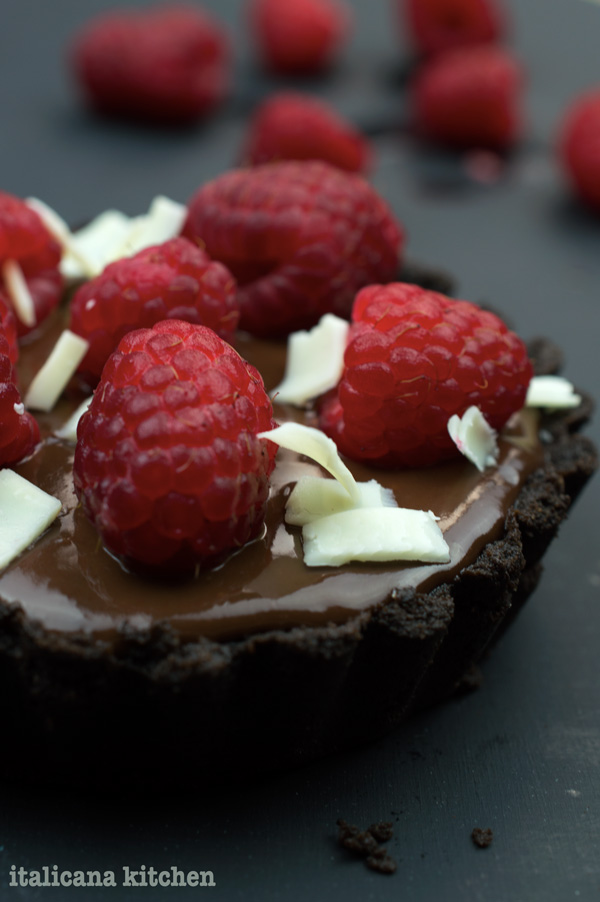
I rarely use processed foods, but I guiltily adore the taste of Oreo cookies. Everything in moderation, right? So, what can be more heavenly than these childhood cookies ground finely and packed in little tart pans to create a cookie crust, which is then filled with a velvety chocolate and raspberry :: lamponi ganache and topped with fresh raspberries and white chocolate shavings? In two words: chocolate divinity.
Aside from their deliciousness, the best thing about these tartlets is that there is no baking required. Just pop them in the fridge for an hour :: un’ora to set, then they are ready to devour!
These no-bake chocolate and raspberry tartlets are the perfect dessert for chocolate lovers.
Serves: 6 tartlets
Ingredients
For the Crust:
32 Oreo cookies
6 tablespoons (85g) butter
1 ounce (28g) dark chocolate
⅛ tsp sea salt
Dash of cinnamon
For the ganache:
7 ounces (198g) dark chocolate, chopped
1 cup (236ml) heavy whipping cream
½ teaspoon pure vanilla extract
½ cup (75g) raspberries, puréed
1 pint fresh raspberries, rinsed and dried
White chocolate shavings, qb
Instructions
For the crust:
Finely grind the cookies in a blender or food processor.
Over low heat, melt the butter and dark chocolate in a bain-marie or in a microwave dish for 1 minute stirring every 15 seconds until melted.
Stir in the sea salt, cinnamon and cookie crumbs; mix until the cookie crumbs are well moistened.
Distribute the mixture among the six 4 inch (10cm) tarlet pans. Using a flat bottom measuring cup or drinking glass, press down firmly so the crust is packed on the bottom and the sides of the pans. Store in the freezer for 10 minutes.
For the ganache:
Over low heat, melt the chocolate with the the whipping cream in a bain-marie. Be careful not to let the mixture boil. Remove from heat and add the vanilla extract and puréed raspberries.
Take the tarlet crusts out of the freezer and evenly divide the ganache among the 6 tartlets. Refrigerate for 15 minutes then top with fresh raspberries and white chocolate shaving and return to the refrigerator for at least one hour. Store in the refrigerator and consume within 4-5 days. Buon appetito!
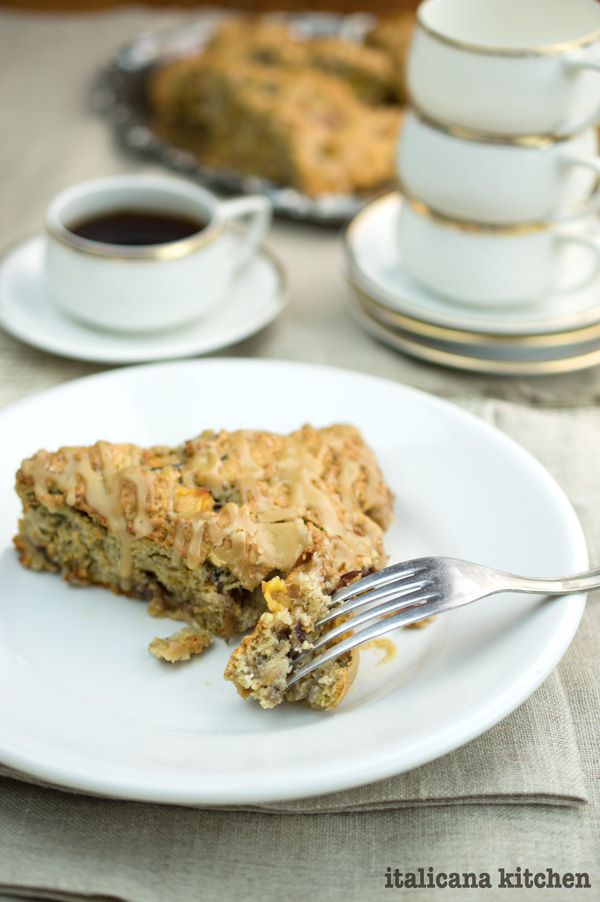
Italy is the land of croissants (after France, of course) or “brioche” as they call them in my region, and although they are beyond delicious sometimes a gal just needs a little variety. So, last weekend I attempted to make my first homemade scone, with a twist of course.
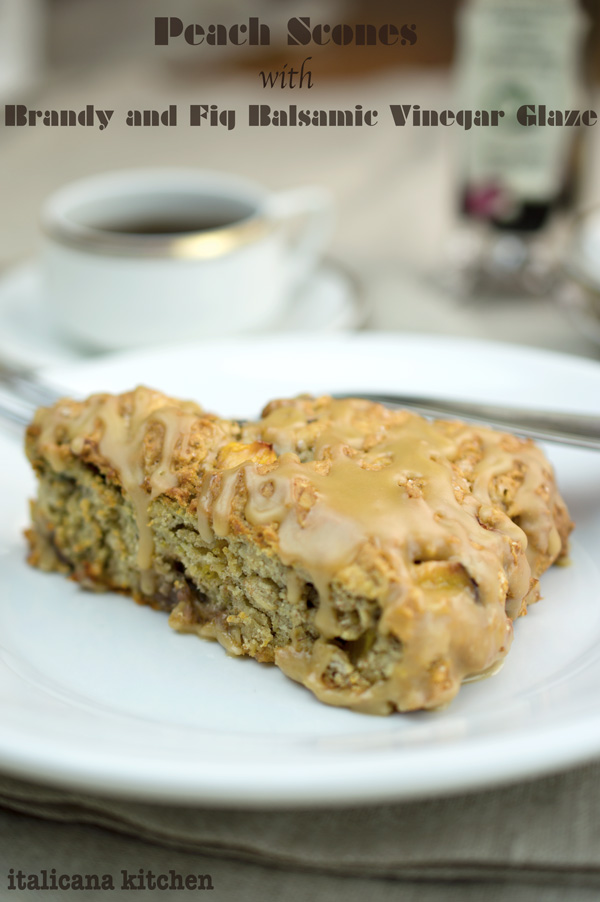
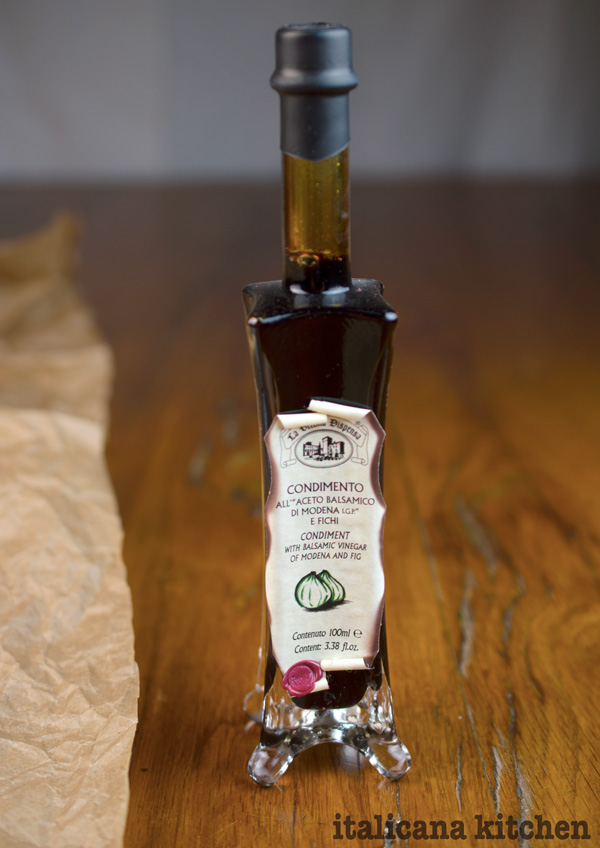
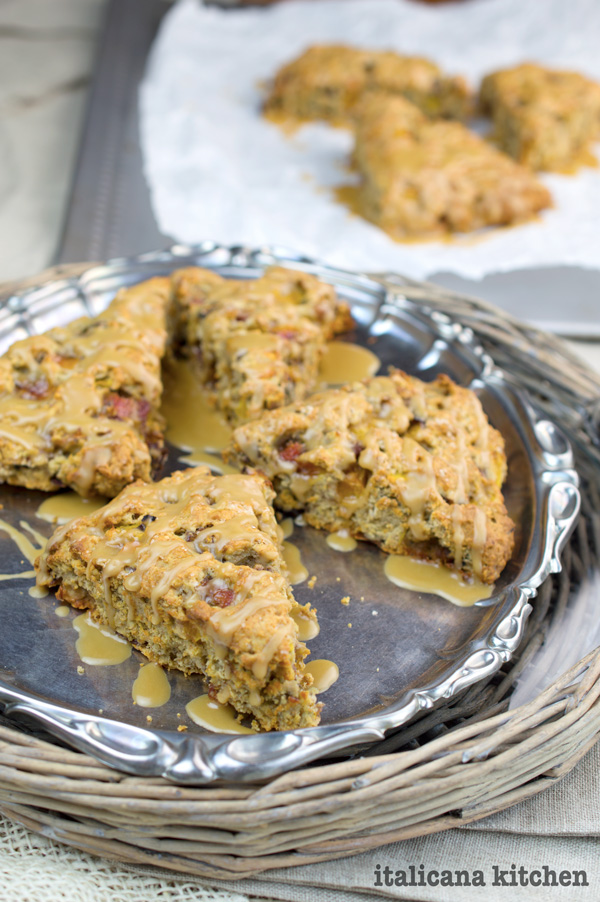
I wanted to give this classic English dessert, that is enormously popular also in America, an Italian flair by using Fig Condiment with Balsamic Vinegar from Modena from La Vecchia Dispensa to create a creamy glaze :: glassa to drizzle over these freshly baked peach scones. What I love about La Vecchia Dispensa, a small family run company, is that they are extremely attentive about selecting only the highest quality of raw materials and only work with fresh seasonal produce. Their products also don’t contain colorants, additives or preservatives. Hallelujah!
Oh, how I relish peaches :: pesche and their summer sweet smell, soft fuzzy skin and glorious fresh flavor that bursts in your mouth with every bite. Couple that with brandy’s tangy raison taste and sweet natural fig balsamic vinegar that warmly coats your tongue like when you immerse yourself in a bath after a day out in the snow, enveloping your senses in pure pleasure and relax.
These scones are also healthier than traditional recipes as they are made with whole wheat and kamut flours and there is less butter :: burro. This is my third attempt on this recipe because I wanted to make sure I got it just right, and I have to humbly say, that it is a winner. 🙂 When you bite into one of these golden peach scones with brandy and fig balsamic vinegar glaze you get a taste of Italian summer love.
Peach Scones with Brandy and Fig Balsamic Vinegar Glaze
Preheat oven to 375°F. Line a baking sheet with a silpat or parchment paper.
In a medium sauce pan add the peaches and fig balsamic vinegar condiment. Cook over medium heat until the vinegar has reduced and thickened, about 10-15 minutes. Set aside.
In the meantime, measure out the soy milk and add the white wine vinegar or lemon juice in a small bowl. Set aside for 5 minutes.
In a large bowl, combine the flours, oats, baking powder, baking soda, sea salt, cinnamon and cane sugar; mix.
Cut the butter into the bowl and use a pastry cutter to mix together (or a knife if you don’t have one) until the butter is chopped into fine pieces and mixed well with the flour mixture.
Spoon in the peaches, leaving the extra balsamic vinegar in the saucepan. Set the pan aside.
Add the soy milk mixture to the dry ingredients and mix well with a spatula then knead together for 5-6 times. The dough will be really sticky but don't add more flour.
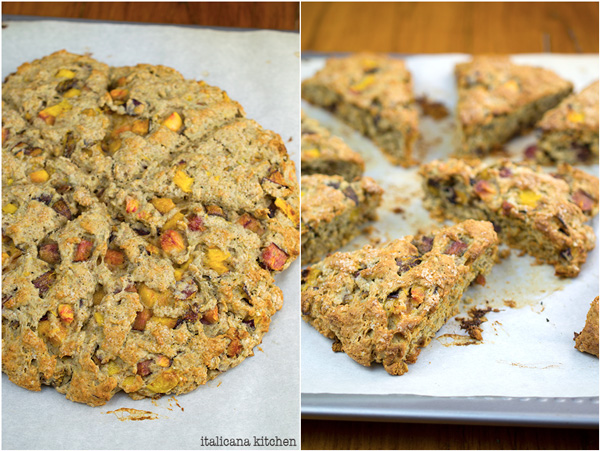
Put the dough in the middle of the prepared baking sheet and form a circle that is about 1-inch high. With a wet knife, cut 8 slices. Keep wetting the knife as necessary so the dough doesn’t stick. Leave the slices touching each other.
Sprinkle raw cane sugar on top.
Bake for 20 minutes then take them out. Using a knife, separate the slices and space them apart on the baking sheet.
Cook for another 5-10 minutes until golden brown. Let cool completely otherwise they will crumble when you try to pick them up.
For the glaze:
Add the powder sugar to the saucepan used to cook the peaches. Add the balsamic vinegar, brandy and water. Stir well. Adjust the taste and consistency by adding more liquid or powdered sugar. Drizzle over the cooled scones and let cool so the glaze slightly hardens, about 10 minutes. Buon appetito!
*You can also use regular balsamic vinegar; I highly recommend using a good one like what you find at the La Vecchia Dispensa because the quality definitely makes a difference.
Note: This post is not paid by La Vecchia Dispensa. They were kind to send me some samples of their products; I only support the companies I believe in and the products I love and would use myself.
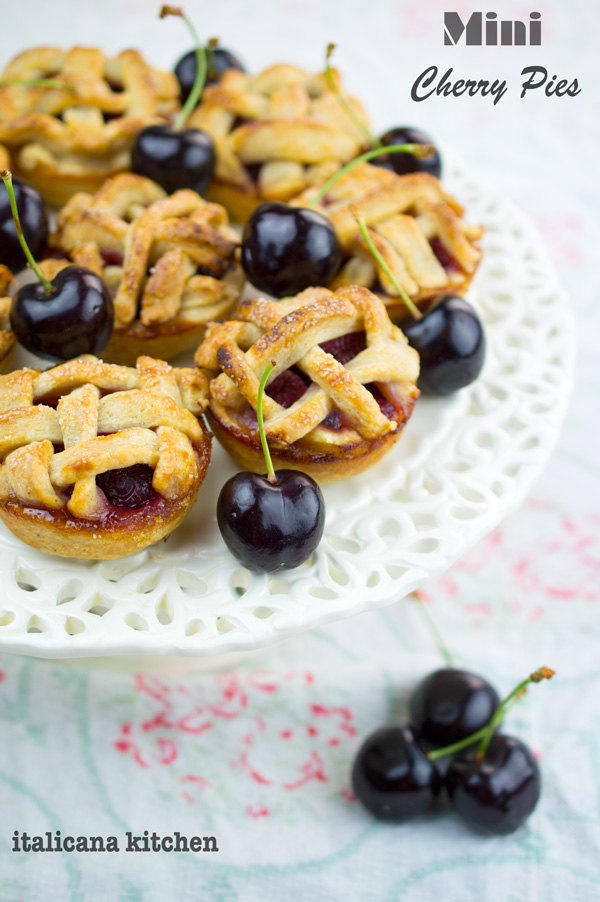
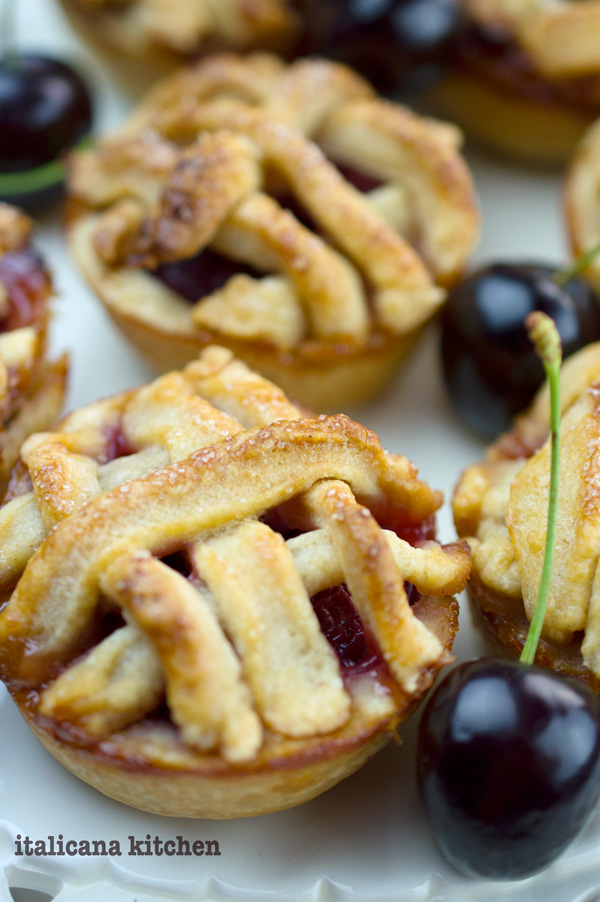
I am so behind! I made these delicious mini cherry pies a few weeks ago and have yet to write about them. Where does the time go? Before too long cherries will be out of season and I’ll have to update the recipe with mini apple pies. Speaking of which, that’s not a bad idea. I’ll have to add it to my list. Although I haven’t tested their baking times, you could experiment with any kind of fruit filling :: ripieno di frutta like blueberries, apples, peaches or rhubarb. If you do use another filling, let me know how they turn out and if you needed to adjust the baking time.
I’ve seen a lot of markets and grocery stores :: supermercati slashing prices on cherries. If you’ve taken advantage of a good deal but now are staring at a box (or boxes) of cherries and don’t know what to do with them all, these mini cherry pies are a great solution. Of course, you could could easily make a regular pie and call it a day; but, there is something about “mini” things that just are more appealing. Take my little Fiat 500, for example. It’s cuteness factor increases just for being so small. (Although, I’m sure if I drove this in the states a lot of truck drivers would laugh at the lego car on the road! I should have really taken the photo with me next to the car so you can get a feel for how tiny it is.)
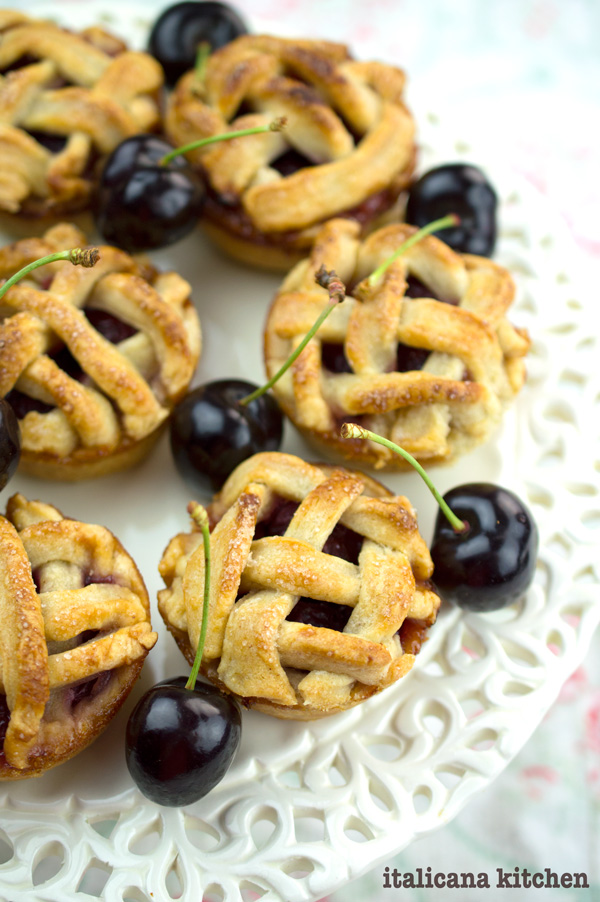
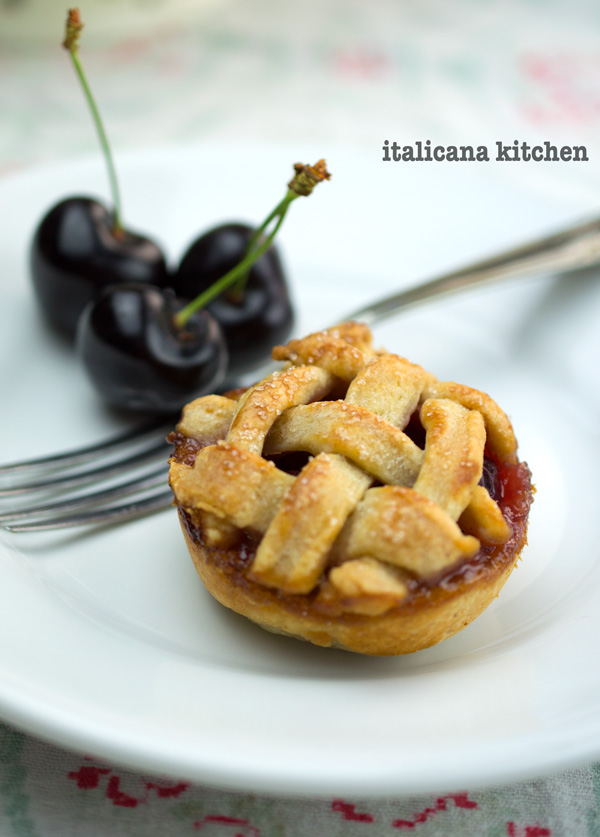
Although these mini cherry pies :: tortine di ciliegie require a bit more time in the kitchen due to their cute little lattice tops, it’s definitely worth it—especially if you have guests you want to impress. I mean, who doesn’t want a pie all to themselves? You get that same rush of happiness you do on your birthday when you know that someone made something special just for you. I served these mini cherry pies with fior di latte gelato, which is basically a neutral white gelato.
The classic vanilla would of course accompany these perfectly, and for an extra splash of flavor add a dash of aged balsamic vinegar or sprinkle a bit of cinnamon :: cannella on top. Buon appetito!
These mini cherry pies are perfect for BBQ's and potluck dinners. You don't even need silverware or plates to serve them. Just pick one up and take a bite!
Measure out the soy milk and add the vinegar to create homemade buttermilk. Store in the refrigerator.
In a large bowl, whisk together the flours, salt, sugar and cinnamon.
Cut up the butter into small pieces and add it to the bowl. Mix. (Easiest if using a pastry cutter, but I just used a rubber spatula.)
Add the buttermilk and vodka. Mix until the dough starts to stick together. Add water by the tablespoon, if necessary. Divide the dough into 2 balls, wrap each ball in plastic and flatten slightly to form a disc. Refrigerator at least 1 hour or up to two days.
In the meantime, make the filling. In a medium bowl, combine the cherries, lemon juice, sugar, salt, cornstarch, vanilla extract, almond extract and cinnamon.
When the dough is ready, preheat the oven to 400°F (204°C).
Take out one disc of dough and place on a floured workspace. Roll out the dough until it is around ¼-inch thick. Flour a round cutter or top of a glass/jar (about 3½ inches round) and punch out 6 circles. Place the circles in the in an ungreased muffin tin and slightly press down the sides. Gather the scraps and wrap in plastic wrap and store in the freezer. Take out the other disc and repeat the process so that the muffin tin is full. Cut the remaining dough into 48 narrow strips, use the chilled dough in the freezer if necessary.
Divide the filling among the 12 muffin cups. Put four strips on each muffin and weave together in a lattice pattern. Trim and press the edges together to seal each cup.
In a small bowl, whisk egg white and water together and brush over the lattice tops. Sprinkle with raw sugar.
Bake for 30-32 minutes. Cool mini pies on a wire rack for at least 30 minutes before sliding them out of the muffin pan. (I used a knife to prop them up and they easily came out).
Note: If you have extra dough, you can make cinnamon and sugar sticks. Simply cut it into strips, twist into a spiral and lay on a cookie sheet with parchment paper. Combine a bit of sugar and cinnamon, sprinkle on top and bake at 400°F (204°C) until the top is golden brown and the inside well cooked.
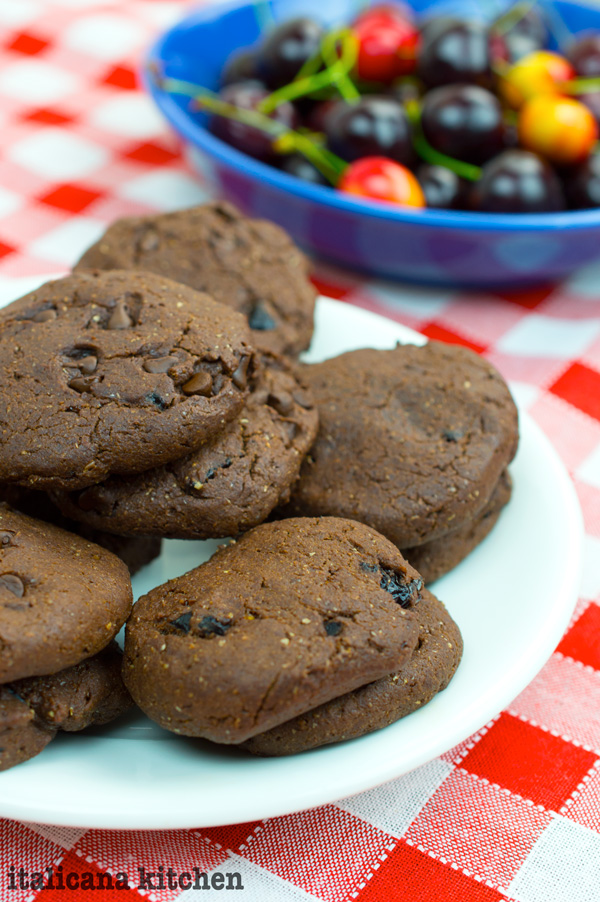
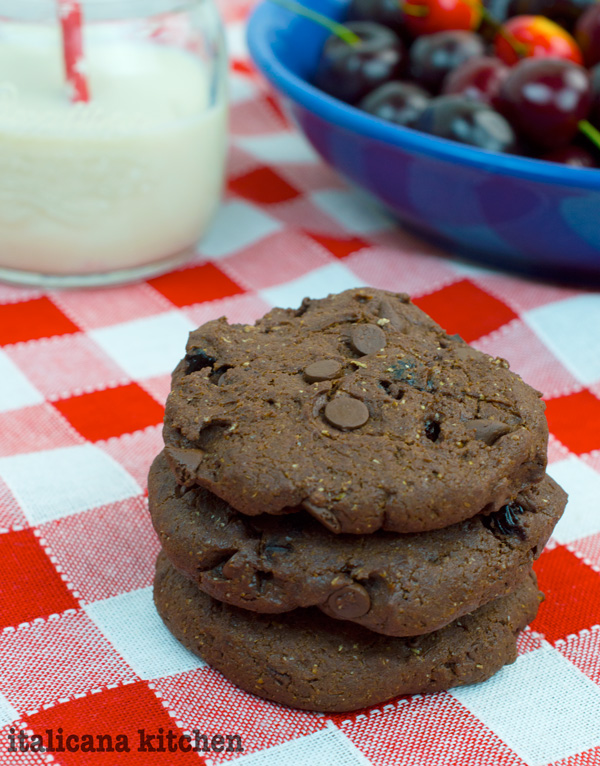
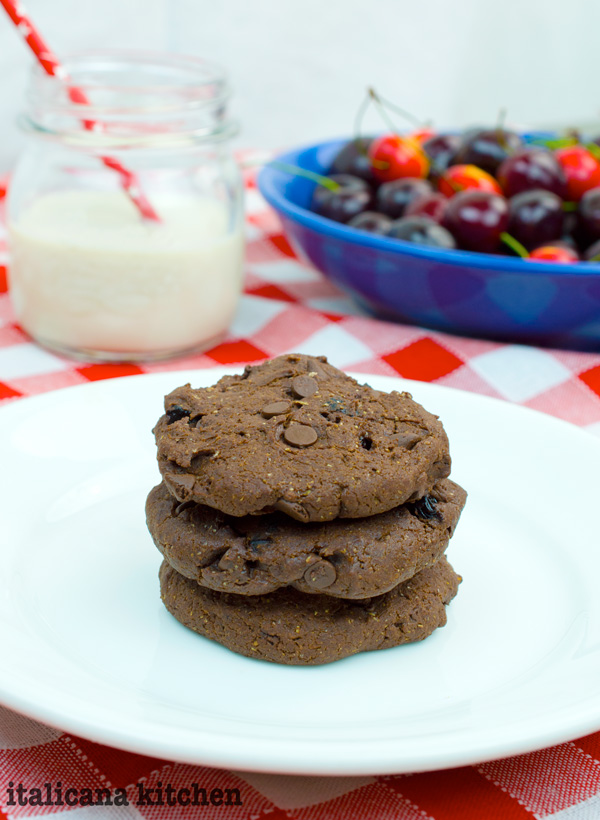
Avocado in a cookie. Sounds strange, right? Yet, for those who want a healthier substitution for butter, avocados are your best friend. Masked by cocoa you can’t taste the avocado in these healthy chocolate, avocado and cherry cookies; you just get to reap the health benefit of avocados and their silky texture. Did you know that avocados are among the healthiest foods on the planet? I think this news calls for another cookie:-)
I slightly adapted this recipe from Two Peas and Their Pod. Since I always try to substitute wheat for white flour in recipes,I decided to give it a go with these. If you are looking for a super sweet indulgent cookie, these are not for you. If you are looking for a not-so-sweet but flavorful cookie that you can feel good about eating, then this may just be your new favorite recipe.
These are great breakfast cookies, hiking cookies and make the perfect mid-day snack. You can also transform them into vegan cookies, simply by using vegan chocolate chips.
Substitute butter with avocado, one of the healthiest foods on the planet, to create a delicious and moist chocolaty cookie that is vegan friendly.
Serves: 1 dozen
Ingredients
1¼ cup (235g) whole wheat flour
1 tsp (2g) cornstarch
1 tsp (5g) baking powder
½ (2g) tsp sea salt
⅔ cup (56g) unsweetened cocoa
¼ cup (59ml) melted coconut oil
¼ cup (51g) mashed avocado
¼ cup (50g) white sugar
½ cup (100g) brown sugar
½ tsp (2.5ml) vanilla extract
⅓ cup (78ml) soy milk
¼ cup (40g) dark chocolate chips*
¼ cup (41g) dried cherries
Instructions
Preheat the oven to 350°F (176°C) and line a cookie sheet with parchment paper.
Stir together the flour, cornstarch, baking powder, salt and cocoa in a medium bowl.
In a separate bowl, beat the following ingredients together with an electric hand mixer: coconut oil, avocado, sugars, vanilla extract and soy milk.
Add the flour mixture and beat until combined. Stir in the chocolate chips and dried cherries.
Divide the cookie dough into 12 balls and place them on the prepared cookie sheet. Slightly press down to flatten the cookies with the back of a spoon. Bake for 10 minutes and allow the cookies to cool for a few minutes on the cookie sheet before transferring them to a wire rack to cool completely.
*Note—For the vegan version, simply use vegan chocolate chips.
 For me, no Christmas would be complete without a layer of freshly fallen snow, houses adorned in twinkling lights, a tree decorated to the brim and these freshly baked whole wheat ginger snaps.
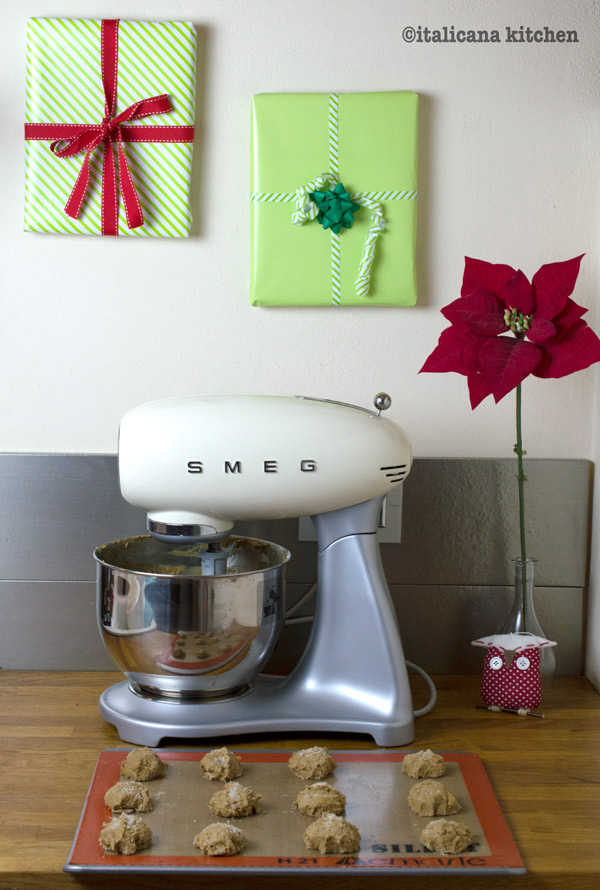 The traditional recipe calls for white sugar and white flour. I replaced most of the white sugar with brown sugar and substituted all of the white flour for whole wheat flour. Using whole wheat flour in some cookie recipes leaves the cookie dense and hard. Not in this case at all. In fact, I couldn’t even tell that a substitution had been made. These whole wheat ginger snaps were slightly crunchy on the outside, soft in the inside and burst with delicious Christmas time spiced flavors.
 I made these cookies twice: the first time without chilling the dough and the second time I had placed the dough in the refrigerator for 1/2 hour. I highly recommend chilling your dough first because if you don’t will be flatter, a bit crunchier and don’t have the characteristic cracks on top. (As seen in the photo. Unfortunately when I made the second batch, they got eaten up before I could take new photos.)
 This year Mr. Italicano and I will spend Christmas in America with my family and friends. I’m currently writing this post as we fly over Greenland and in only 5 more hours we’ll land in beautiful Seattle. To get me in the Christmas spirit I already know my first stop: Starbucks! I am craving one of their holiday lattes.
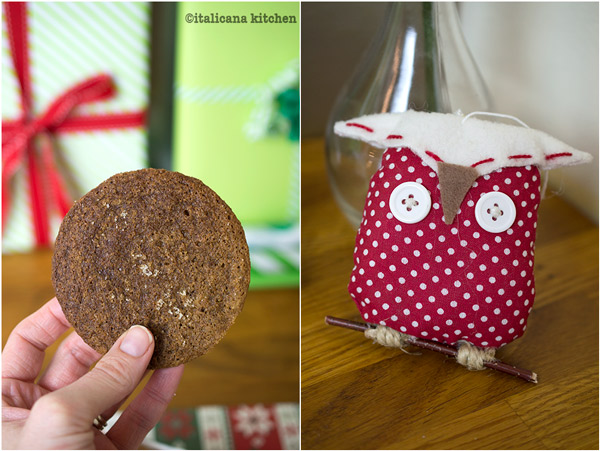 Mr. Italicano has never spent Christmas in America. Our traditions are similar to those in Italy, but not exactly the same. I will definitely keep you up-to-date on all the holiday festivities and specifically the gastronomical differences. I will be posting at least one recipe a week here on the blog, but for all updates on my travels, check out my Instagram, Facebook and Twitter pages where I will be posting daily.
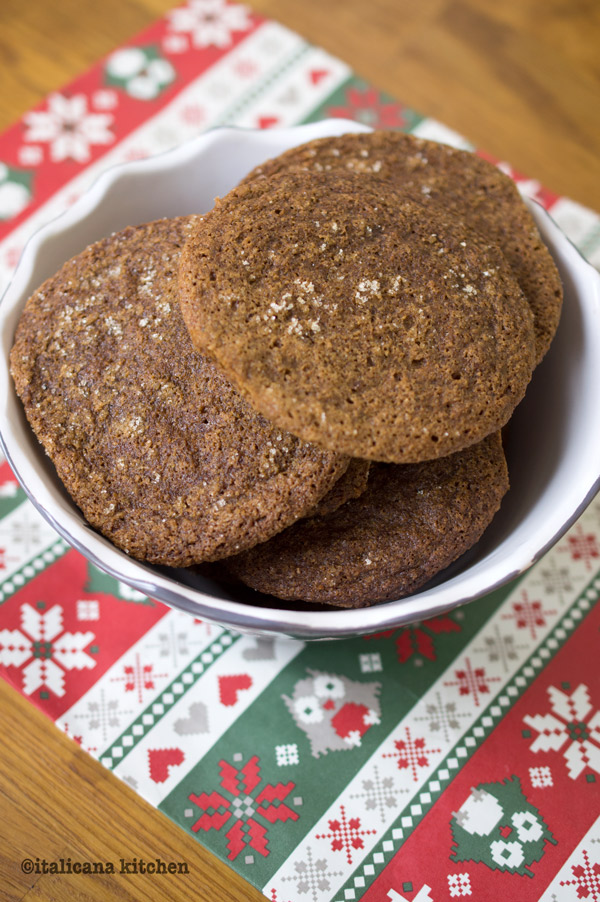 Our holiday festivities start with Christmas Eve dinner, which is usually light and consists of oyster soup with freshly baked bread, followed by family photos in front of the tree with everyone dressed up before we all head off to church. Later in the evening family friends stop by for some cookies and holiday drinks. After we wish them a farewell, we change into our pajamas and start to open presents, a family tradition, while the stockings from Santa Claus are opened in the morning. When I was a kid, all of my friends envied me because they had to wait one more day.
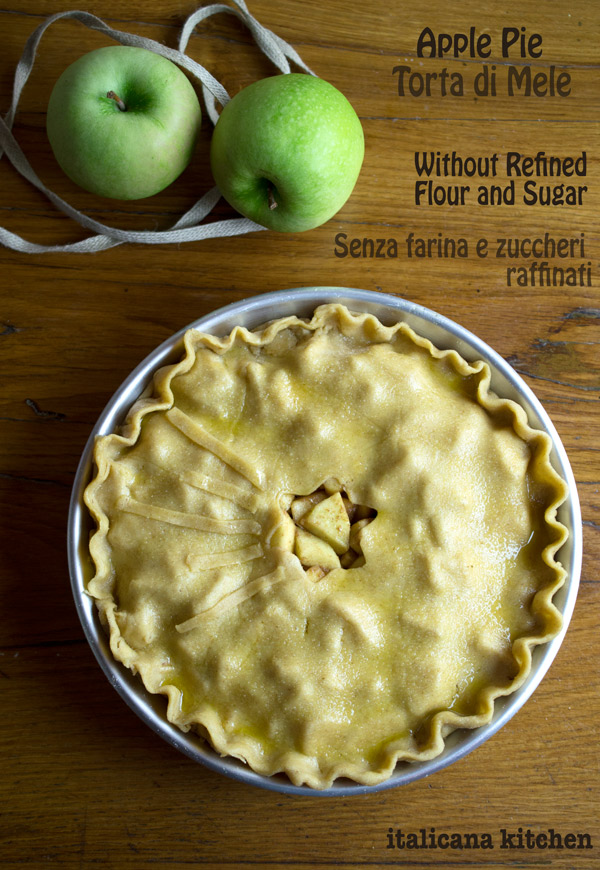


 I rarely use processed foods, but I guiltily adore the taste of Oreo cookies. Everything in moderation, right? So, what can be more heavenly than these childhood cookies ground finely and packed in little tart pans to create a cookie crust, which is then filled with a velvety chocolate and raspberry :: lamponi ganache and topped with fresh raspberries and white chocolate shavings? In two words: chocolate divinity.