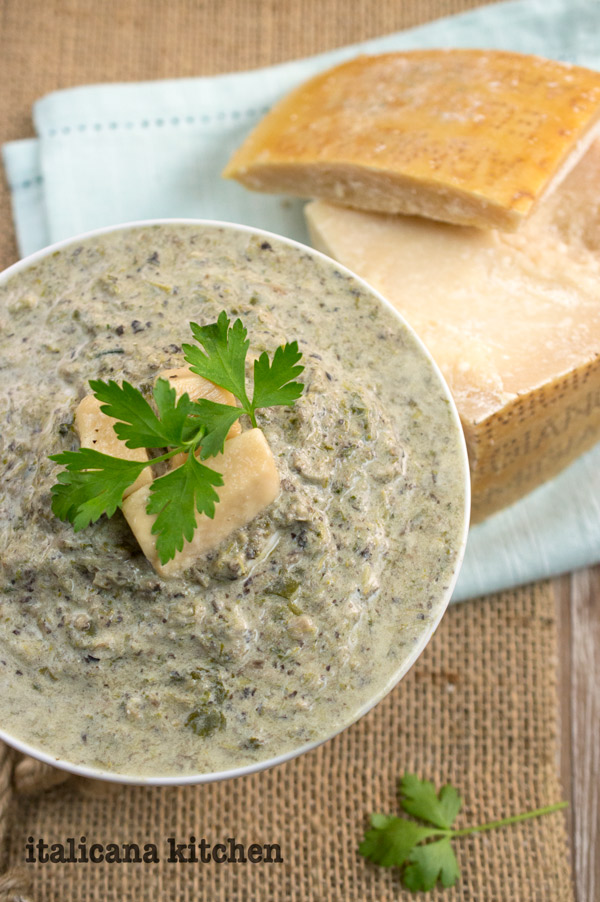
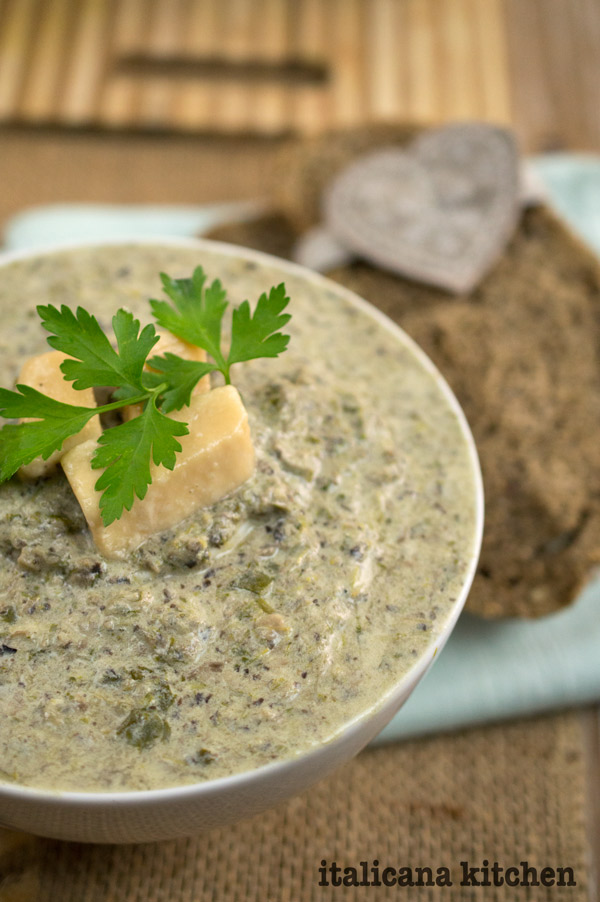
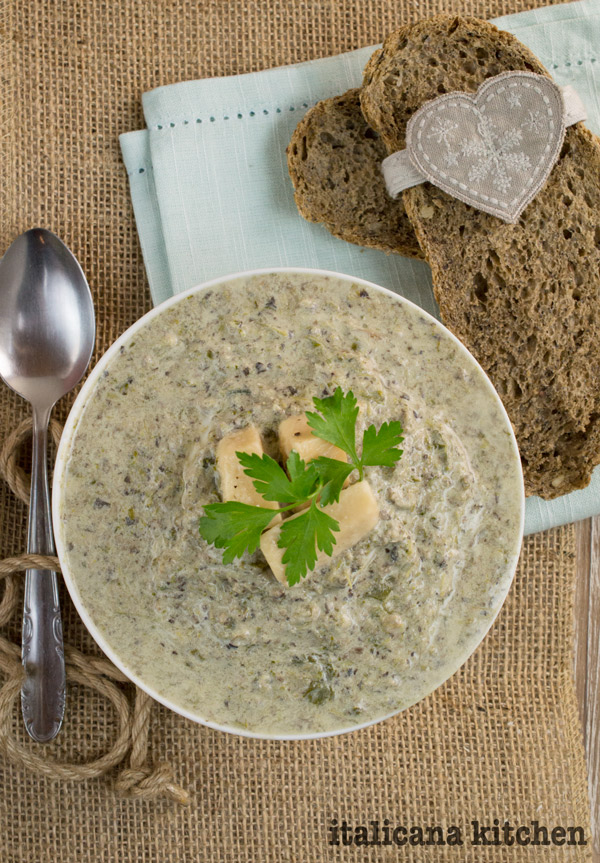
This creamy mushroom, parmesan and broccoli rabe soup has quickly turned into one of my all time favorites. With a slightly bitter and nutty flavor, it pairs well with warm chunks of parmesan rinds and toasted walnut pieces.
You may be asking yourself what “broccoli rabe” is. Like you, I had no idea until I visited the local market and among the spinach, radicchio and lettuce, I spotted a new green leafy vegetable :: verdura I had never seen before. And, of course, my curious palette just had to try it.
Broccoli rabe, or raab, also called, rapini, has spiked leaves and little green buds :: boccioli that resemble tiny heads of broccoli. The leaves, buds, and stems are all edible and have a slightly bitter and nutty taste.
This vegetable is often used in Italian and Portuguese gastronomies but is grown throughout the world. Although it is available :: disponibile all year long, rapini is in season from the fall to spring in the Northern Hemisphere.
It was yet another grey rainy day :: giorno piovoso in Emilia Romagna and thoughts of something warm and satisfying filled my mind when I whipped this soup together. I needed something that I could make in advance that would greet Mr. Italicano and I when we arrived home from tennis lessons.
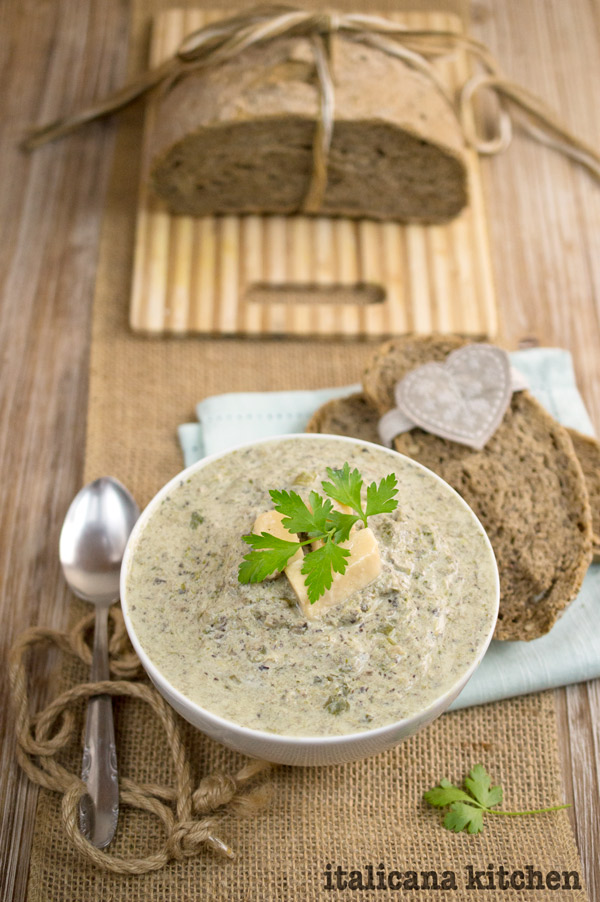
This recipe was perfect. It didn’t take long to prepare and all I had to do when we arrived home was reheat the soup, toast some of my homemade 7 grain bread and dinner was on the table. Let’s just say, Mr. Italicano was happy, he gets kind of grumpy :: irritabile if he has to wait. (And, super grumpy if I make him wait a long time while I take pictures of the food. Which, I don’t blame him.)
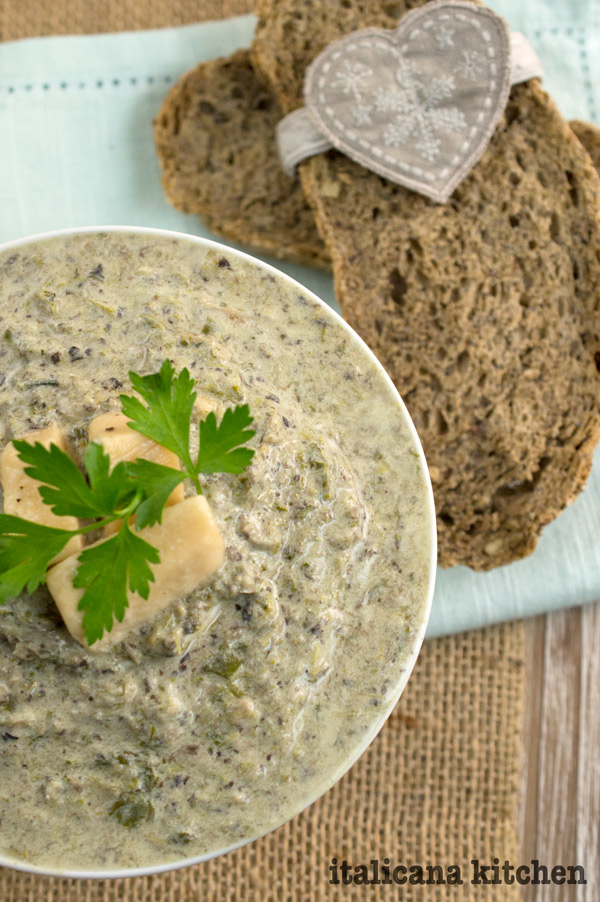
I love good food. I love when the words “wow” involuntarily burst out of my mouth after taking a bite. This was one of those moments thanks to the nutty broccoli rabe flavor combined with sautéed mushrooms, parmesan and cream :: panna all topped with warm chunks of parmesan rinds and crunchy walnuts.
You can easily leave the soup with big chunks, but I prefer to blend :: frullare it to make a creamier textured soup.
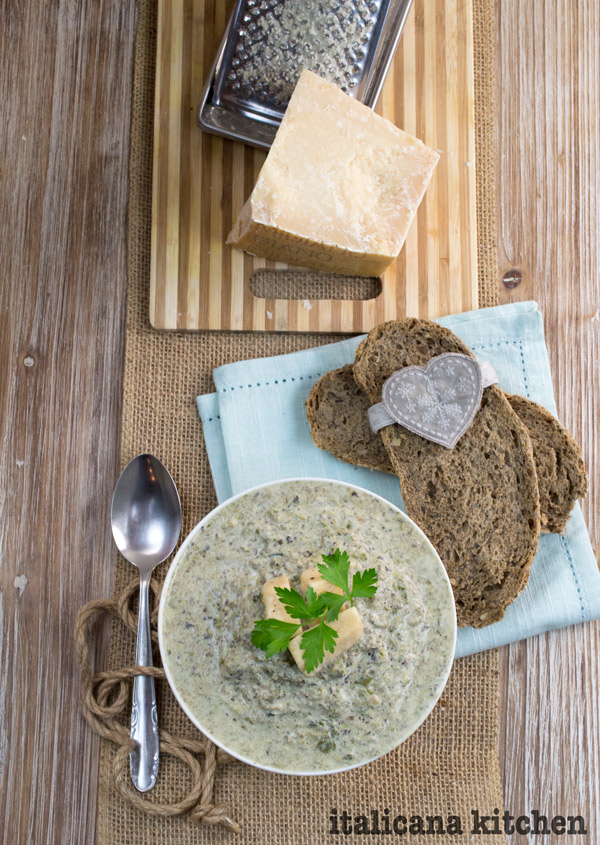
This is a perfect recipe to use up your parmesan rinds :: croste. Simply wash them well, drop them in the soup and simmer for 5 minutes. Finding chunks of warm parmesan is like finding little treasures in your bowl.
This creamy mushroom, parmesan and broccoli rabe soup has a slightly bitter and nutty flavor, and pairs well with warm chunks of parmesan rinds and toasted walnut pieces.
1 cup (150g) of grated parmesan cheese (parmigiano reggiano)
Rinds of parmesan (whatever you have), washed and chopped into chunks
3 walnuts per bowl, broken in pieces
Instructions
Heat the olive oil in a large pot over medium heat and cook the garlic for 2 minutes then add the red onion and continue cooking for 10 minutes until the onions are translucent.
Add the mushrooms and continue to cook for 5 minutes.
Add the broccoli rabe, chicken broth, heavy cream and bring to a boil then reduce heat and simmer for 20 minutes until the rapini stems are soft.
Add the parmesean cheese and stir until combined.
Transfer the soup into a blender and pulse until relatively smooth.
Return the mixture to the pot, add the cheese rinds and heat on medium low for 5 minutes or until the cheese rinds are soft.
In the meantime, toast the walnuts in a small skillet over medium heat, stirring often.
Ladle into bowls and top with parsley and walnut pieces.
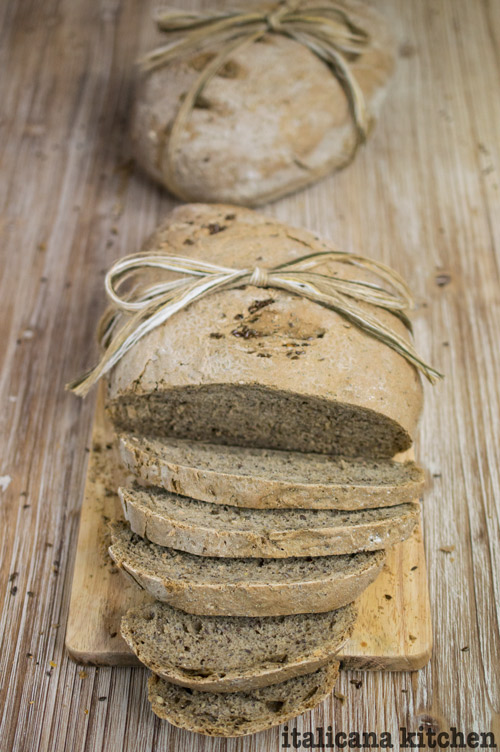
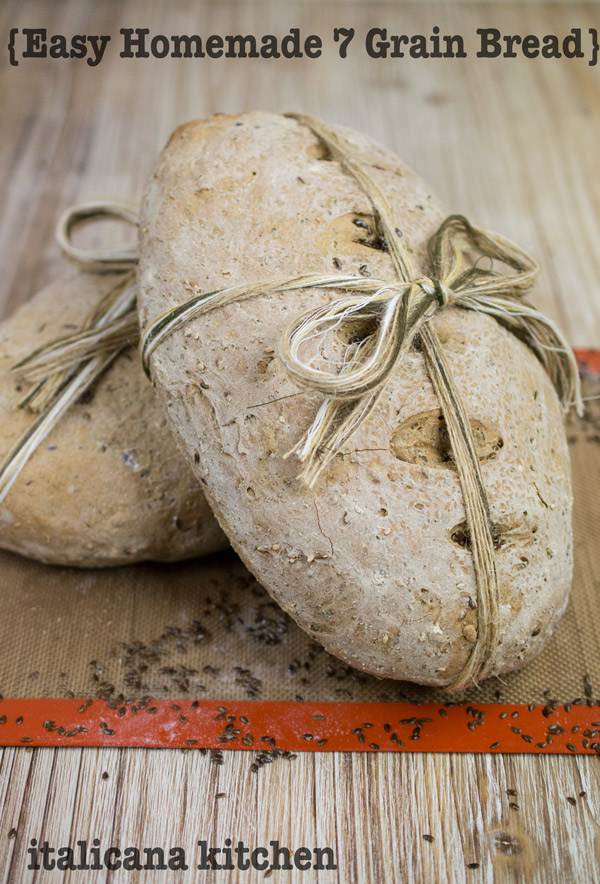
You may think that making fresh homemade bread is a hard task, but here’s the truth: it’s not. In fact, it’s really one of the easiest recipes ever! Check out the step-by-step photos and instructions at the bottom of the page belowthe recipe.
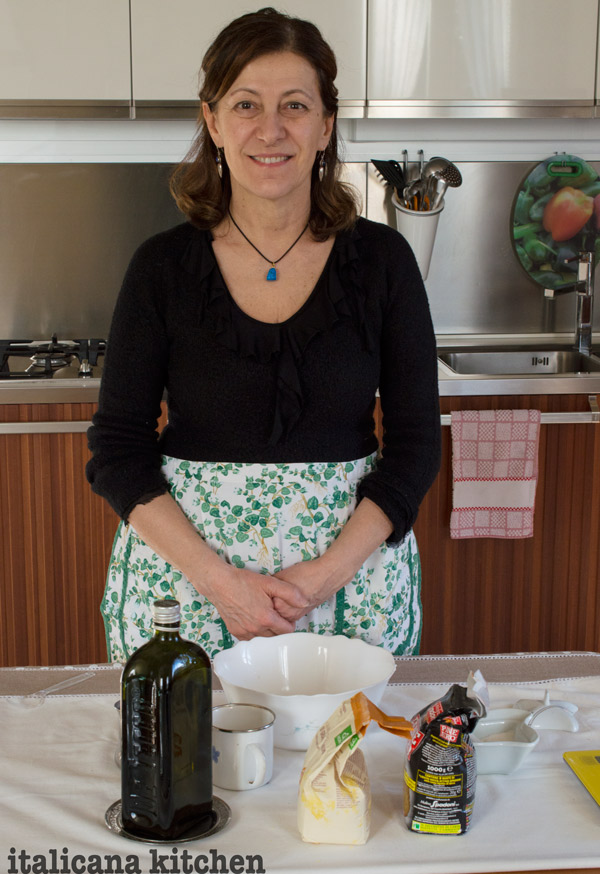
I will be honest, I was always quite timid about making homemade bread :: pane. I thought it was hard and too time consuming so I never tried. Man, have I been missing out all these years! Thankfully my Italian mother-in-law is an incredible cook :: cuoca and was so kind to teach me a few tips to making the perfect homemade bread without a lot of fuss.
Tip #1: Use WARM water to dissolve the yeast :: lievito (around 105°F (40°C))
Tip #2: When dissolving the yeast in the warm water, add a 1/2 tsp of sugar to accelerate :: accelerare the leavening time.
Tip #3: When you allow the bread to rise, keep it in a warm spot and away from drafts :: spifferi. In the summer you can find many warm places but in the winter simply heat your oven to 125°F (50°C) then shut it off and let the bread rise inside.
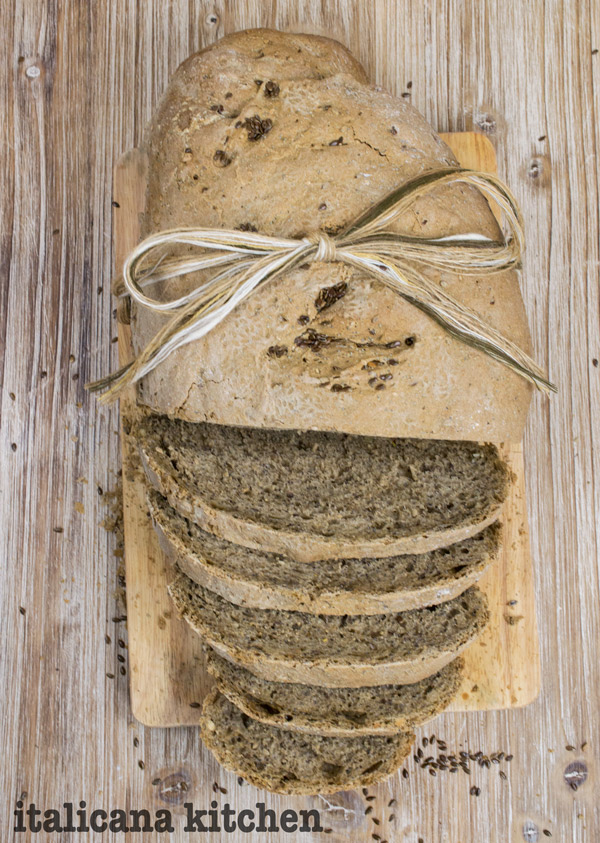
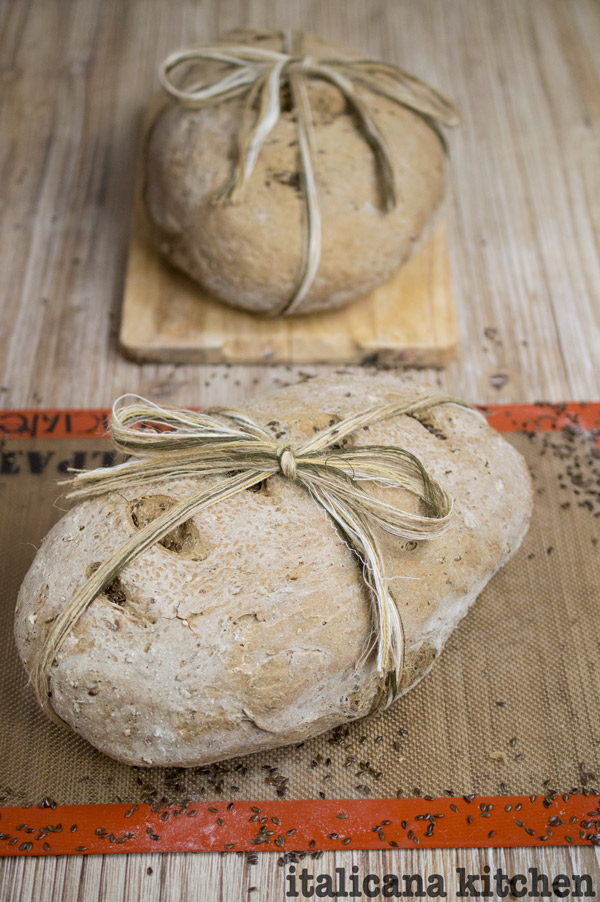
There is nothing more gratifying ::gratificantethan the smell of freshly baked bread wafting through the house. Well, that is besides eating the warm baked bread of course.
I used organic flour :: farina biologica to make this bread and added flax and poppy seeds, which are both high in fiber and have many other health benefits. By making this bread, it came out to be a fraction of the cost of organic bread in the super markets. As you can imagine, homemade bread also tastes much better than industrial store bought kinds. You also have a ton of flexibility and are able to modify your recipe to suit your taste buds.
Making homemade bread is very relaxing :: rilassante. For me, kneading the dough was like a 10 minute meditation session. You become present in the moment as you focus on your palms working the soft round ball and you transfer your warmth and energy into the food that you are preparing to eat. You smell the flour and yeast and are reminded of our ancestors who for centuries carried out this antique tradition. You remember that the simple things in life, can be more pleasurable than any paid activity. You take time out of your busy schedule to create something with love :: amore.
Even if you arrive late from work :: lavoro and have a house full of kids, you can still find time to make homemade bread. In reality, there is only about 20 minutes of work, the rest-rising and cooking-is done on it’s own. I suggest making the dough in the evening. This way it rises and cooks while you read or watch t.v., all the while enjoying the heavenly smell of freshly baked bread. Try this bread as the base for the Best Bruschetta Recipe Ever.
You may think that making fresh homemade bread is a hard task, but here’s the truth: it’s not. In fact, it’s really one of the easiest recipes ever! Not only does making your own bread save you money, it also tastes better compared to the store bought kind.
Serves: 2 Loaves
Ingredients
2 cups warm water (around 105°F (40°C))
1 tsp sugar
2 packets of active dry yeast or cubes
4 cups organic all-purpose flour
4½ cups organic 7 grain flour
1 teaspoon salt (if the 7 grain flour has salt included in it’s ingredients, if not increase the amount to 2 teaspoons).
½ cup flax seeds
½ cup poppy seeds
3 tablespoons extra virgin olive oil
Instructions
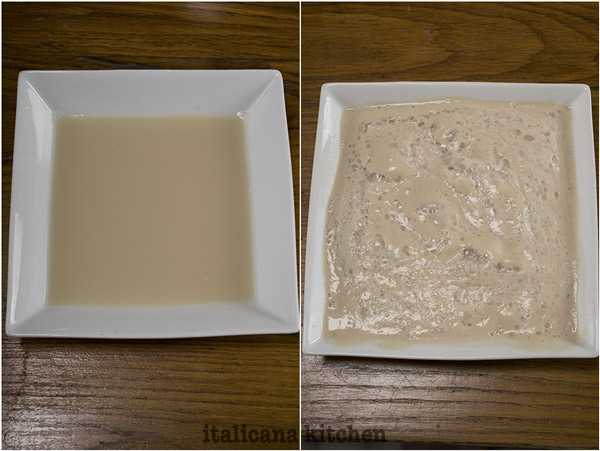
Warm two cups water and pour it in a ceramic bowl, avoid a metal bowl.
Add the sugar and yeast, stir together until combined; let sit for 10 minutes. When the yeast rises slightly and forms bubbles on top, it is ready.
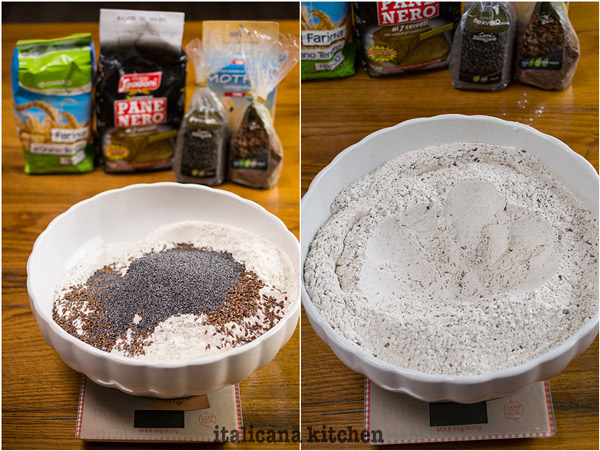
In the meantime, add the flours, salt, flax and poppy seeds to a large ceramic bowl. Stir until combined.
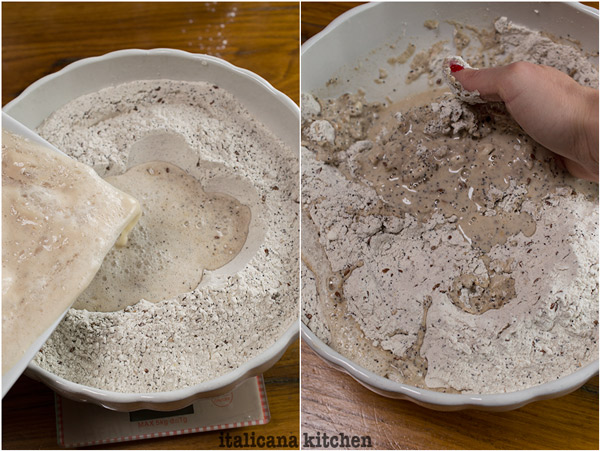
Warm two additional cups water and set aside. Form a well in the flour and when the yeast is ready, pour it slowly into the flour mixture a little at a time, mixing together with your hands. Add olive oil. Continue adding extra warm water as needed until you have formed dough and it does not stick to your hands. (If you've added too much water, simply add more flour until you reach the right consistency.)
Preheat the oven to 125°F (50°C). (Need during the winter, if it is summer or the house is warm you can skip this step).
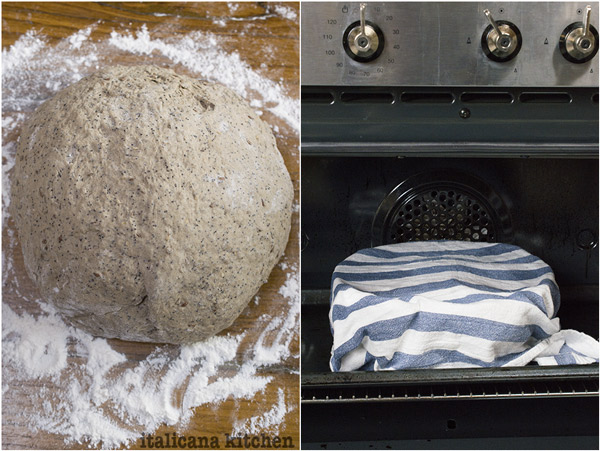
Knead the dough for 10 minutes.
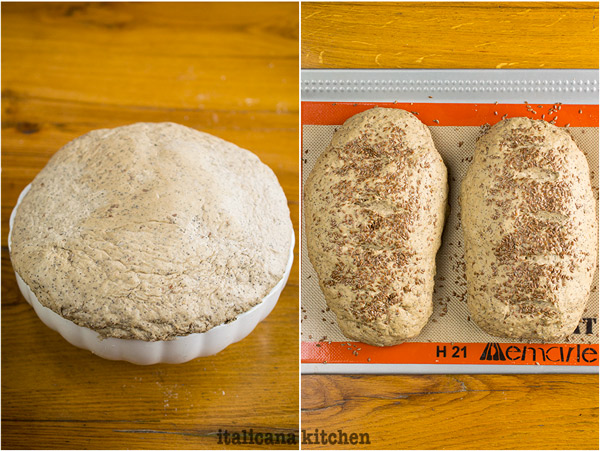
Shut off the oven. Put the dough back in the ceramic dish, make a cross cross on top with a knife, cover with a damp dish towel and place it in the oven on the lowest rack. Let the dough rise for 45minutes to 2 hours, until it has doubled in size.
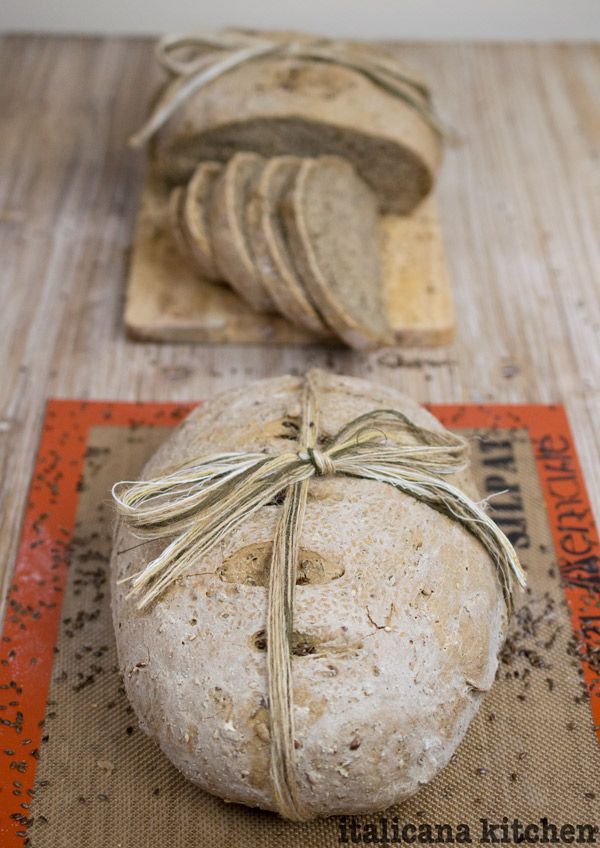
Take the dough out of the oven, knead it for 5 minutes and then separate it into two balls. Form each ball into a oblong loaf.
Brush a pan or silpat with olive oil then set the loaves on top. Make 4 slices with a sharp knife on top of each loaf and replace them back in the oven for another 30 minutes to rise.
After the bread has risen for a second time, remove it from the oven and preheat the oven to 430°F (220°C) then stick the pan inside. After 15 minutes, turn the oven down to 355°F (180°C) and continue to bake for one hour. Remove and cool on a wire rack.
Store the loaves of bread in a closed plastic bag in the fridge. They will last up to 5 days. You can also freeze the bread.
Notes
There is only about 20 minutes of hands on work. The reason why it takes 4 hours is because the dough needs to use for 2½ hours and bake for 1 hour.
You may think that making fresh homemade bread is a hard task, but here’s the truth: it’s not. In fact, it’s really one of the easiest recipes ever! Not only does making your own bread save you money, it also tastes better compared to the store bought kind.
Serves: 2 Loaves
Ingredients
2 cups warm water (around 105°F (40°C))
1 tsp sugar
2 packets of active dry yeast or cubes
4 cups organic all-purpose flour
4½ cups organic 7 grain flour
1 teaspoon salt (if the 7 grain flour has salt included in it’s ingredients, if not increase the amount to 2 teaspoons).
½ cup flax seeds
½ cup poppy seeds
3 tablespoons extra virgin olive oil
Instructions
Warm two cups water and pour it in a ceramic bowl, avoid a metal bowl.
Add the sugar and yeast, stir together until combined; let sit for 10 minutes. When the yeast rises slightly and forms bubbles on top, it is ready.
In the meantime, add the flours, salt, flax and poppy seeds to a large ceramic bowl. Stir until combined.
Warm two additional cups water and set aside. Form a well in the flour and when the yeast is ready, pour it slowly into the flour mixture a little at a time, mixing together with your hands. Add olive oil. Continue adding extra warm water as needed until you have formed dough and it does not stick to your hands. (If you've added too much water, simply add more flour until you reach the right consistency.)
Preheat the oven to 125°F (50°C). (Need during the winter, if it is summer or the house is warm you can skip this step).
Knead the dough for 10 minutes.
Shut off the oven. Put the dough back in the ceramic dish, make a cross cross on top with a knife, cover with a damp dish towel and place it in the oven. Let the dough rise for 2 hours, it will double in size so make sure to put the bowl on the lowest rack.
Take the dough out of the oven, knead it for 5 minutes and then separate it into two balls. Form each ball into a oblong loaf.
Brush a pan or silpat with olive oil then set the loaves on top. Make 4 slices with a sharp knife on top of each loaf and replace them back in the oven for another 30 minutes to rise.
After the bread has risen for a second time, remove it from the oven and preheat the oven to 430°F (220°C) then stick the pan inside. After 15 minutes, turn the oven down to 355°F (180°C) and continue to bake for one hour. Remove and cool on a wire rack.
Store the loaves of bread in a closed plastic bag in the fridge. They will last up to 5 days. You can also freeze the bread.
Notes
There is only about 20 minutes of hands on work. The reason why it takes 4 hours is because the dough needs to use for 2½ hours and bake for 1 hour.
3.4.3177
1) Warm two cups water and pour it in a ceramic bowl. Add 1 teaspoon sugar and 2 packets of active dry yeast, stir together until combined; let sit for 10 minutes. When the yeast rises slightly and forms bubbles on top, it is ready.
2) In a ceramic bowl, combine 4 cups organic all purpose flour, 4 1/2 cups organic 7 grain flour, 1 teaspoon salt, 1/2 cup flax seeds and 1/2 cup poppy seeds. Stir until combined.
3) Warm an additional 2 cups of water and set aside. Form a well in the flour and when the yeast is ready, pour it slowly into the flour mixture a little at a time, mixing together with your hands. Add 3 tablespoons olive oil. Continue adding the extra warm water as needed until you have formed dough and it does not stick to your hands. (If you have added too much water simply add more flour until it is the right consistency.)
4) Preheat the oven to 125°F (50°C). (Needed during the winter, if it is summer or the house is warm you can skip this step). Knead the dough for 10 minutes, then shut off the oven. Put the dough back in the ceramic dish, make a cross cross on top with a knife, cover with a damp dish towel and place it in the oven.
5) Let the dough rise for 2 hours, it will double in size so make sure to put the bowl on the lowest rack. Take the dough out of the oven, knead it for 5 minutes and then separate it into two balls. Form each ball into a oblong loaf. Brush a pan or silpat with olive oil then set the loaves on top. Make 4 slices with a sharp knife on top of each loaf and replace them back in the oven for another 30 minutes to rise.
6) After the bread has risen for a second time, remove it from the oven and preheat the oven to 430°F (220°C) then stick the pan inside. After 15 minutes, turn the oven down to 355°F (180°C)and continue to bake for one hour. Remove and cool on a wire rack. Store the loaves of bread in a closed plastic bag in the fridge. They will last up to 5 days. You can also freeze the bread.
Super Bowl has arrived. As you rush around town picking up last minute items for your big party, don’t forget the ingredients to these delicious mini taco bowls.
These mini taco bowls are the perfect snack while watching the game. Imagine a warm tortilla shell packed with white or black beans and topped with melted cheddar cheese, ripe black olives, crisp green onion, fresh tomatoes and creamy greek yogurt. You won’t be able to eat just one.
These game day snacks are extremely easy to make. Simply use a circle cookie cutter, round lid or wide mouth glass to cut the disks out of the tortilla. Don’t throw the extra tortilla pieces away; use them the following day but cutting them into strips, baking them and adding them to your salad.
After you have the circles cut out, tuck them into the cups of your muffin tin. Add the beans, grated cheddar cheese, olives and half of the green onions then bake them for 10 minutes until the tortilla is golden brown and the cheese is melted. Top with tomatoes, greek yogurt and the remaining green onions.
These taco bowls are easily customizable to fit your taste. Here are just a few ideas on how you can add new flavor combinations:
Super Bowl Eve has arrived. As you rush around town picking up last minute items for your big party, don’t forget the ingredients to these delicious mini taco bowls.
Serves: 12 mini tacos
Ingredients
3-4 tortillas
1 cup cannellini white beans or black beans (canned, or dried and cooked)
¾ cup cheddar cheese
1 small can sliced olives
4 green onion stalks, finely sliced
½ tomato, finely chopped
Greek yogurt
Instructions
Preheat oven to 425°F.
Using a circle cookie cutter or drinking glass, cut 12 circles out of the tortillas.
Gently tuck each circle into one of the cups in the muffin pan. (No liner needed).
Spoon in the beans and top with cheddar cheese, olives and half of the green onions. Cook in the oven for 10 minutes or until the tortilla shell is golden brown and the cheese is melted.
Top with tomatoes, dollops of greek yogurt and remaining green onions.
3.2.2925
The options are really endless. Have fun with them!
This recipe is an instant crowd pleaser and you can easily double or triple the recipe without much added effort.
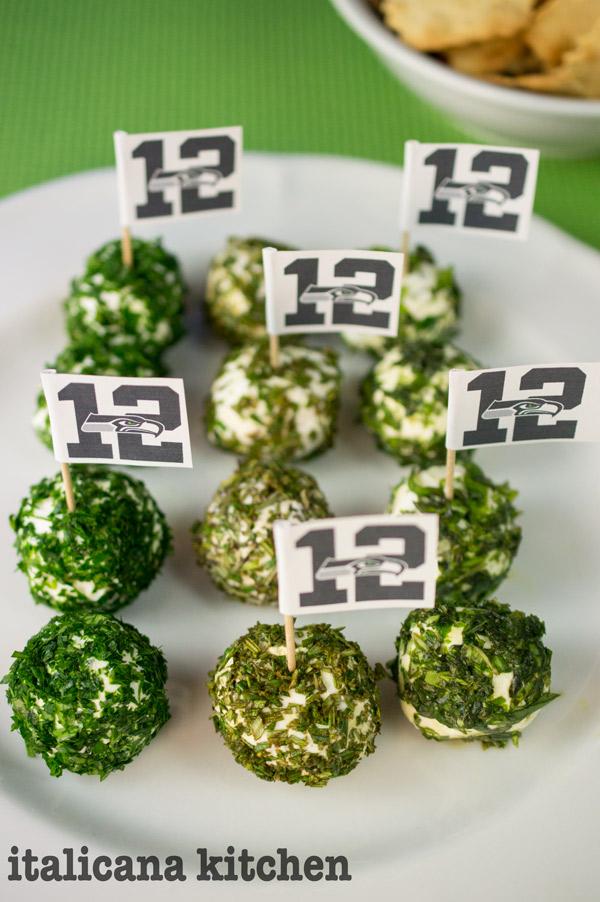
To make the little Seahawk flags, simply find a logo online, paste and duplicate it in Word. Cut the logos out and glue them to toothpicks. Voilà. Super simple and super cute.
Super Bowl Eve has arrived. As you rush around town picking up last minute items for your big party, don’t forget the ingredients to these delicious mini taco bowls.
Serves: 12 mini tacos
Ingredients
½ lb ground turkey
¼ packet of taco seasoning mix
¼ cup water
3-4 tortillas
¾ cup cheddar cheese
1 small can sliced olives
4 green onion stalks, finely sliced
½ tomato, finely chopped
Greek yogurt
Instructions
Preheat oven to 425°F.
Brown the ground turkey meat over medium high heat. Drain the juice. Add the the seasoning mix and water and cook on medium high heat for 5 minutes. Set aside.
Using a circle cookie cutter or drinking glass, cut 12 circles out of the tortillas. Warm them in the microwave for 10 seconds until they are pliable.
Gently tuck each circle into one of the cups in the muffin pan. (No liner needed).
Spoon in turkey meat and top with cheddar cheese, olives and half of the green onions. Cook in the oven for 10 minutes or until the tortilla shell is golden brown and the cheese is melted.
Top with tomatoes, dollops of greek yogurt and remaining green onions.
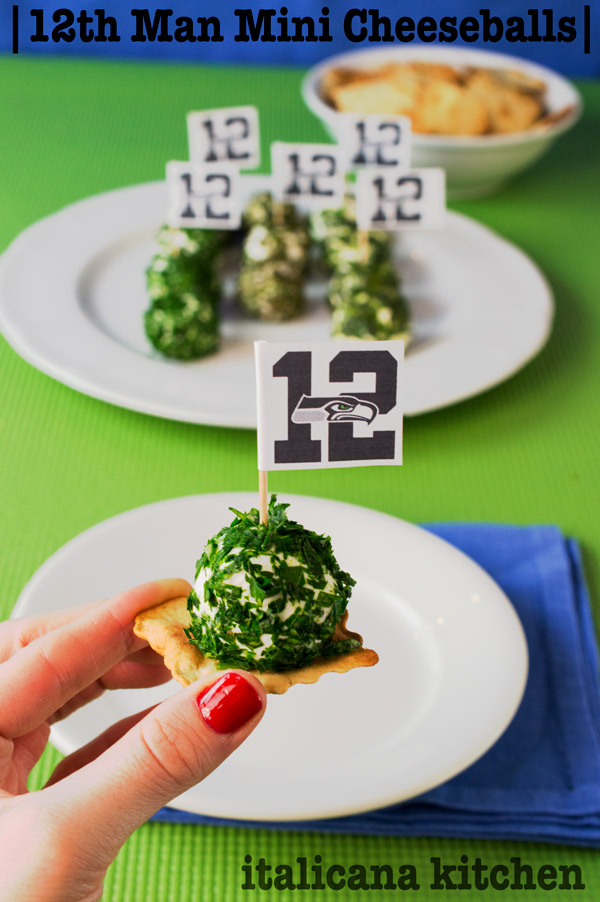
To celebrate the Seahawks during the Super Bowl, whip up these colorful mini cheese balls for one of your game-day snacks. You are a 12th man, aren’t you?
There are two HUGE disadvantages of living in Italy :: Italia.
1) There are no noteworthy football teams :: squadre (and by football, I mean American football. In Italy, the word football stands for soccer.)
2) The dang time difference :: fuse orario for watching football games. It will be 12:30a.m. when the Super Bowl starts here. Oh well, going to bed at 4a.m. and waking up at 7a.m. to work is SO worth it if the Seahawks are involved.
I grew up in a small Eastern Washington town where the population was 1,500 people and the town didn’t even have a stop light. Although there wasn’t a movie theater, a mall or a theme park to pass the time, many of us kids did something else: sports. We lived for sports. During the school year we were on organized teams, in the summer we went to sports camps and in the evenings all the neighborhood kids would convene to battle each other in the backyard or on an outdoor basketball court.
Thanks to growing up with two older brothers, I know how to throw a perfectly spiral football farther than many guys *cough* my husband (to be fair, he never had thrown a football before he met me.) I even packed a football in my suitcase when I came to Italy.
My mom is also a huge football fan. No Sunday game or Monday night football was missed during the season. It was a ritual in our home to pass hours together as a family eating buttered popcorn and cheering on our beloved team.
There is just something special about being in the football stadium, dressed in your team’s colors and feeling the rumble in the stands as the crowd cheers in unison. It’s a magical moment.
This magical feeling is even carried over into your home as you and your friends or family crowd around the television set.
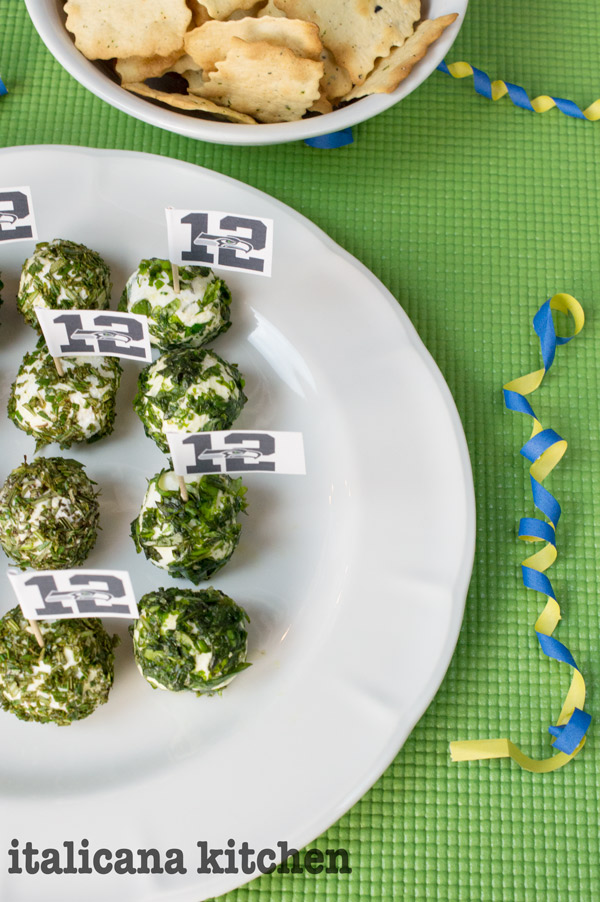
So I end this post with a cheers to the Seattle Seahawks for making it to the Super Bowl and I wish you all back home a wonderful game-day filled with the company of your family, friends and hopefully these mini cheese ball snacks! Of course, don’t forget game-day dessert! Check out these Blueberry and Oreo Mini Cheesecakes!
To celebrate the Seahawks during the Super Bowl, whip up these colorful mini cheese balls for one of your game-day snacks. You are a 12th man, aren’t you?
Serves: 12
Ingredients
10oz goat cheese
Handful of fresh parsley, finely chopped
Handful of fresh rosemary, finely chopped
Handful of fresh basil, finely chopped
Instructions
Put the herbs into three separate bowls.
Roll the goat cheese into small balls.
Roll a ball in one of the herb mixtures. Repeat.
Store in the fridge. Serve with crackers or toasted bread.
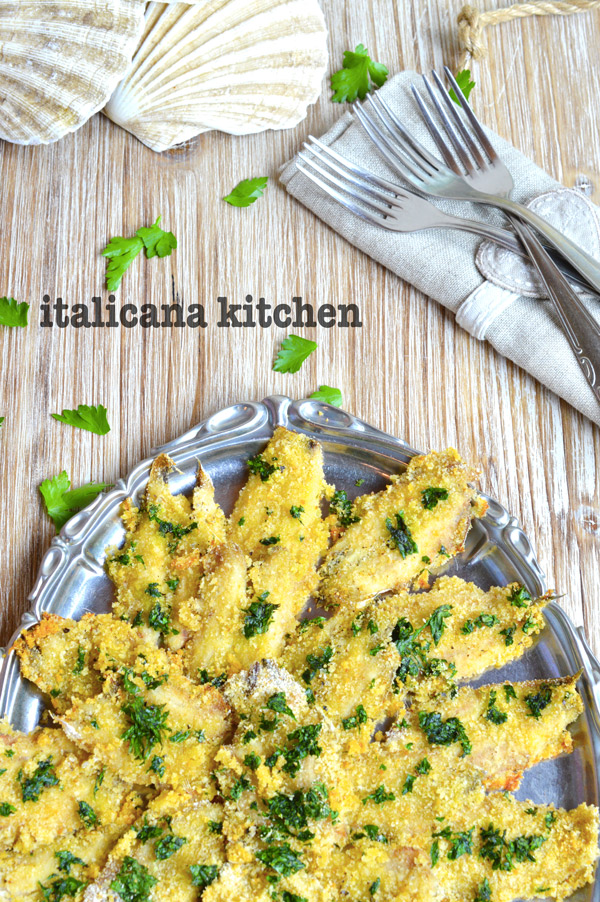
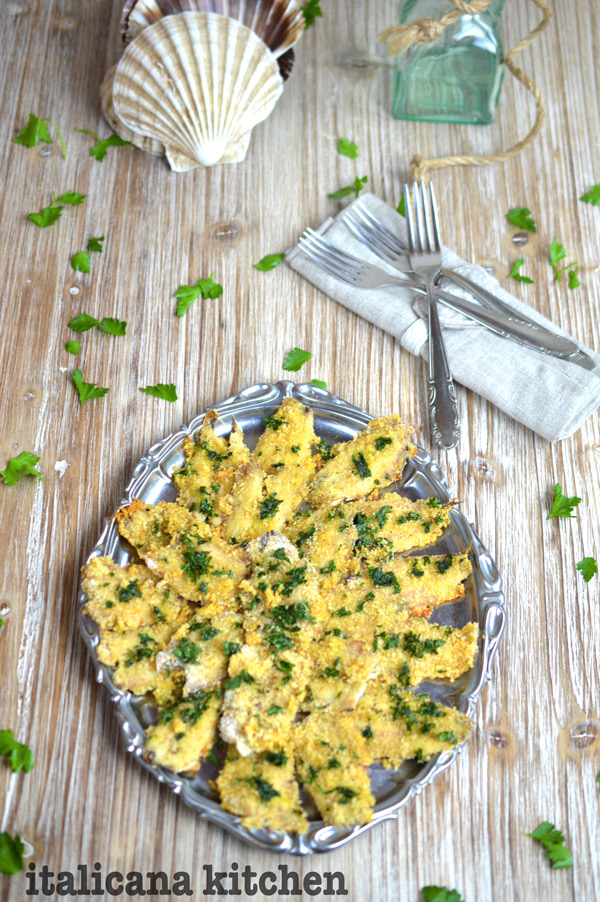
Skip the frozen fish sticks, artificial crab meat and genetically engineered salmon, and treat yourself to a protein packed Italian Baked Sardine dinner.
The next time you are contemplating what to eat :: mangiare for lunch or dinner, try this delicious sardine recipe. Why? I’m glad you asked.
Top 5 Reasons to Eat More Sardines (fresh or canned):
1. Sardines are loaded with protein, omega-3 fatty acids, potassium, iron and calcium :: calcio.
2. Fresh sardines vary in prices, but they are usually less expensive than other fresh fish :: pesce.
3. Unlike salmon and tuna :: tonno, sardines are low on the food chain meaning they contain lower amounts of mercury and other toxins.
4. Thanks to their abundance :: abbondanza and high production rates, they are a sustainable fish.
5. They are super easy to prepare :: preparare. Just set them on a baking sheet, cover them 5 ingredients and dinner is done in less than 20 minutes.
I suppose I should have added a 6th reason: they are delicious! I grew up as a canned sardine lover. I have vivid childhood memories of my dad :: papà picking me up when I wasn’t even tall enough to see the top of the kitchen table, setting me on his lap and letting me share his canned sardines packed in olive oil. My three year old taste buds fell in love with this small, oily, silvery fish.
Living in Italy, it would be a true shame :: peccato if I didn’t take advantage of the ample sardines found in the Mediterranean Basin. And, although they shut down the last sardine cannery in the United States in 2010, almost every American grocery store sells this imported saltwater fish, either fresh or in the canned variety.
I am getting into a habit of getting my fish recipes from the fishmonger :: pescivendolo at the local market. Amidst the crowds of customers waiting in line, he is all to kind to reveal to me a quick Italian recipe to try out. Like many Italian recipes, it involves fresh food and a short list of ingredients.
You can serve these as an appetizer, side dish or main course. They also pair exceptionally well with some of my other seafood recipes like my Blood Orange Baked Sole or Fennel and Radicchio Shrimp Bruschetta if you want to offer your family or guests a variety :: varietà.
Skip the frozen fish sticks, artificial crab meat and genetically engineered salmon, and treat yourself to a protein packed Italian Baked Sardine dinner.
Serves: 20 sardines
Ingredients
20 fresh sardines, skin on, head off, scales removed, washed and patted dry
Enough bread crumbs to lightly cover all the sardines, about ½ cup
½ cup, chopped Italian parsley
2 tablespoons extra virgin olive oil
Salt and pepper, to taste
Instructions
Preheat oven to 355°F (180°C)
Line a baking sheet with parchment paper.
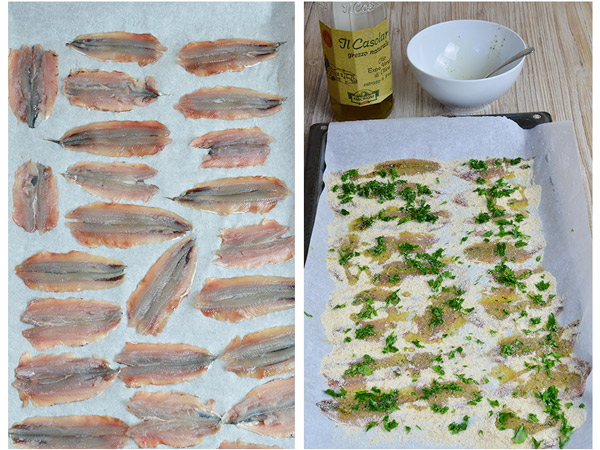
Position the sardines on top, with the flesh side up.
Cover with a thin layer of bread crumbs and parsley.
Add olive oil to a bowl and mix with salt and pepper, to taste. Drizzle the mixture over the sardines.
Bake for 10-15 minutes until the bread crumbs are golden brown. Serve warm
The sardine are then eaten whole, no need to remove the skin.