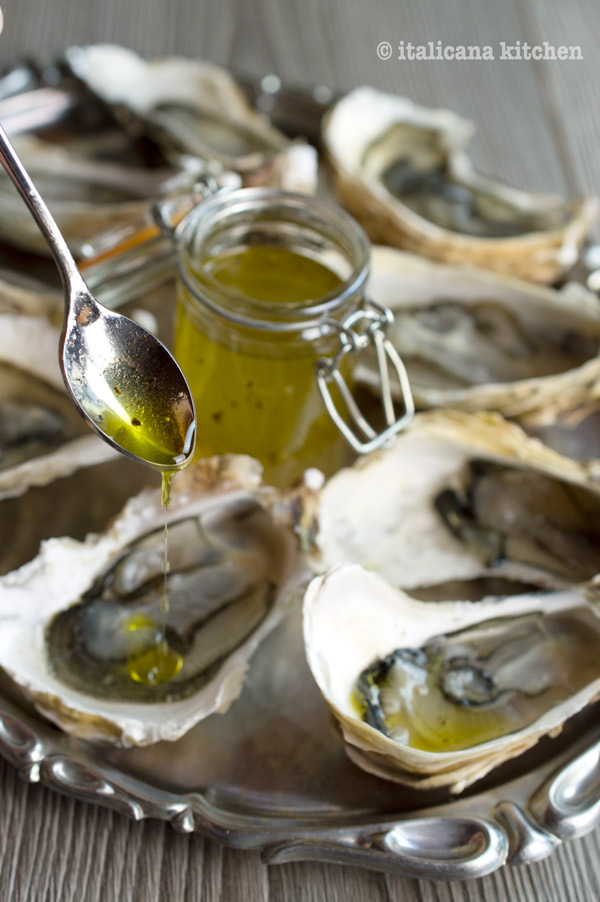
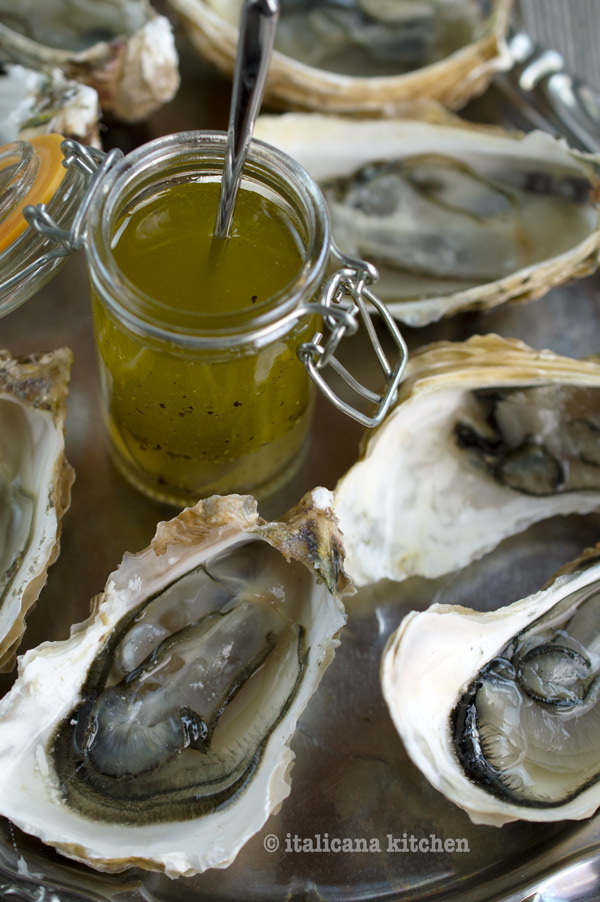
Living in Seattle, Washington, I had the advantage of finding delicious fresh raw oysters at Pikes Place Market or in the various seafood restaurants. I always ate them plain or with a squeeze of fresh lemon :: limone fresco. This time, I wanted to give them an Italian twist by serving them with a fresh vinaigrette made from good extra virgin olive oil from Liguria, a little fresh lemon I picked up in Lake Garda in the region of Trentino Alto-Adige, salt from Cervia near the Adriatic sea and black pepper.
Using this vinaigrette on seafood and vegetables is quite common in Italy. There is an appetizer called pinzimonio that is simply raw vegetables (usually fennel, carrots, radicchio, tomatoes and celery) served with the vinaigrette. In Sardinia, a common recipe is Crostacei alla Catalana :: Catalonia Crustaceans. (In the past, Sardinia was dominated by Catalonia.) It is a mix of shrimp, prawns, lobster and crab that are boiled then served with the vinaigrette and often times, pinzimonio. It is usually eaten as an appetizer or main course.
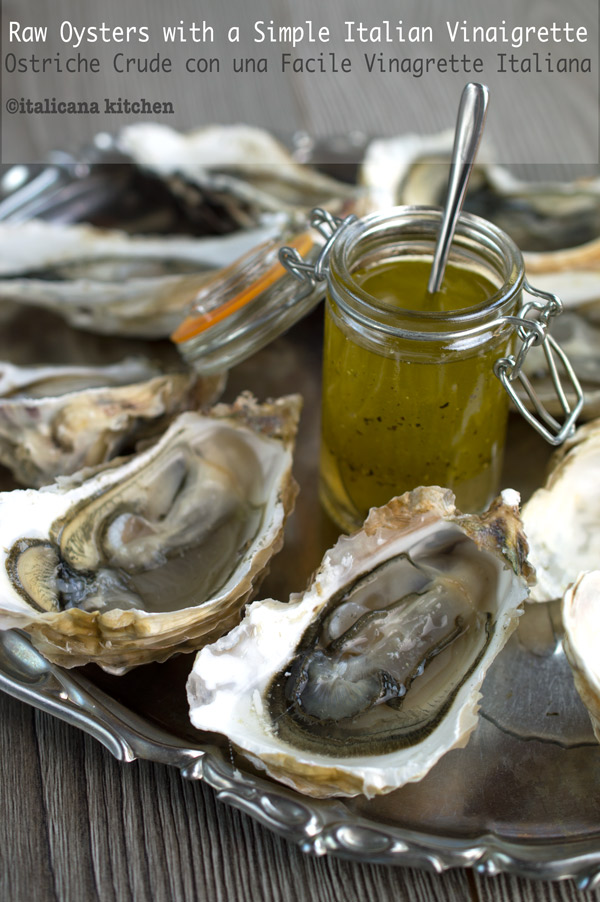
This simple Italian vinaigrette is a perfect alternative sauce for raw oysters :: ostriche crude. It is fresh with a subtle zing, a smooth finish and doesn’t cover the ocean taste of the raw oysters.
This simple Italian vinaigrette is a perfect alternative sauce for raw oysters.
Serves: 2
Ingredients
¼ cup extra virgin olive oil
1-2 pinches unrefined salt
1-2 cracks of freshly ground black pepper
1-2 squeezes of lemon
9 fresh oysters, cleaned and opened
Instructions
In a small bowl, mix together the extra virgin olive oil, unrefined salt, black pepper and lemon. Taste and adjust seasonings as needed. Serve alongside the oysters.
Whenever Mr. Italicano makes himself bruschetta he rubs the toasted bread with a garlic clove :: spicchio di aglio before adding a drizzle of extra virgin olive oil. He then eats it plain, sprinkled with a bit of sea salt or a few chopped tomatoes, olives or marinated artichokes. Although the toppings may change, one thing that always remains the same is the garlic—it’s a must.
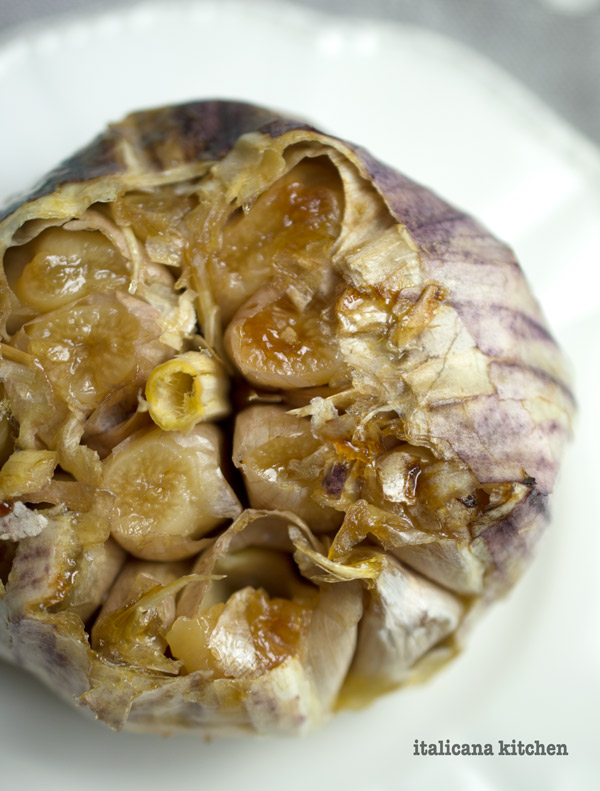
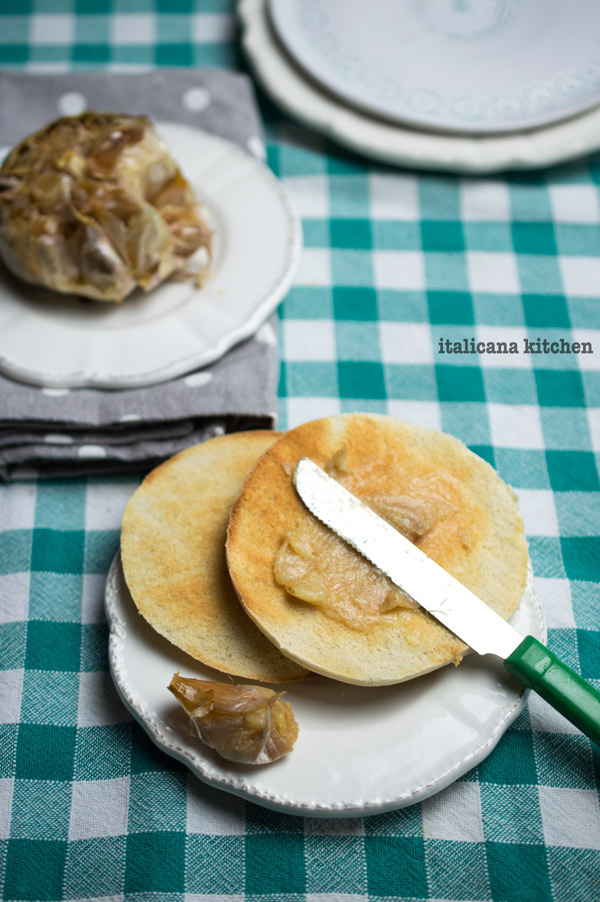
You would think that Italians, who are extreme garlic lovers, would be fully aware that by roasting the garlic first means that you don’t just have to rub :: strofinare the garlic on the bread to give it some aroma, but you can actually spread the garlic on top because it becomes soft and smooth like freshly churned butter. I thought roasted garlic was common everywhere, but to my surprise, Mr. Italicano had never even heard of roasted garlic, let alone tried it. Let’s just say, he was quite the happy camper to discover it.
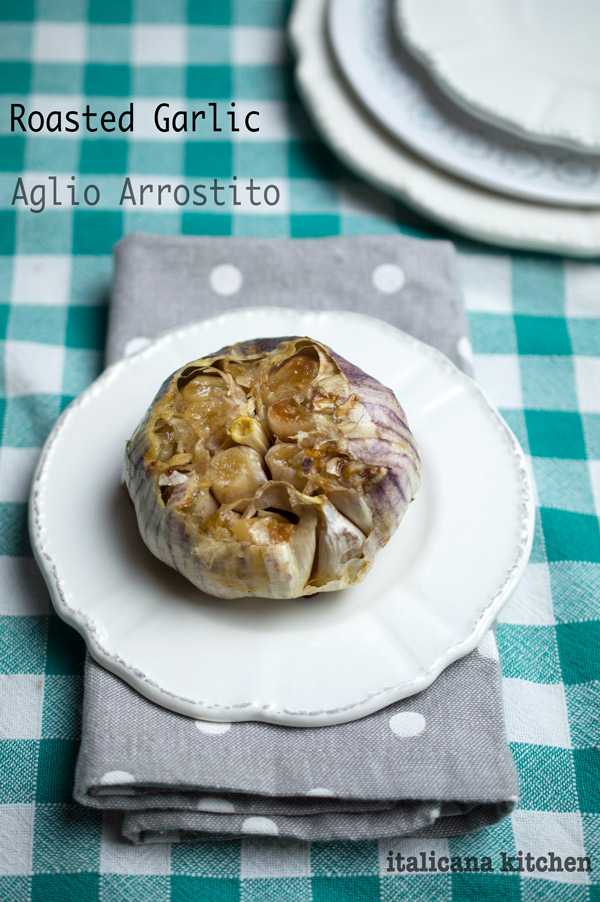
Roasted garlic isn’t as potent as fresh garlic; it’s like a creamy, buttery, caramelized, melt-in-your-mouth spread with a hint of garlic that is so addicting you might find yourself eating half a garlic bulb :: testa d’aglio. Which you should actually bring it on! Garlic has a ton of health benefits like fighting the common cold that circulates in this season, just to name one.
My sister-in-law :: cognata Jordan taught me how to roast garlic this way when I was in college in Seattle and would go to her and my brother Cliff’s apartment occasionally on the weekends for a home cooked meal. They both are exceptional cooks and I always looked forward to dinners with them because I felt like I was in some high quality gourmet restaurant. It beat out the Top Ramen or box mac and cheese by a zillion to one.
When I smelled this garlic roasting in the oven :: forno this afternoon, it brought me back to these family memories that were over a decade ago. Oh, the power of smell—how I adore you and your ability to transport me back in time, if only for a sweet and fleeting moment.
What I love about roasting garlic is how quick it is to prepare—less than 1 minute—and how elegant it is to serve, making it a fuss free appetizer you can serve at dinner parties. You can spread it on hot toasted bread, pita chips and crackers or stir it into sauces, pestos and hummus for a richer flavor sensation. It’s also perfect as a quick snack because, once cooked, you can store it in the fridge for up to a week and have it ready to slather on a piece of bread right out of the toaster.
Roasted garlic is the perfect appetizer for the winter holidays; it's easy to make, tastes amazing and it's super healthy.
Serves: 6-8
Ingredients
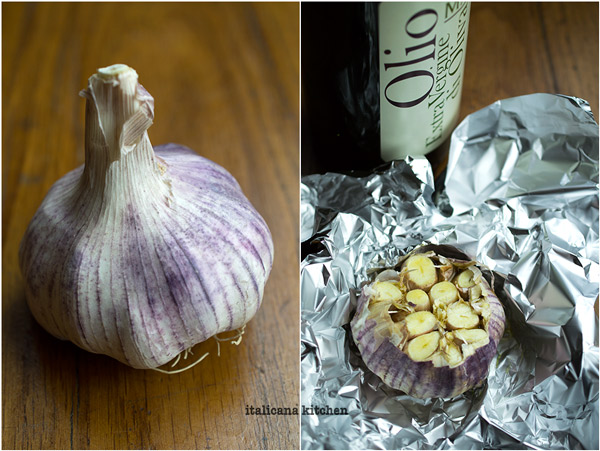
1 garlic bulb
Extra virgin olive oil
Instructions
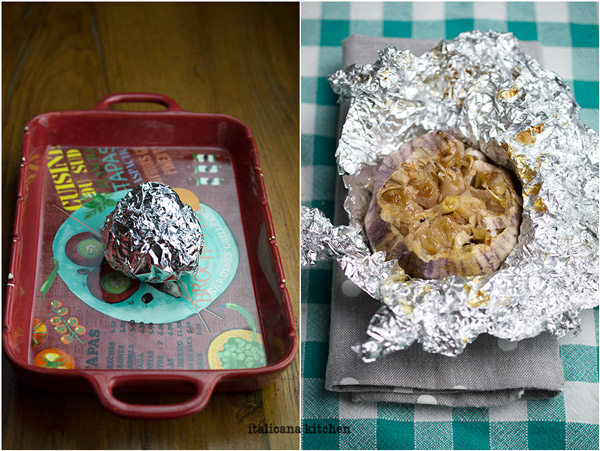
Preheat the oven to 400°F (200°C).
Peel off the outer layers of the garlic bulb then cut off ¼ inch from the top. Drizzle some extra virgin olive oil and rub it onto the cloves with your fingers. Wrap in aluminum foil, place in a casserole dish or on a baking sheet and bake for 40-55 minutes, or until the garlic clove when squeezed out of the clove comes out soft and creamy like freshly churned butter. Spread onto bread, pita chips, crackers or stir it into sauces, pestos and hummus. Store the roasted garlic in an airtight container in the refrigerator.
Every since I have been making homemade bread :: pane fatto in casa I have been on a dip, spread, pesto and hummus craze. Recently I’ve made a delicious thick kale pesto, roastedbeet sauce, olive hummus and last but not least, this white bean hummus—all such good options to slather on my hot freshly toasted bread.
I don’t know how I’ve been living in Italy without a toaster :: tostapane for these past six years. I usually stick the slices on a skillet or lay them on a cookie sheet and toast them in the oven, but that is a lot of extra work in the morning especially if I am in a rush and need to head out the door. And let’s be honest, I’d rather sleep those extra 10 minutes than make toast; even if it is so good with a big spoonful of all-natural peanut butter spread on top…..*Sigh.*
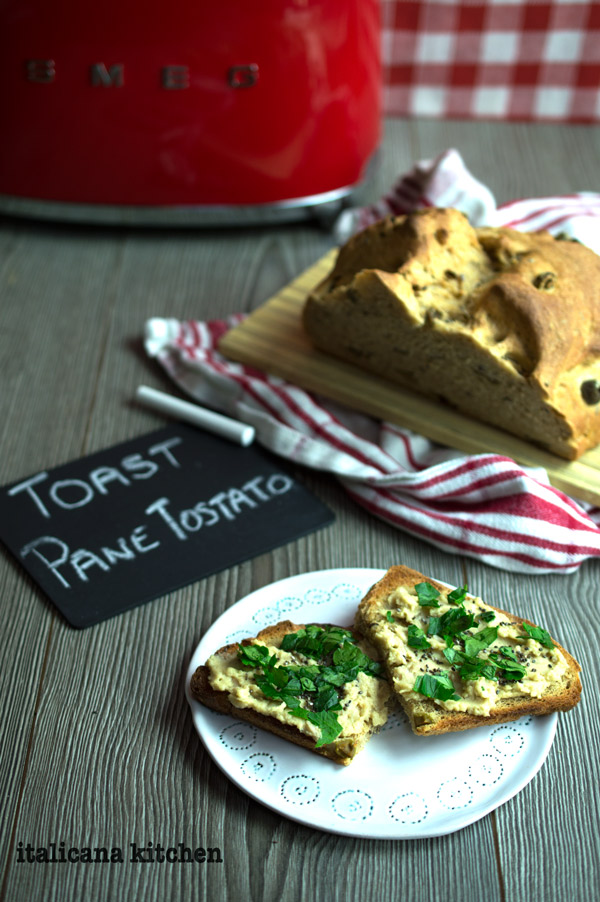
You can imagine how excited I was then when Smeg sent me a toaster from their new line of 1950’s style appliances. Why get so giddy over a toaster? 1) Because I already have a Smeg fridge and oven that I absolutely love. 2) Now I can easily and quickly eat toast in the morning and for snacks! 3) I love.love.love. the design. Who says that about a toaster? However, look at it. It’s just too cute, how could you not?
I was in the mood for ease and simplicity when I made this hummus but you can also roast your garlic :: aglio in the oven to give it a special twist. I honestly couldn’t be bothered, as you might have guessed I was a bit too excited to try out my toaster and wanted this white bean hummus pronto! 🙂
This white bean hummus can be whipped up in 5 minutes and is the perfect healthy mid-day snack or appetizer.
Serves: 2-4
Ingredients
One 14 ounce (400g) can canned cannellini, drained and rinsed
2 tablespoons extra virgin olive oil
1 teaspoon tahini
1 clove garlic
3-4 dashes paprika
2 squeezes of lemon
Instructions
Blend the cannellini beans and extra virgin olive oil in a food processor. Add the tahini, garlic, paprika and lemon. To serve, add more extra virgin olive oil and paprika on top for garnish and chopped basil or parsley if desired. Serve with crackers, pita chips or homemade toasted bread. Store the hummus in the refrigerator.
3.4.3177
Note: This post is not paid by Smeg. They were kind to send me the toaster, but I only support the companies I believe in and the products I love and would use myself.
Mr. Italicano and I eat a lot of whole grains like Kamut®, couscous, farro, quinoa, miglio etc. Although quite boring and bland :: insipido on their own, like pasta, one of the best ways to serve these dishes is with varied and flavorful homemade sauces. Last week I made a delicious kale pesto, this week I wanted to experiment with another seasonal produce, and thusly chose beets.
Unfortunately, there is one vegetable that Mr. Italicano doesn’t like. Yup, you guessed it: beets! I, however, love them. I have fond memories in the vegetable garden :: orto with my mother as a child carefully using the small hand shovel to loosen the dirt before pulling the bright green stems with both hands to reveal the giant red treasure. Even if I had already pulled 10 in a row, unearthing a beet was like opening a gift—each time there was an element of surprise of what Mother Nature has given you.
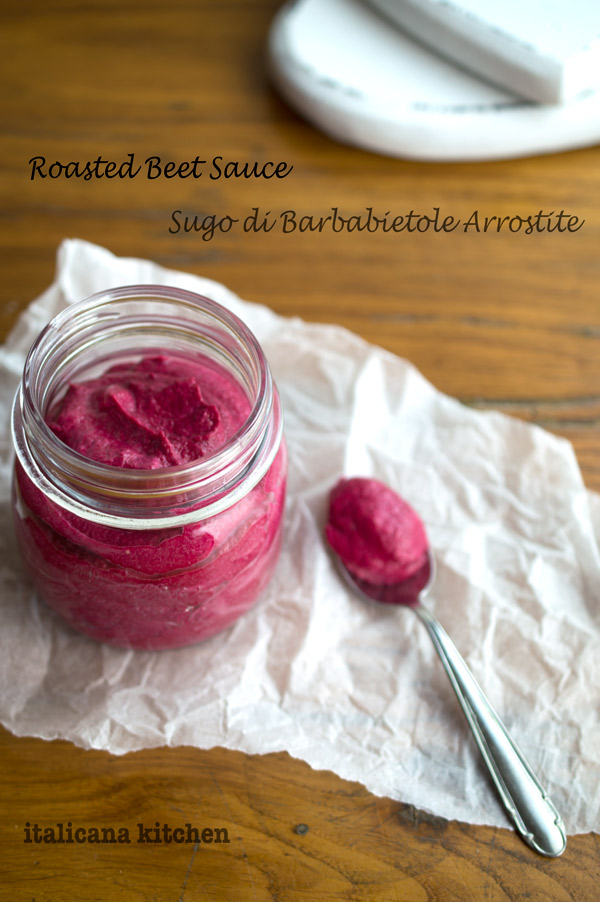
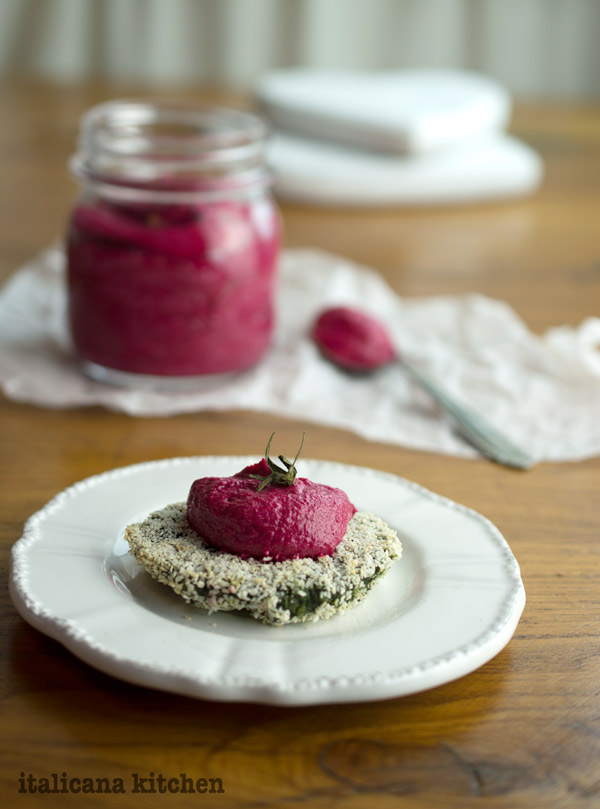
I bought two beets and gave myself a challenge; I wanted to see if I could prepare them in a way that Mr. Italicano could appreciate them as well. I took on the clever tactic that many parents do with their children :: bambini: blend the vegetable up, mix it in a dish and whatever you do, don’t reveal it’s contents. It worked! I served the beet sauce mixed into farro and topped with roasted carrots. Mr. Italicano raved about how good it was. Later on that week, I used it on top of rice cakes. Yum.
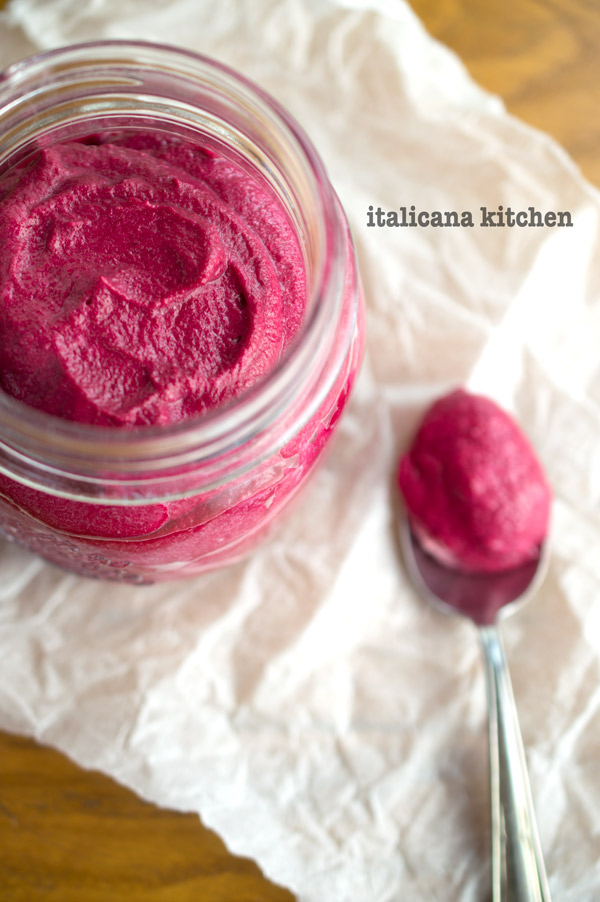
Since this roasted beet sauce is so versatile you can easily add it to many recipes or eat it plain as a dip with raw vegetables ::verdure crude or pita chips. Enjoy!
This beet sauce is perfect as a quick and healthy appetizer served with raw vegetables and crackers or as a tasty sauce added to grains like farro, Kamut®, millet, quinoa or couscous.
Serves: Around 2 cups
Ingredients
7oz (200g) feta
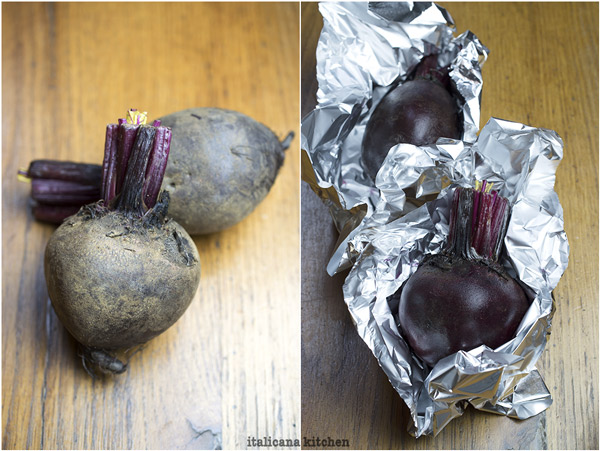
1 pound beets (1 large beet or two small ones)
2 tablespoons extra virgin olive oil
1 squeeze of a lemon
1 pinch of salt
Instructions
Preheat the oven to 400°F (200°).
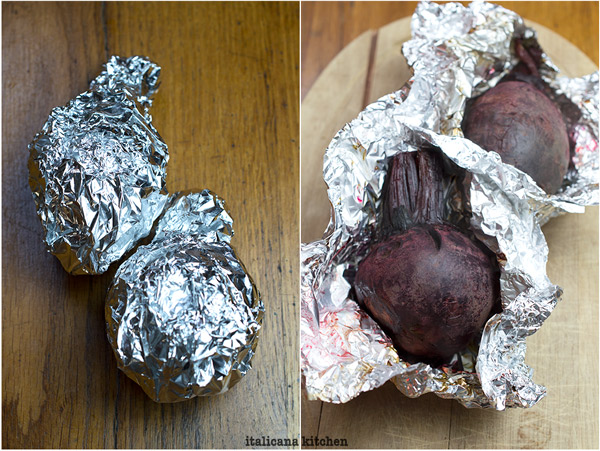
Wash the beets well and wrap each one in a piece of aluminum foil. Place on a cookie sheet with raised lips or in a baking dish in case the liquid drizzles out.
Cook for 50-60 minutes, opening the foil and checking half way through. The cooking time will depend on the size of the beets.
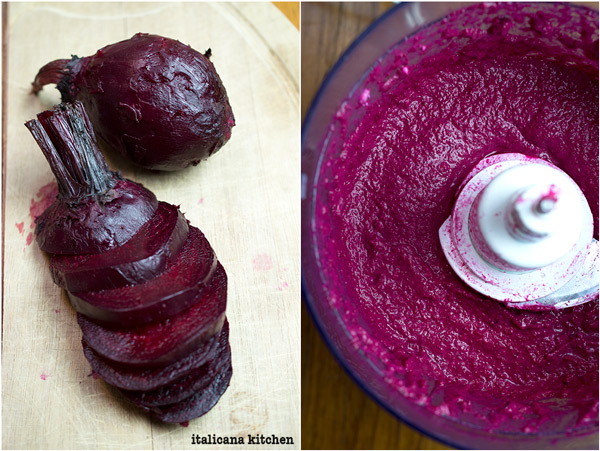
The beets are ready when you can easily poke a fork in the center. Let them cool slightly then use a paper towel to rub the skin off. If the skin is not easily coming off, put the beets back in the oven for a few minutes.
After the skin has been removed, blend all of the ingredients together and serve as a spread with raw vegetables and crackers or as a sauce mixed into grains like farro, Kamut®, couscous, millet, quinoa etc. For alternative flavor options you could also add to the recipe above: ½ tablespoon apple vinegar or ¼ teaspoon grated ginger or 1 clove garlic. Store in the refrigerator and consume within 3-4 days.
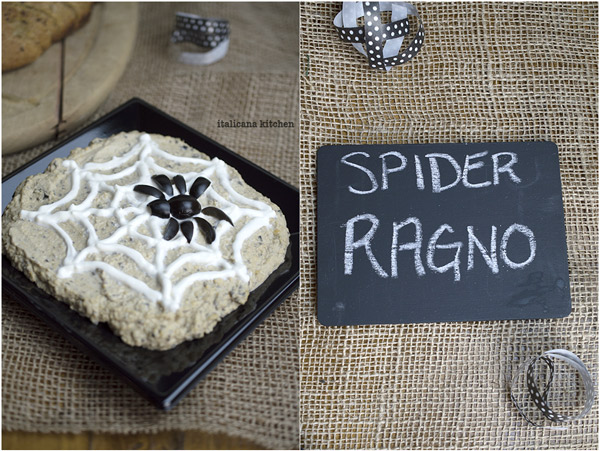
Happy Halloween! To celebrate I made an eerie olive hummus that is perfect for your Halloween parties. Using just ten ingredients that you probably already have in the pantry :: dispensa, you can whip up this appetizer in just 10 minutes. I served this hummus with a homemade whole grain bread that actually looked like a mummy after I sliced it, so I added the eyes. What a coincidence! This olive hummus is also great with pita chips, crackers or raw vegetables.
Unfortunately here in Italy, Halloween is not celebrated like it is back in the states. In recent years there have been some costume parties in some bars or trick or treating for kids at stores (they usually don’t go house to house), but nothing like the grand Halloween theme parks, haunted houses ::lecase stregate, apple bobbing, decorations, pumpkin carving and costume parties that I grew up with.
Fear not; if you live in Italy, you are not deprived of a costume festivity for Italians celebrate Carnevale :: Carnival, a multiple day festivity that takes place in February. All around Italy, and especially Venice, there are street parades, masquerade balls, and large street parties. If you are planning a trip to Italy in February, it is definitely a tourist highlight. If you’ve already been to carneval in Italy, what did you think of this festivity? Did you like it more than Halloween?
This scary olive hummus with a spider and web is perfect for your Halloween parties, especially since you can whip it up in just 10 minutes!
Serves: 4-6
Ingredients
3 tablespoons (40g) tahini
1 small lemon, juiced
1 garlic clove, minced
2 tablespoons extra virgin olive oil
¼ teaspoon salt
⅛ teaspoon ground cumin
One 15-ounce can (425g) chickpeas, drained and rinsed
½ cup (90g) black olives
4 tbsp water
Greek yogurt, as needed (optional)
3 olives (optional, for the spider)
Instructions
In a food processor, add the tahini, lemon juice, garlic, extra virgin olive oil, salt and cumin. Blend for 1 minute.
Add half of the chickpeas and blend for 30 seconds, then add the other half along with the olives.
While the food processor is continuing to blend on low, add one tablespoon of water at a time until the mixture is homogeneous and creamy. I used 4 tablespoons, you may want more or less.
To create the spider web, fill a pastry sack with some Greek yogurt and draw the web like the photo.
For the spider, cut an olive in half lengthwise. Cut the other half of the olive in four legs. Cut the second olive in half lengthwise and cut four legs. For the head, cut an olive in half widthwise.
 Living in Seattle, Washington, I had the advantage of finding delicious fresh raw oysters at Pikes Place Market or in the various seafood restaurants. I always ate them plain or with a squeeze of fresh lemon :: limone fresco. This time, I wanted to give them an Italian twist by serving them with a fresh vinaigrette made from good extra virgin olive oil from Liguria, a little fresh lemon I picked up in Lake Garda in the region of Trentino Alto-Adige, salt from Cervia near the Adriatic sea and black pepper.
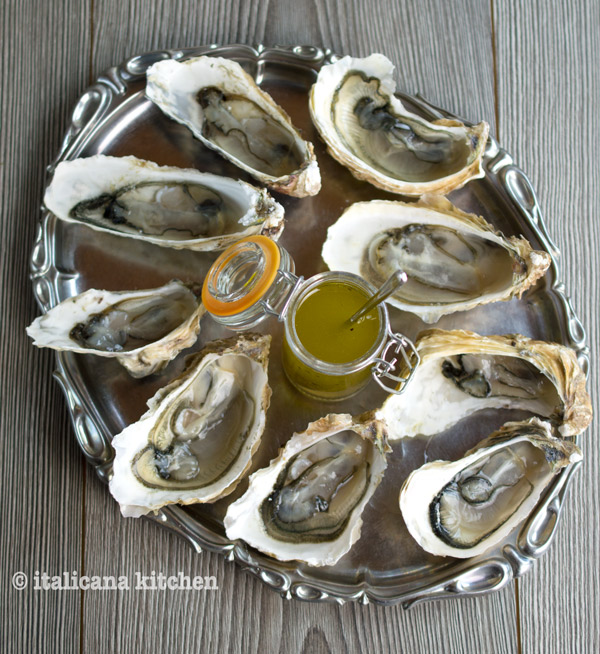
 Using this vinaigrette on seafood and vegetables is quite common in Italy. There is an appetizer called pinzimonio that is simply raw vegetables (usually fennel, carrots, radicchio, tomatoes and celery) served with the vinaigrette. In Sardinia, a common recipe is Crostacei alla Catalana :: Catalonia Crustaceans. (In the past, Sardinia was dominated by Catalonia.) It is a mix of shrimp, prawns, lobster and crab that are boiled then served with the vinaigrette and often times, pinzimonio. It is usually eaten as an appetizer or main course.
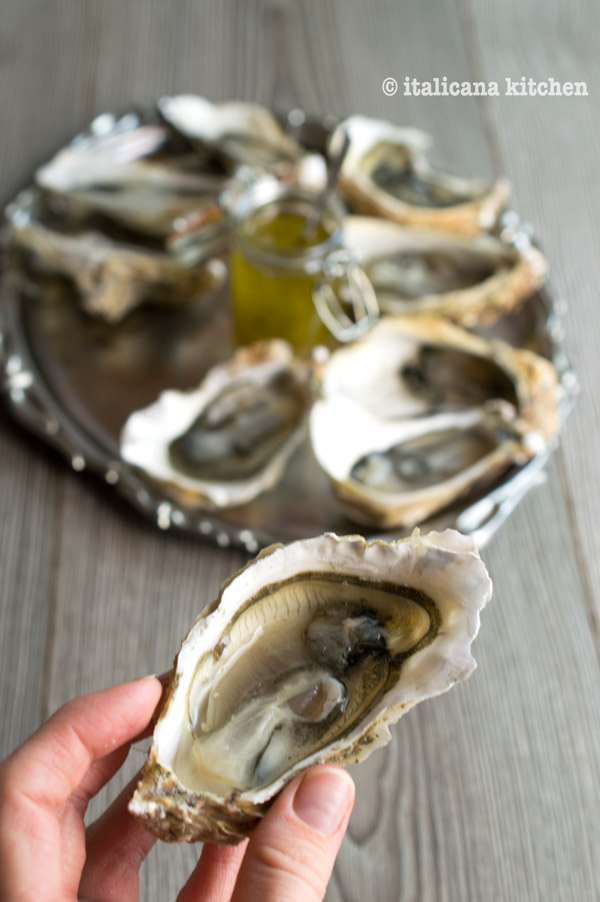
 This simple Italian vinaigrette is a perfect alternative sauce for raw oysters :: ostriche crude. It is fresh with a subtle zing, a smooth finish and doesn’t cover the ocean taste of the raw oysters.