If you’ve ever traveled around Italy, you’ve probably discovered that every region, even each town, has special traditional dishes :: piatti.Erbazzone, a delicious spinach pie, is one of these unique dishes that originated from Reggio Emilia, a quaint town in the region of Emilia-Romagna. The easiest way to show you how to make this Italian delicacy is with a short video. Enjoy! 🙂
I still remember the first time I ate erbazzone. It was over six years ago and my second morning of living in Italy, my new home ::casa. I remember walking into the town’s center for a cappuccino and a brioche (or croissant, as Italians most commonly call them.) They were out of my favorite kind: whole wheat with honey, so, I instead opted for the inviting little square slice in the display cabinet. I had no idea what it was. I just pointed and the person behind the counter said a weird name: erbazzone.
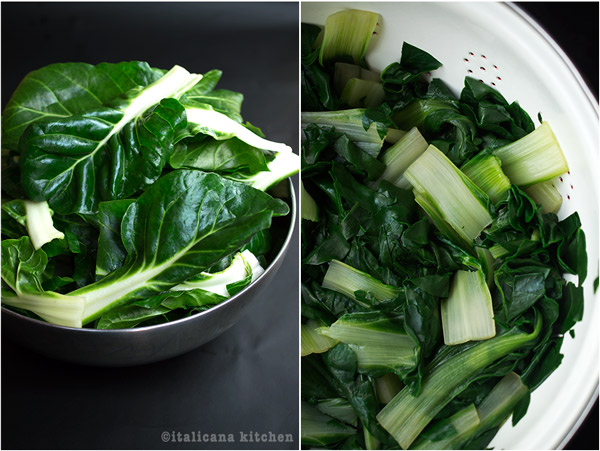
It was love at first bite. Thin layers of crust surrounded cooked greens (Swiss chard and spinach, I came to find out). I had lived in Rome in university for three months and traveled quite a bit throughout Italy, but it was moments like these that always put me in awe. Italian gastronomy is so vast :: vasto. There is so much variety and diversity, it’s an endless flavor discovery.
I devoured the square and asked for another. I was eating my vegetables after all, wasn’t I? Well, come to find out this little seemingly vegetarian slice of goodness is most often loaded with lard, and often times pancetta, an Italian style of bacon. My dad would love it…for those on the other hand who want a healthier option, you can easily substitute with extra virgin olive oil and still get all the great taste :: sapore. Problem solved.
If you want to try an easy, but authentic, Italian breakfast or appetizer, make this erbazzone recipe!
Cuisine: Italian
Serves: 8-10
Ingredients
For the dough:
3 cups (400g) all-purpose flour
2 teaspoons (10g) salt
3 tablespoons (35g) extra virgin olive oil
1 cup (210g) lukewarm water
For the filling:
1 lb 10 ounces (800g) Swiss chard
1 lb 2 ounces (500g) spinach
1 bunch spring onions with stems (100g), finely chopped
1 tablespoon extra virgin olive oil
1 clove garlic, finely chopped
3.6 oz (100g) grated Parmigiano Reggiano (Parmesan)
1 handful of Italian flat-leafed parsley, finely chopped
Salt and pepper
Instructions
In a large bowl, add the flour and salt. Stir. Add the extra virgin olive oil and water and begin mixing with your hands. Add more water, a spoonful at a time, if needed until the mixture becomes homogenous and comes together in a ball. If you press the dough with your finger it should leave an imprint that soon disappears; if it sticks to your finger, add a bit more flour. Wrap the dough in plastic wrap and store in the refrigerator for ½ hour.
In the meantime, bring a large pot of water to boil and generously salt the water. Add the Swiss chard stems, cook for a few minute then add the leaves and cook for another minute or two until soft. Scoop the Swiss chard out and drain well. Cook the spinach until wilted. Drain thoroughly and press out the extra water with a wooden spoon against the holes of the strainer.
In a large skillet, add the extra virgin olive oil and cook the garlic for one minute over medium heat. Add the spring onions and cook until soft. Add the spinach and chard and cook until the water from the vegetables has evaporated. Remove from heat and transfer the vegetables into a bowl.
Preheat the oven to 400°F (204°C) (static mode). Line a 20 inch (52cm or larger) rectangular pan with parchment paper. Divide the dough in two and roll the sheets out thinly so they are the size of the pan. Roll the dough onto the rolling pin and carefully lay it in the pan.
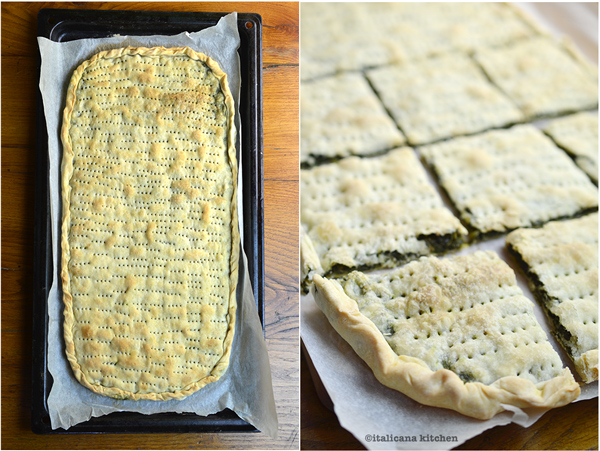
When the vegetables have cooled, add the Parmigiano Reggiano, parsley, salt and pepper; mix well. Put the filling on top of the dough and spread it out evening, leaving a little bit of an edge. Put the second layer of dough on top and crimp the edges. Prick the top layer all over with a fork, making sure to go all the way down; otherwise, the dough will puff up when baked. Brush with extra virgin olive oil.
Cook for 30 minutes; let cool then cut into squares. Eat warm or cold for breakfast, lunch or as a snack or an appetizer.
Making pancakes is so easy! Here is a quick 2 minute video showing you how to make perfect whole wheat pancakes.
When I think of pancakes, the first thing that comes to mind is a dab of butter melting on top of the warm stack then swimming in a river of natural maple syrup. Or, I think of garden strawberries :: fragole and mountain blueberries dropped on a pillow of fresh whipped cream. Either way, I associate pancakes with sweet flavors.
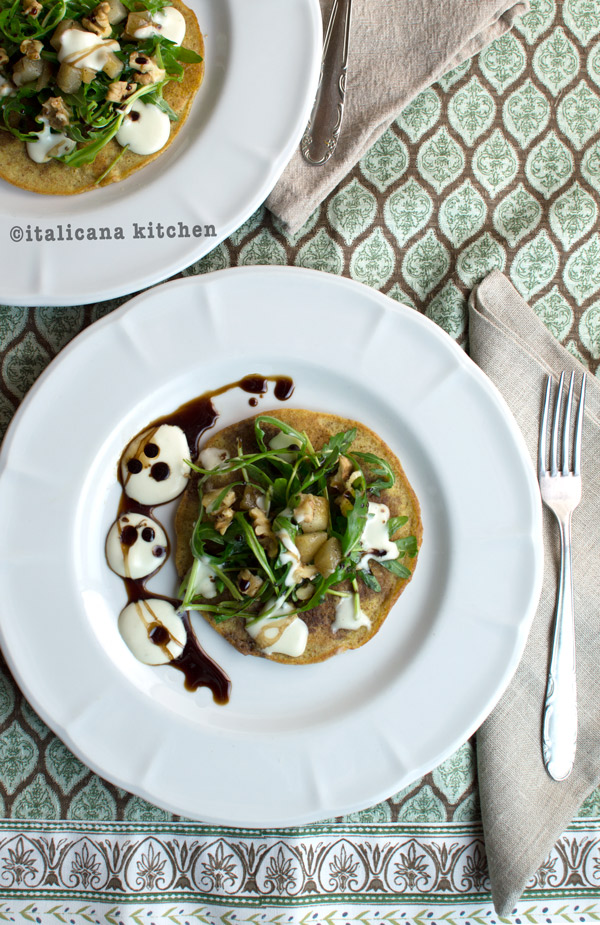
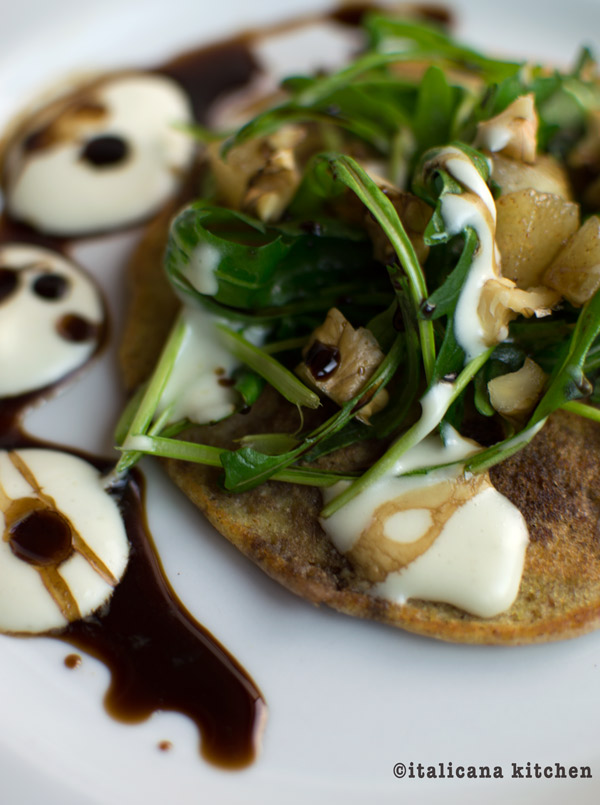
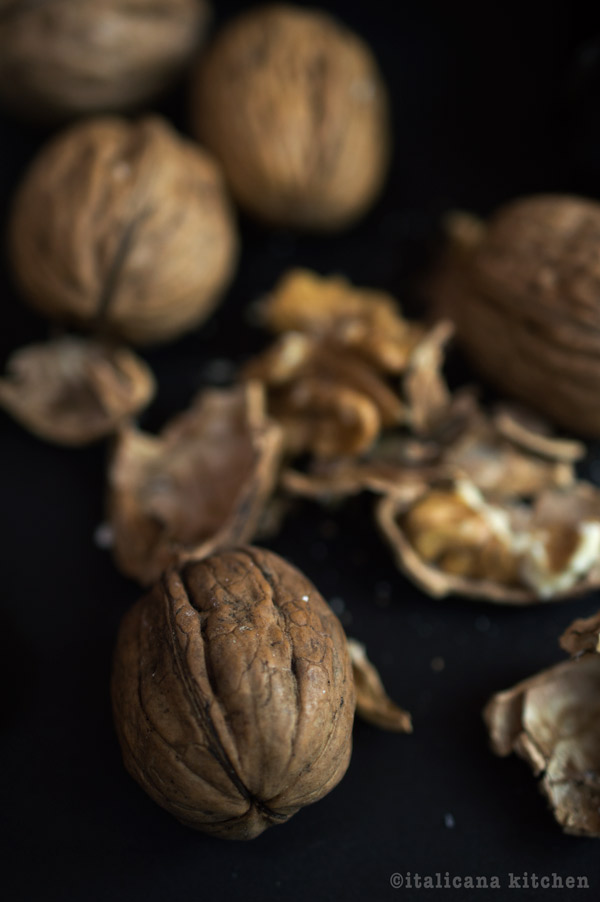
Yet, pancakes are so versatile and one of the best ways to enjoy them are with savory flavors or a blend of sweet and savory, like this recipe. I’ve paired the arugula :: rucola which is quite bitter with the sweetness of the pear. I’ve thrown in some walnuts to give the dish a nice contrast between soft and crunchy. And, I’ve topped everything off with a creamy gorgonzola and crème fraîche dressing to simulate maple syrup. Drooling yet?
I’ve used this whole pancake recipe that is already on the site because after experimenting a lot with different recipes this is one that works great for me. Read that post for more tips and tricks, and always remember this important fact: flours absorb liquid differently. I’ve had my Italian friends ask me why certain pancake recipes that they had found on the internet didn’t work for them and my guess is that they didn’t adjust the liquid correctly. The indications below are subjective. You may need to add a bit more liquid to your mixture :: miscela or it may be the right quantity. The key for success is that the batter must easily drip off your spoon. This tip is obviously for thin pancakes, which is recommended for my whole wheat recipe; otherwise, you risk that the pancake will be too tough.
For the creamy gorgonzola and crème fraîche topping you can use a blend like I did, because I had both on hand; otherwise, feel free to use one or the other.
I hope you enjoy this recipe. Have a wonderful weekend!
Pancakes with Arugula, Gorgonzola, Pear and Walnuts
You’re weekend brunch recipe has arrived: Pancakes with Arugula, Gorgonzola, Pears and Walnuts.
Serves: 3-9
Ingredients
For the whole wheat pancakes:
1 cup milk
1 tablespoon apple cider vinegar (or white vinegar or lemon juice)
1 cup (125g) whole wheat flour (or all-purpose)
2 teaspoons (8g) sugar
1 teaspoon (4g) baking powder
½ teaspoon (3g) baking soda
½ teaspoon (3g) salt
2 tablespoons melted butter
1 egg
Butter, as needed
For the topping:
3.5 oz (100g) gorgonzola
3.5 oz (100g) crème fraîche
1 pear, peeled, cored and diced
2 handfuls arugula, washed and dried
4 walnuts, shelled and chopped
Extra virgin olive oil, as needed
Balsamic vinegar, as needed
Instructions
For the whole wheat pancakes:
In a small bowl, combine the milk and vinegar and let sit for 5 minutes.
In a medium sized bowl, combine the whole wheat flour, sugar, baking powder, baking soda and salt. Mix well.
Add the the melted butter and egg to the milk and vinegar mixture and mix well. Combine the two mixtures and stir until just combined, lumps are fine. For a thin pancake, the batter should run off the spoon. If the batter is too thick add a splash of milk or water. I recommend thin pancakes because thick ones may turn out tough when using all whole wheat flour.
Heat a large skillet over medium heat and add a small knob of butter rotating the skillet so that it covers the bottom. Using a ¼ cup (59ml) measuring cup or ice cream scoop, measure out the batter and pour it in the skillet. Depending on your pan size, you’ll be able to fit 2-3 pancakes at a time.When lots of bubbles form on the top use a spatula to peek underneath. If the bottom is golden brown flip the pancake. Do not press down on the pancake with the spatula. Cook for another 1-2 minutes until the bottom is golden brown.
Add another small knob of butter and repeat these steps until you have cooked all nine pancakes.
For the topping:
With an immersion hand blender, blend the gorgonzola and crème fraîche together.
In a small bowl, dress the arugula with a splash of extra virgin olive oil.
Put one or more pancakes on a plate, top with the arugula followed by the gorgonzola mixture, pears and walnuts. Drizzle with balsamic vinegar. Buon appetito!
Notes
If you don't have crème fraîche you can just use gorgonzola. The servings 3-9 depends if you serve 3 pancakes per person or only 1 per person.
I’m not a good baker; I have a hard time following recipes where I have to have precise measurements and follow instructions. My first baking flop was when I was 8 or 9 and I made brownies using a box mix. There were three ingredients required: an egg, oil and the mix. I forgot the oil. The result was disastrous; my oldest brother Cliff still teases me about it to this day. Embarrassing? Absolutely.
Flash forward 22 years later, and I’m still not a good baker. Certainly I won’t mess up a three ingredient recipe, but throughout the last year of blogging, I have definitely had a lot of baking disasters (photos to come). Baking is chemistry. Things don’t work if you put in too little of one ingredient or not enough of another.
I like to experiment and create: a pinch of this, a dash of that. Unless I am writing a recipe for the blog, I don’t use measurements. It becomes a 100% engaging sensory process. I tried to recreate this same sensation with baking and gave it a go by inventing a whole wheat crust; let’s just say, I haven’t yet learned enough about the nitty-gritty elements of baking chemistry—my crust was absolutely inedible! Really, it was bad. I ate the filling but since I used 100% whole wheat flour and reduced the amount of butter to try to make it healthier, it turned out to be a flavorless hard rock. (If someone knows a good book or website on baking 101 or baking chemistry, leave a comment below.)
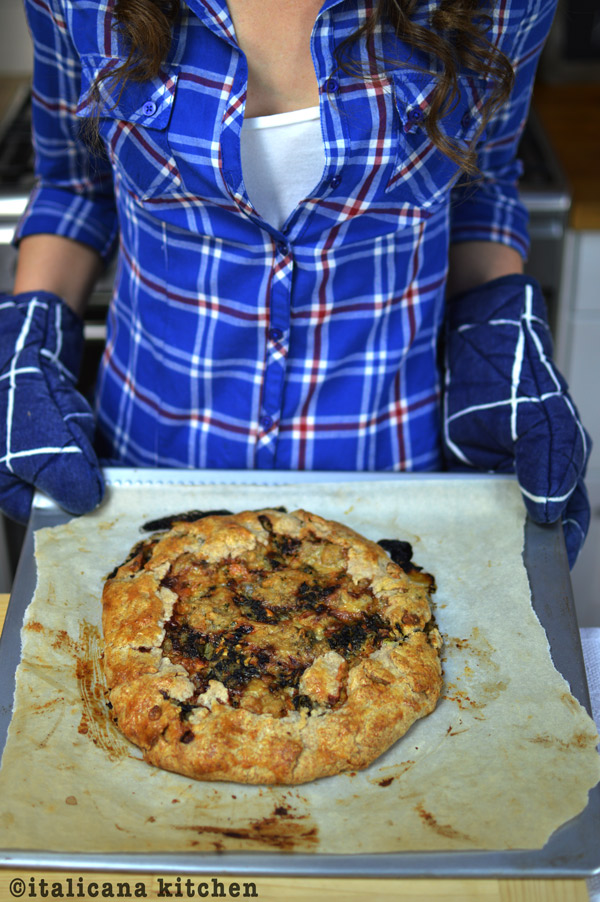
I really wanted to make this rustic swiss chard, feta and gorgonzola tart for a dinner party. So, to help me with my baking dilemma, I headed over to Food52, one of my favorite cooking blogs, for some advice on a whole wheat rustic tart crust. The recipe I found uses whole wheat and half all-purpose flour as well as a good portion of butter. I adapted this recipe ever so slightly and was impressed by the results: a delicious flaky buttery crust.
The thing I like about rustic tarts is that their imperfections are what make them simply beautiful. The crust is higher in one spot, the filling overflows in another, there are cracks or maybe uneven brown spots on the surface. All of these little flaws create a simple, rustic masterpiece; like life itself.
If you want to make a sweet tart with fruit, just add 2-3 tablespoons of sugar to the dough or sprinkle some sugar on top of the dough after you’ve added the egg wash. And, you? Have you ever had some baking disasters?
This rustic Swiss chard, feta and gorgonzola tart is the perfect thing to make when you want to slow down for a moment and make something with your hands.
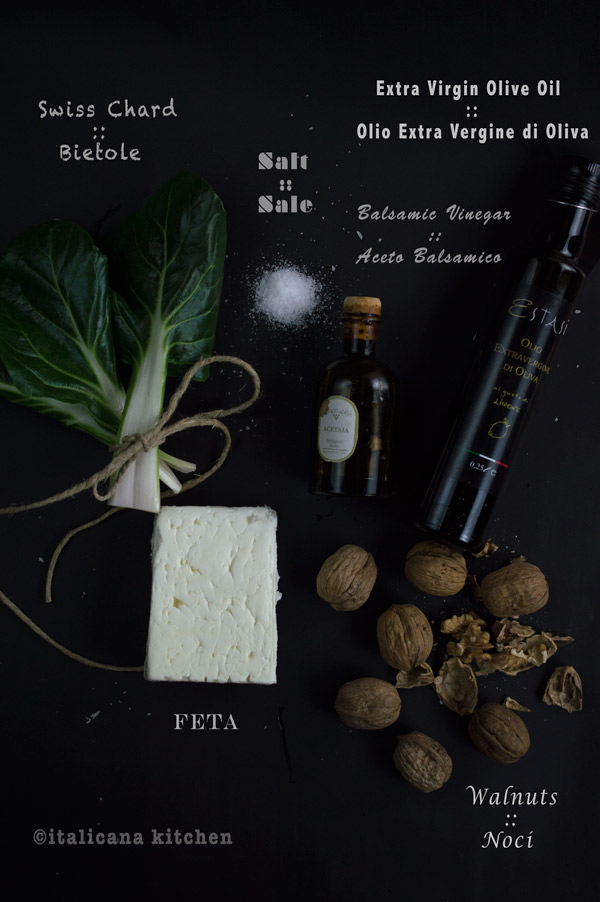
1.10 ounces(730G) Swiss chard (or spinach), stems removed from the leaves
1 block (200g) Feta
20 walnut halves, roughly chopped
1 tablespoon balsamic vinegar
1 tablespoon extra virgin olive oil
Salt and black pepper, to taste
Handful of gorgonzola or blue cheese crumbles
1 egg, beaten
Instructions
For the crust:
Chop up your butter, place it on a plate and stick it in the freezer for 5-10 minutes.
In a medium bowl mix together the flours and salt. Dump in the cold butter and toss with
the flour so it’s covered. Cut in the butter using a pastry cutter, two knives or using a
snapping motion with your fingers until the mixture is crumbly and is the size of peas.
Add the ice water, 1 tablespoon at a time, mixing just until the dough comes together as a ball. Pat the ball into a flat disc, wrap tightly with plastic wrap. Chill in the refrigerator for at least an hour or even overnight.
For the filling:
Bring a large pot of water to boil and add the Swiss chard stems. Cook for about 5
minutes then add the leaves and cook for another 3 minutes or until wilted and soft.
Drain well and place in a large bowl. Let cool then chop.
For the assembly:
Preheat the oven to 200°C.
Flour your rolling pin and roll the dough into a circle on a piece of parchment paper or silicon mat. The sides might be irregular; that’s okay, imperfections are beautiful. Slide the parchment paper or silicon mat with the rolled out dough onto a cookie sheet.
Crumble the feta into the bowl with the Swiss chard and add the walnuts, balsamic vinegar, extra virgin olive oil, salt and pepper. Stir until everything is evenly combined. Pour the filling into the center of the dough, leaving about a 1 inch border. Fold the edges towards the center.
Sprinkle the gorgonzola or blue cheese on top.
Brush the crust with egg wash and bake for 40-45 minutes or until the crust is golden.
Remove from the oven and let the rustic tart sit for 5 minutes before cutting into slices.
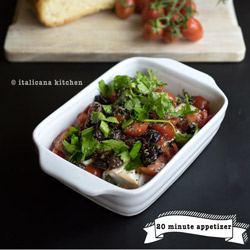
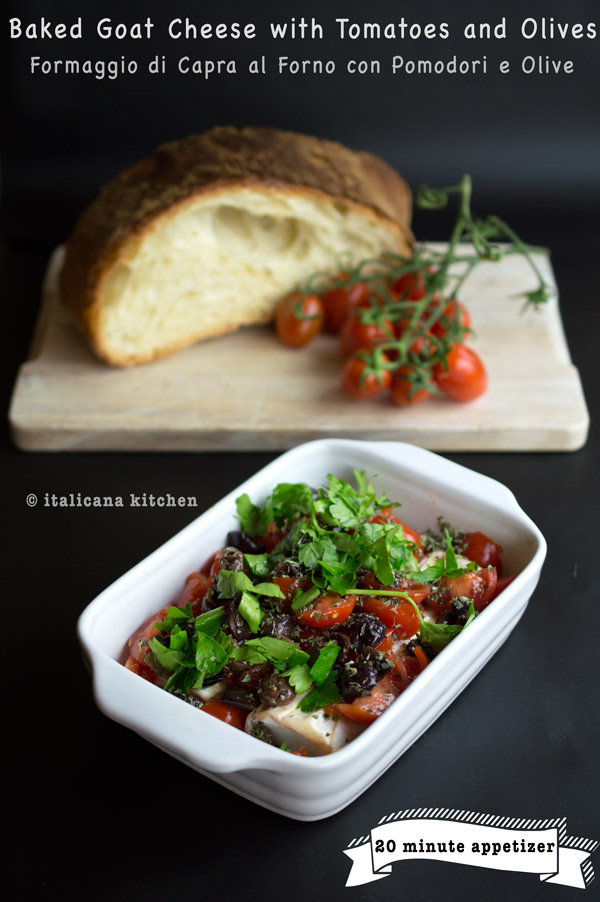
This baked goat cheese with tomato and olives is ridiculously easy to prepare, looks fancy and is absolutely delicious. This is the perfect appetizer for when unexpected guests stop by or when you don’t have a lot of time (or desire) to cook an elaborate appetizer, but want to avoid using processed foods.
When I said that this baked goat cheese was easy to prepare, I wasn’t joking. All you need is 5 minutes to throw the ingredients in a baking dish then let the oven work away for 15 minutes. The result is creamy goat cheese that you can slather onto toasted artisanal Italian bread topped with mouthwatering roasted tomatoes and flavorful taggiasche olives.
For those of you interested in learning a few cooking words in Italian so you can read the menu on your next trip to Italy, here is a quick recap of the words seen in the video:
goat cheese :: formaggio di capra
tomatoes :: pomodori
parsley :: prezzemolo
olives :: olive
oregano :: origano
sea salt :: sale marino
black pepper :: pepe nero
extra virgin olive oil :: olio extra vergine di oliva
This baked goat cheese with tomato and olives is easy to prepare and the perfect appetizer for when unexpected guests stop by or when you don’t have a lot of time (or desire) to cook a elaborate appetizer, but want to avoid using processed foods.
Serves: 4
Ingredients
1 goat cheese log (6 ounces/180g)
10 grape or datterini tomatoes, quartered
2 tablespoons parsley, finely chopped
¼ cup Taggiasche olives (or kalamata olives)
2 pinches of dried oregano
1 pinch of sea salt
A few cracks of black pepper
A good drizzle of extra virgin olive oil
Fresh artisanal Italian bread
Instructions
Preheat the oven to 400°F (200°C).
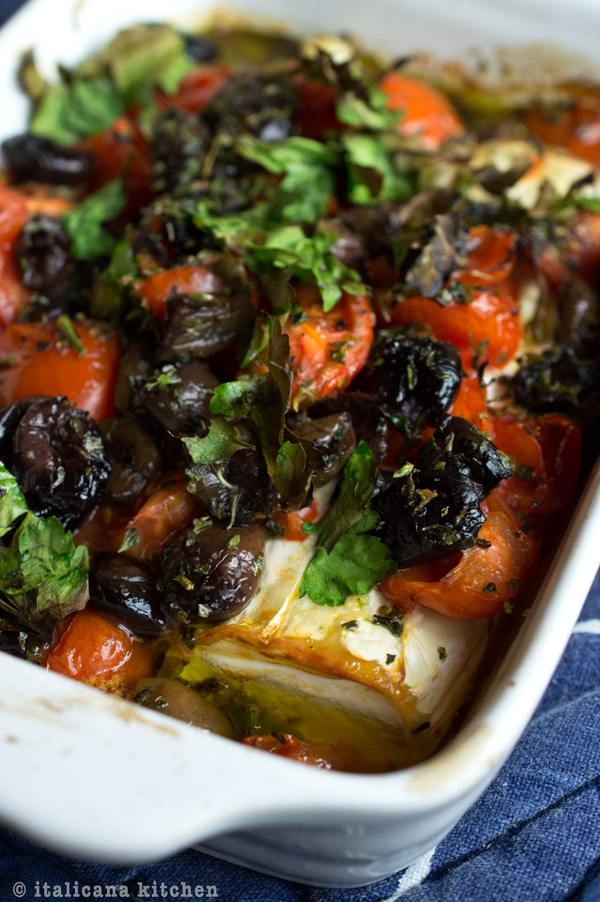
Cut the goat cheese in half and place it in a small baking dish. Top with tomatoes, parsley, olives, oregano, salt and pepper. Bake for 15 minutes.
In the meantime slice the bread and toast in the toaster or stick in the oven for a 1-2 minutes, flip the slices and bake for another minute or two.
Serve the baked goat cheese with the toasted bread. Buon appetito!
Last week I talked about the beauty of food boxes and without further ado here is the full video-recipe for Spaghettoni with Red Wine Tomato Sauce made with delicious high quality Italian artisanal products.
P.S. If you want to support small Italian artisans who have outstanding quality products head over to augustoitalianfood.com . Just for italicana kitchen followers you can get a 10% discount at checkout by entering in ITALICANAKITCHEN. Buon appetito!
Note:This post is not paid by augusto italian food. All thoughts and opinions are my own.
Spaghetti with Red Wine Tomato Sauce is a delicious Italian pasta dish that is made with high quality artisanal products from AuGusto Italian Food.
Cuisine: Italian
Serves: 4
Ingredients
Extra virgin olive oil, as needed
1 garlic clove, cut into thick slices
1 shallot, cut into thick slices
400g Peeled San Marzano DOP Tomatoes
¼ cup still red wine
1 teaspoon milk
2 anchovy fillets, under oil
2 teaspoons capers in salt, desalinated
3 pinches of dried oregano
1 handful of fresh basil, chopped
Salt and black pepper, to taste
400g of Spaghettoni (or spaghetti)
Instructions
Bring a large pot of water to boil, add course salt and cook the pasta for 15 minutes.
Put some extra virgin olive oil in a large pan and over low heat, cook the shallot and garlic for a few minutes to give flavor to the oil. Discard the shallot and garlic.
Add the tomatoes and smash them in the pan with a wooden spoon. Bring to a simmer then add the red wine, milk, anchovies, capers, oregano and bay leaves. Continue to simmer for 5-10 minutes or until the sauce has thickened. Add the basil and season with salt and black pepper, to taste.
While the pasta and sauce are cooking, pour yourself a glass of wine. Drain the pasta, keeping some of the water aside in case you need to thin the sauce. Mix the pasta with the sauce until the sauce has been thoroughly distributed. Serve with freshly grated Parmesan cheese. Buon appetito!
Notes
You can also use tomatoes with the skins, but you will need to blend the sauce in a food processor before mixing it with the pasta.

 If you’ve ever traveled around Italy, you’ve probably discovered that every region, even each town, has special traditional dishes :: piatti. Erbazzone, a delicious spinach pie, is one of these unique dishes that originated from Reggio Emilia, a quaint town in the region of Emilia-Romagna. The easiest way to show you how to make this Italian delicacy is with a short video. Enjoy! 🙂
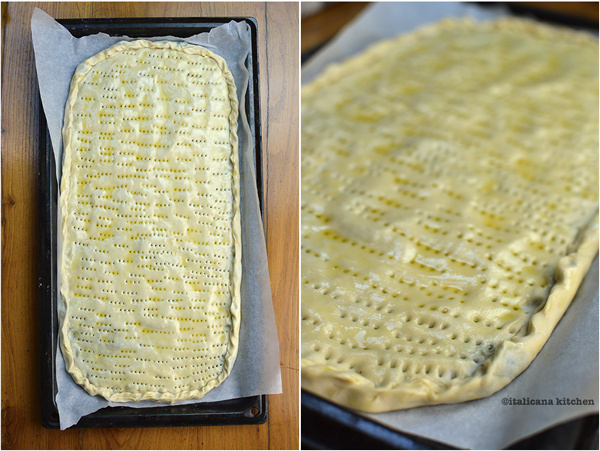
 It was love at first bite. Thin layers of crust surrounded cooked greens (Swiss chard and spinach, I came to find out). I had lived in Rome in university for three months and traveled quite a bit throughout Italy, but it was moments like these that always put me in awe. Italian gastronomy is so vast :: vasto. There is so much variety and diversity, it’s an endless flavor discovery.
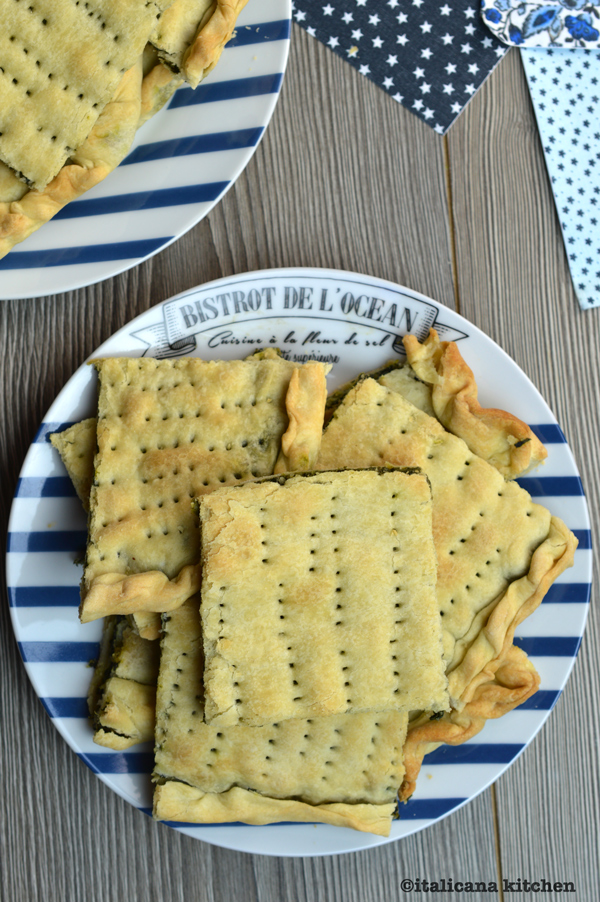
 Yet, pancakes are so versatile and one of the best ways to enjoy them are with savory flavors or a blend of sweet and savory, like this recipe. I’ve paired the arugula :: rucola which is quite bitter with the sweetness of the pear. I’ve thrown in some walnuts to give the dish a nice contrast between soft and crunchy. And, I’ve topped everything off with a creamy gorgonzola and crème fraîche dressing to simulate maple syrup. Drooling yet?
 For the creamy gorgonzola and crème fraîche topping you can use a blend like I did, because I had both on hand; otherwise, feel free to use one or the other.
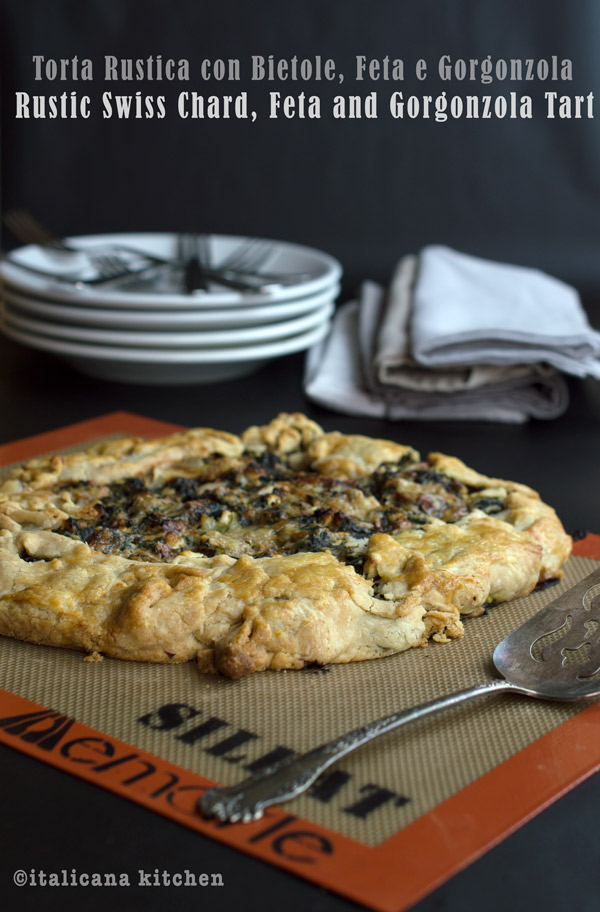

 Flash forward 22 years later, and I’m still not a good baker. Certainly I won’t mess up a three ingredient recipe, but throughout the last year of blogging, I have definitely had a lot of baking disasters (photos to come). Baking is chemistry. Things don’t work if you put in too little of one ingredient or not enough of another.
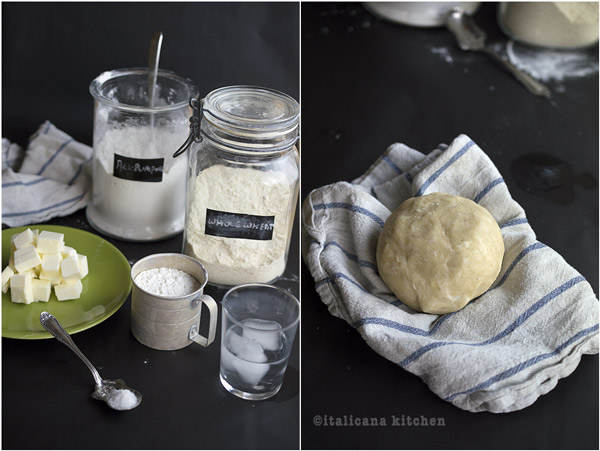


 Last week I talked about the
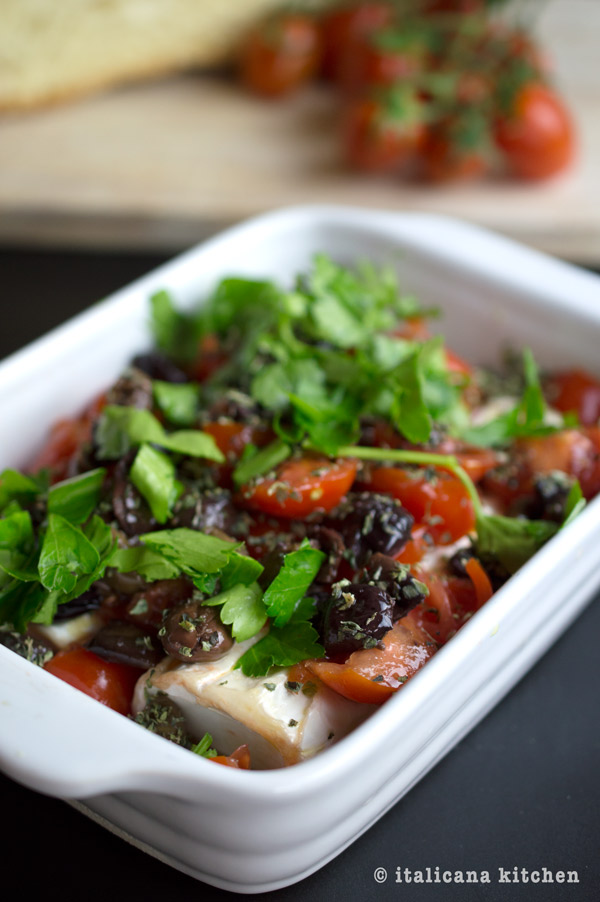